

Before You Begin
Get a CloudGen Access Proxy enrollment link by creating a new CloudGen Access Proxy. Since there is still no value for Host parameters, insert a placeholder (e.g., temp.example.org)
Deploy the CloudGen Access Proxy to Azure
Click Deploy to Azure.
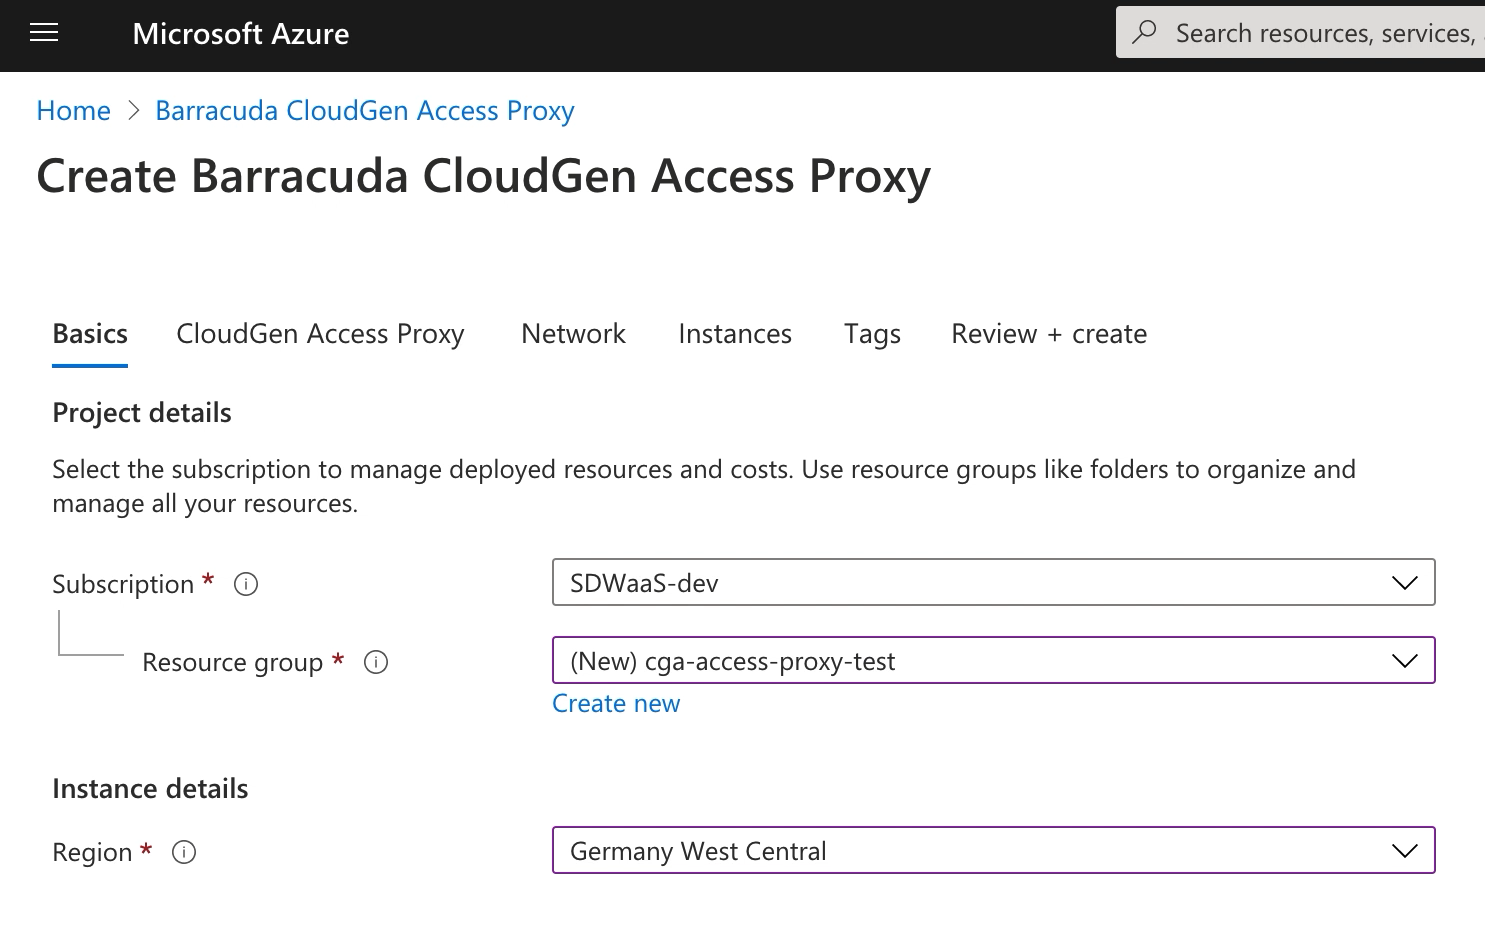
- Select the Resource group from the drop-down menu.
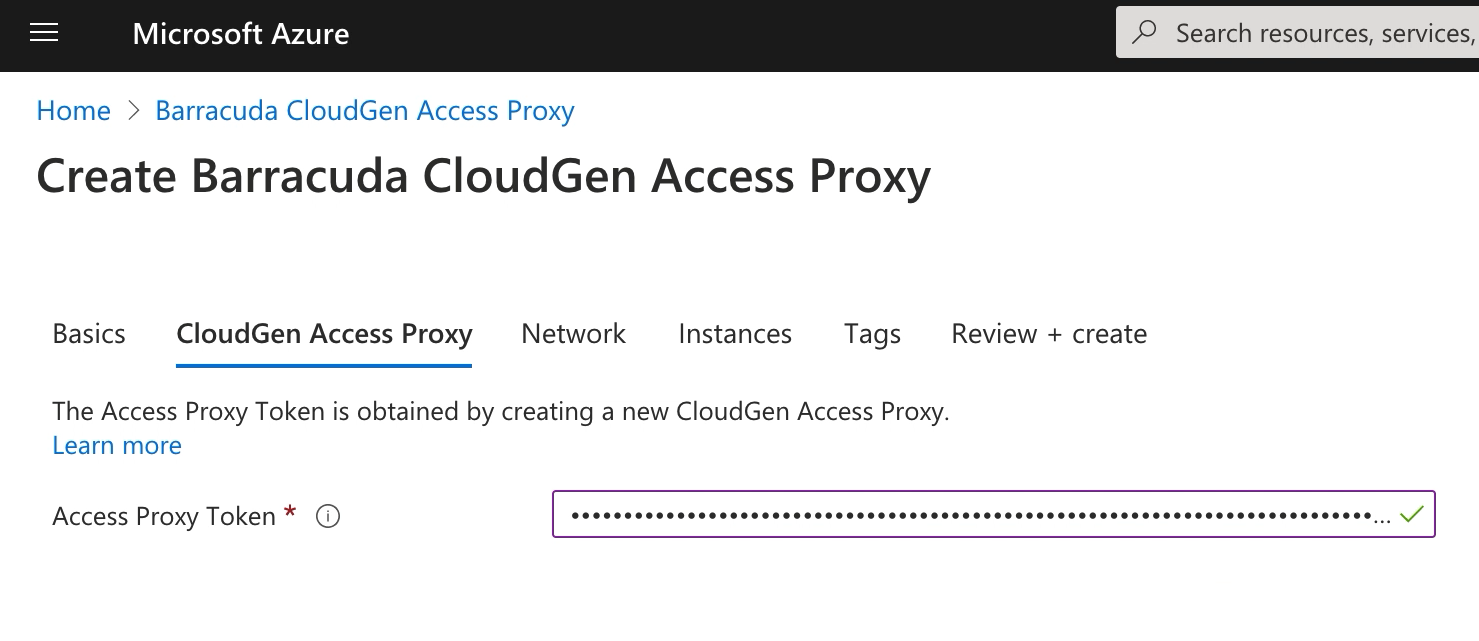
- Paste the enrollment link into the Access Proxy Token field.
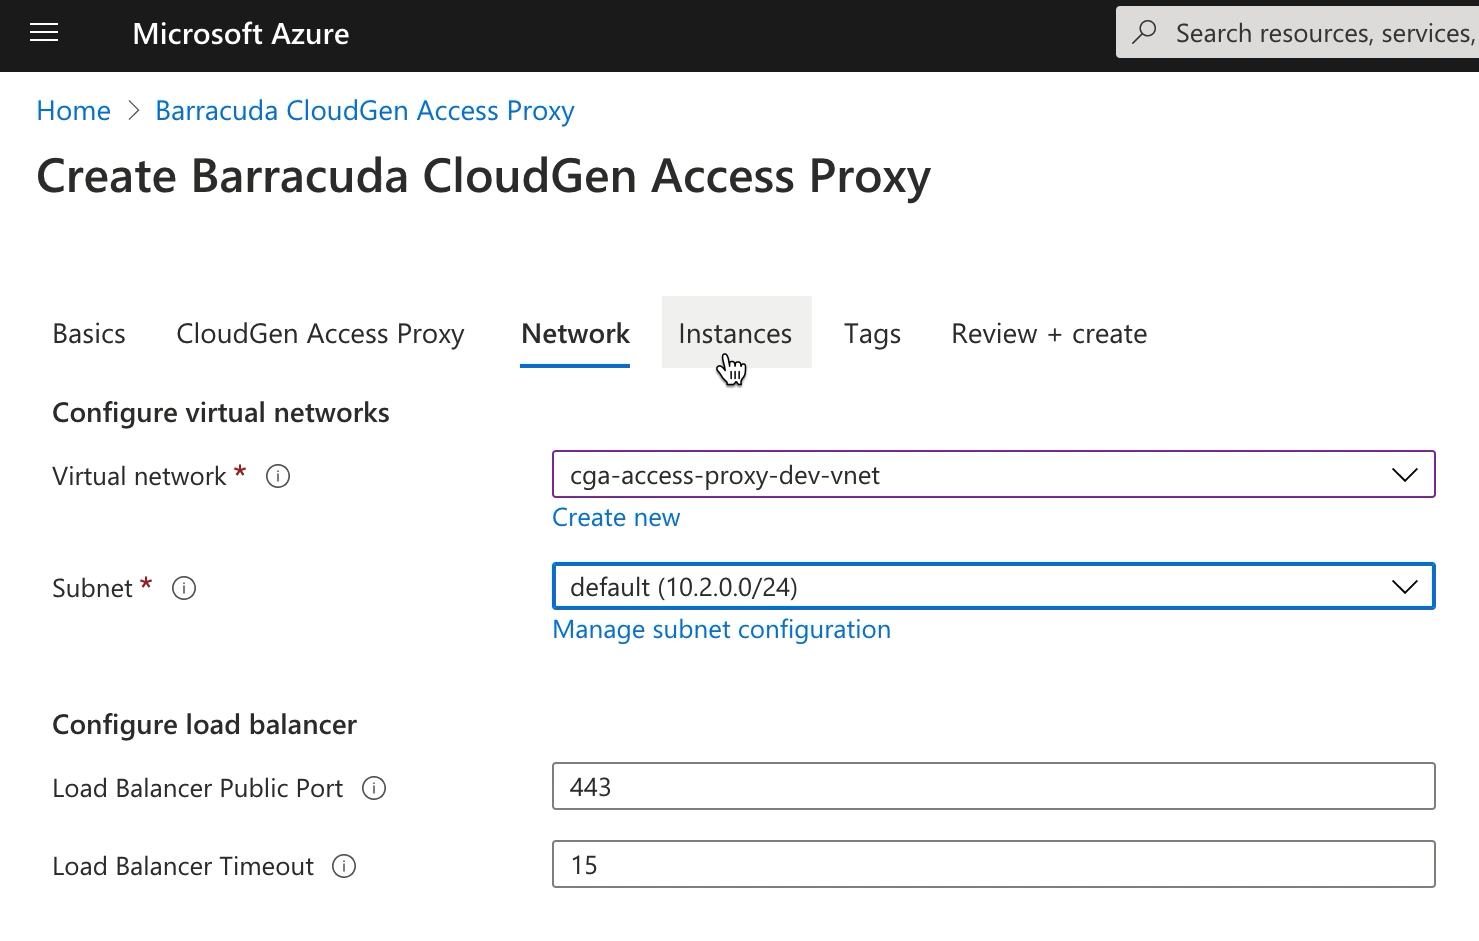
- Select Virtual network and Subnet.
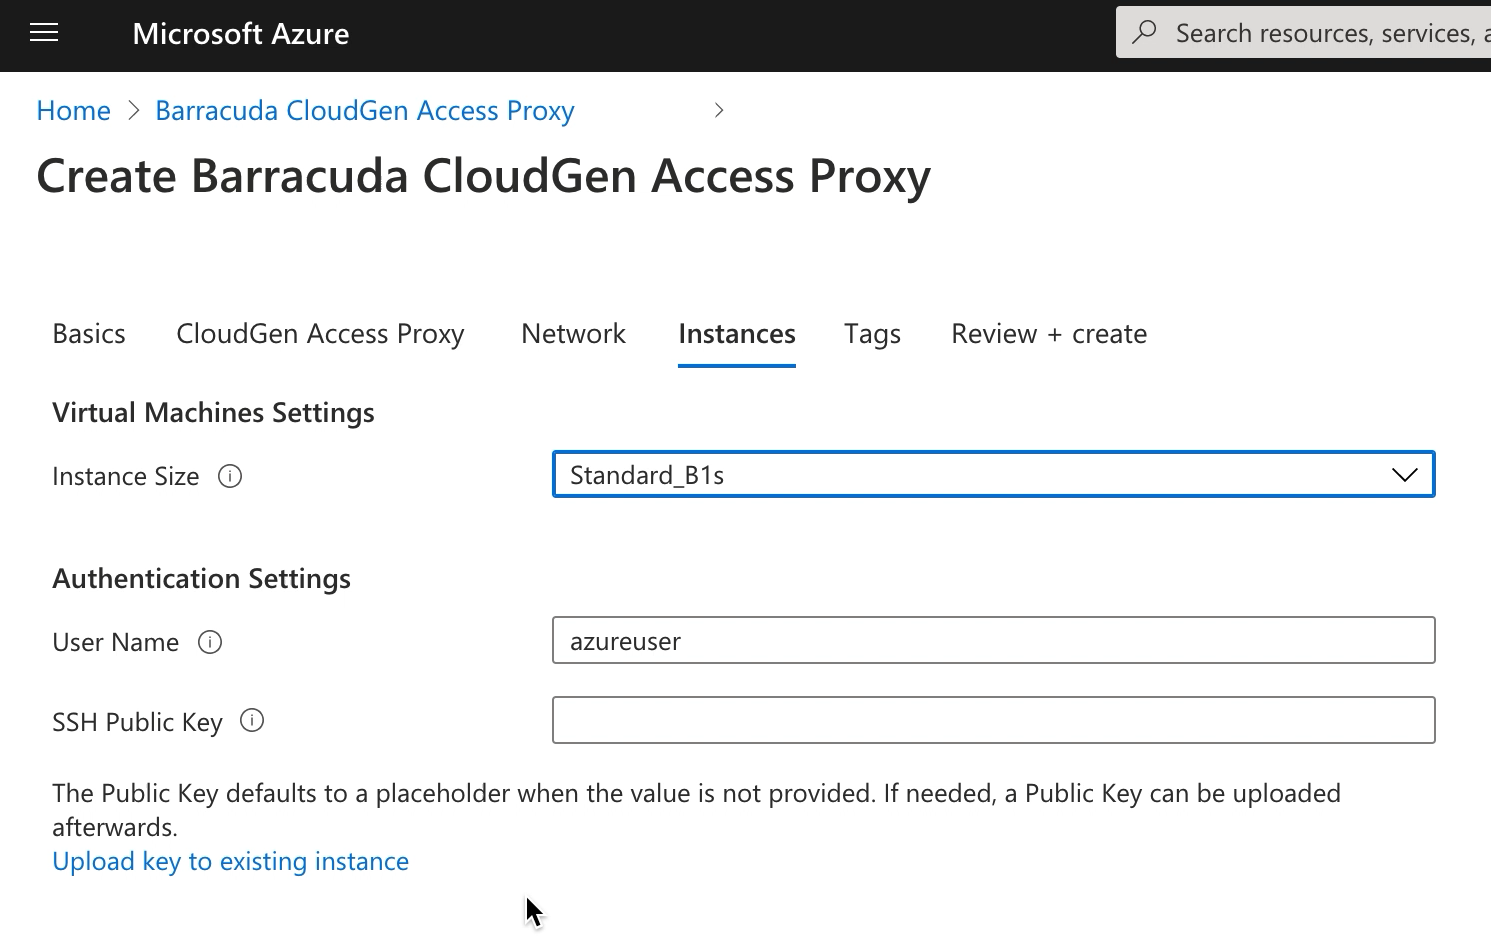
- Select the Instance Size.
- (Optional) Enter an SSH Public Key to use for the Access Proxy Instances.
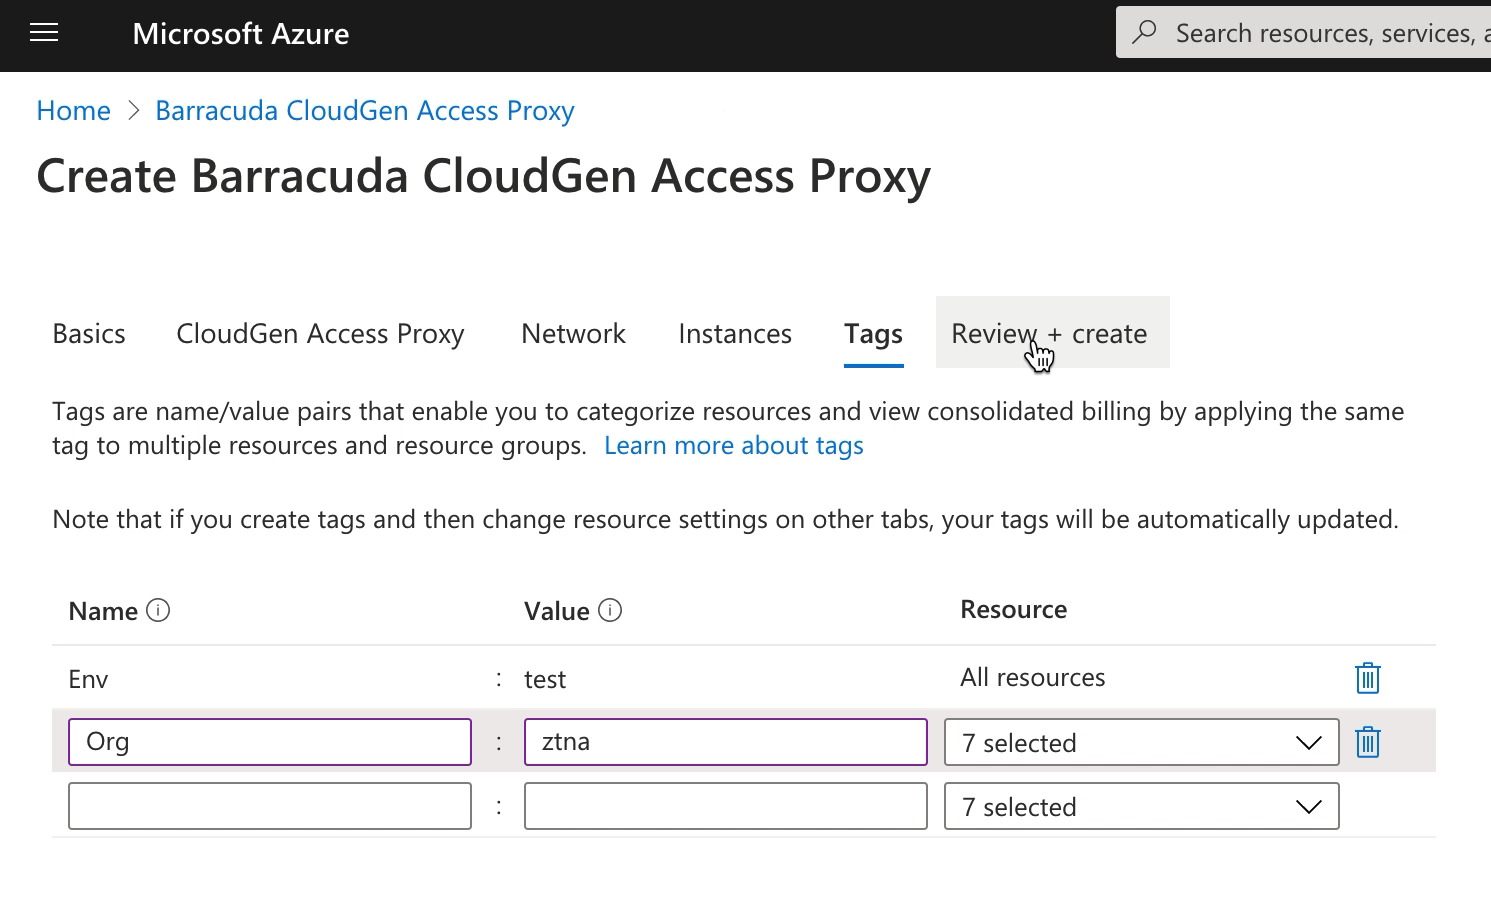
- (Optional) Add Tags to categorize the resources.
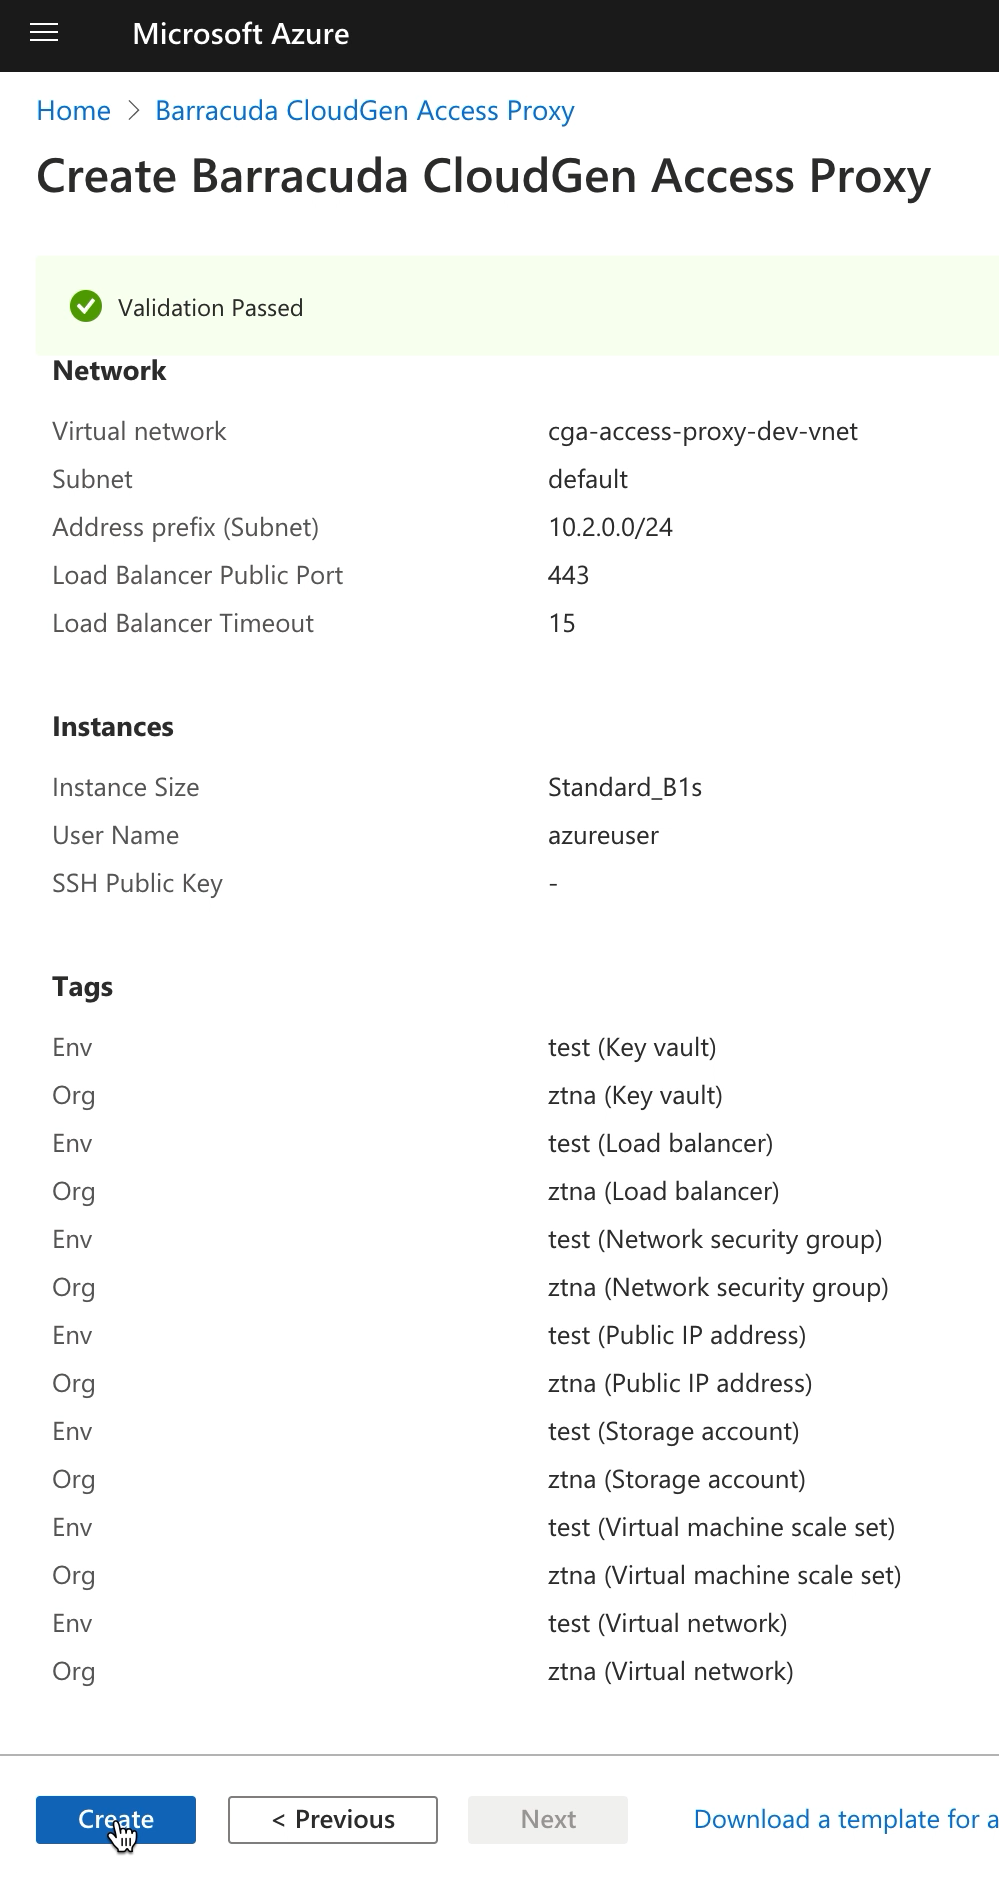
- Click Create.
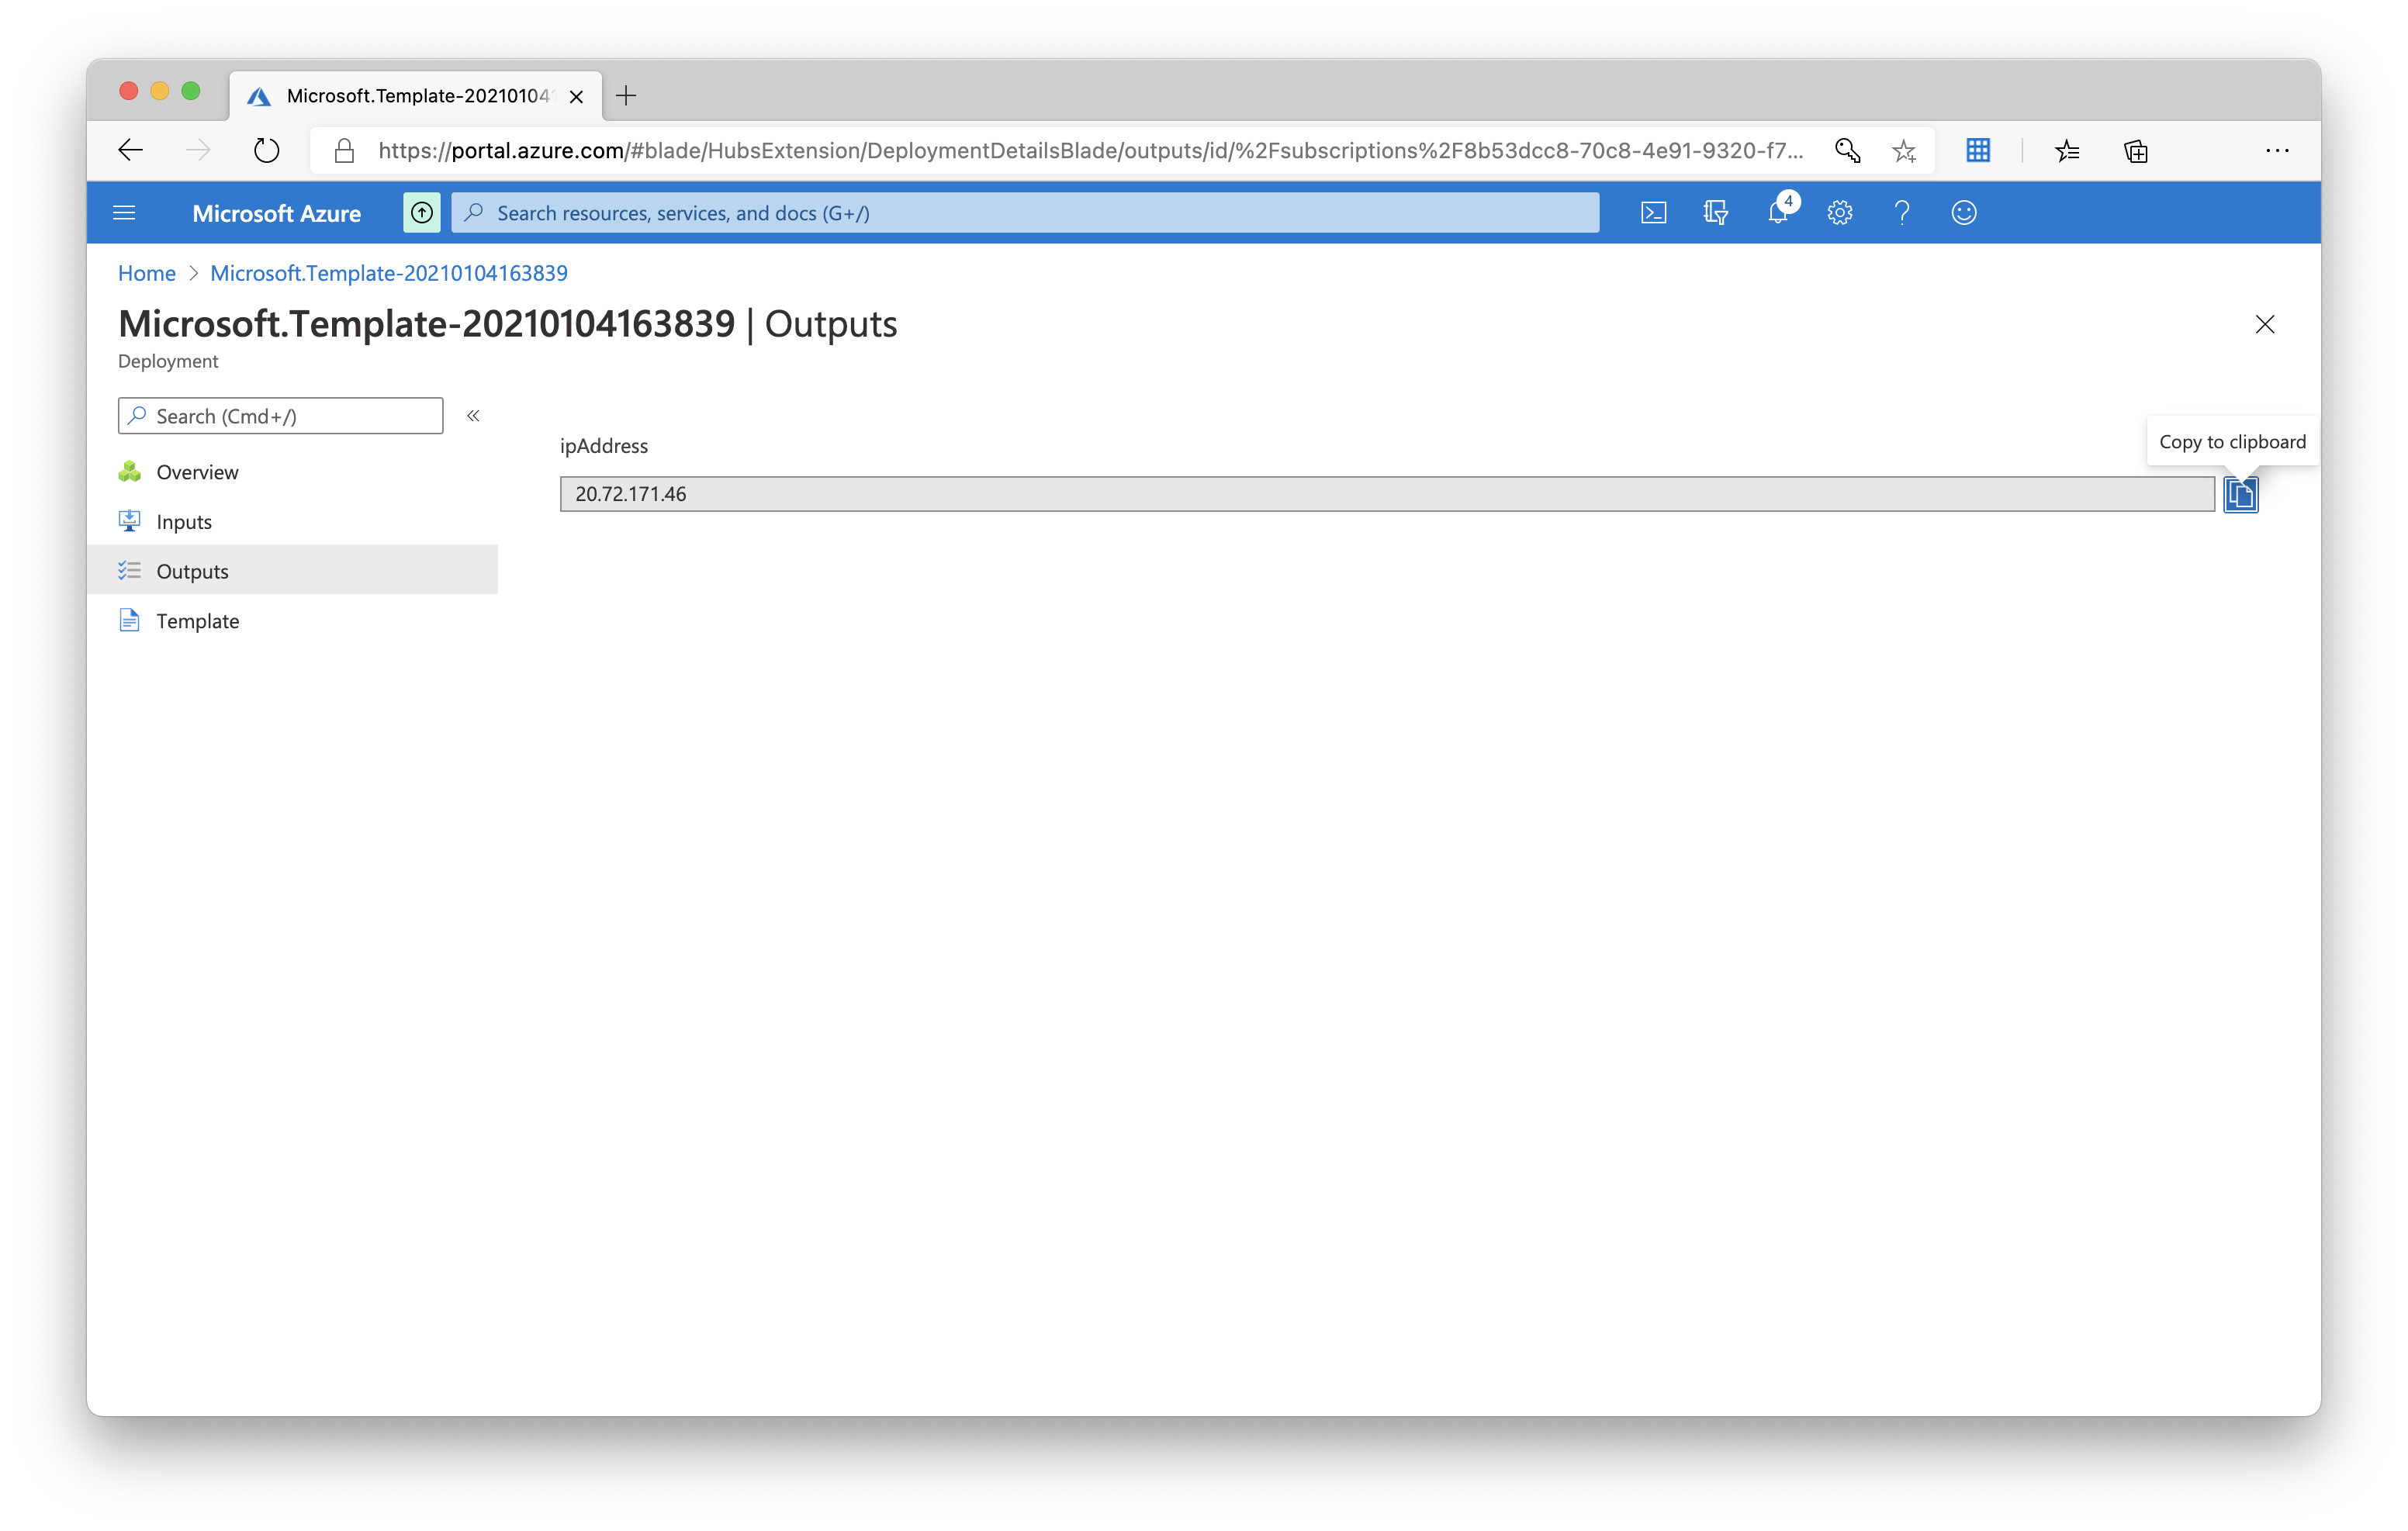
After the installation, update the created CloudGen Access Proxy host with the CloudGen Access Proxy IP address obtained in the template output resource:
- Go to Outputs and copy the ipAddress.
- In CloudGen Access, replace the proxy Host address.
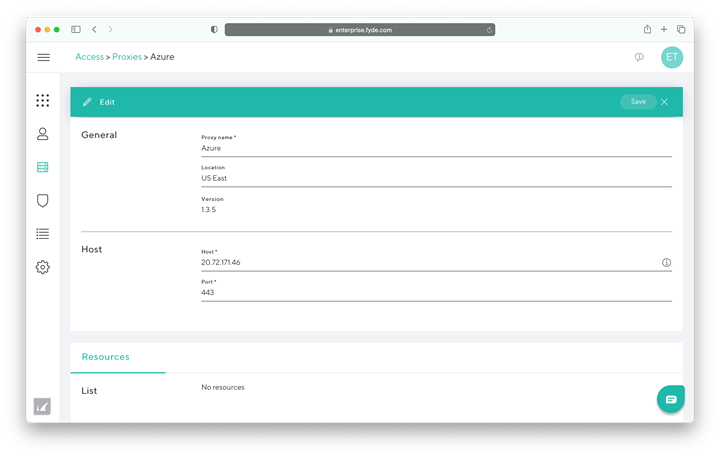
- Click Save.
Upgrading CloudGen Access Proxy
To upgrade your CloudGen Access Proxy to the latest version, execute the following command:
sudo yum upgrade fydeproxy envoy