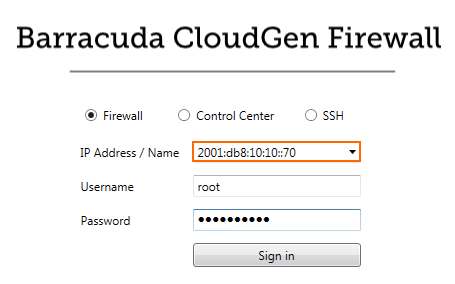
In addition to the IPv4 management IP address, you can configure an additional box-level IPv6 address to manage your CloudGen Firewall. To use the IPv6 address exclusively, set the IPv4 management address to a loopback address. Creating an additional box-level IPv6 address automatically creates a direct attached route for the IPv6 network.
Before You Begin
Enable IPv6. For more information, see How to Enable IPv6.
Step 1. Add the IPv6 Management IP Address
- Go to CONFIGURATION > Configuration Tree > Box > Network.
- In the left menu, select IP Configuration .
- Click Lock.
- Click + to add an entry to the Additional IPv6 Addresses list. The Additional IPv6 Addresses window opens.
- Enter a Name and click OK.
- Configure the additional IPv6 address:
- Interface Name – Select the interface from the list, or click Other and enter the interface name.
- IPv6 Address – Enter the IPv6 address.
- Associated Netmask – Select the netmask from the list.
- Respond to Ping – Select yes for the firewall to respond to ICMP-Echo requests.
- Management IP – Select yes to use this address to manage your firewall or Control Center.

- Click OK.
- Click Send Changes and Activate.
Step 2. Activate the Network Configuration
Activate the network changes on the CONTROL > Box page with a Failsafe activation.
For more information, see How to Activate Network Changes.
You can now connect to the firewall or Control Center using the IPv6 management IP address.


