The Certificate Store page lets you create, upload, and manage certificates on the Control Center and stand-alone firewalls. Certificates in the certificate store can be used for firewall services such as SSL Inspection. For information on how to enable the certificate store and how to create, import, and export certificates, see How to Manage Certificates in the Certificate Store.

Viewing Certificate Details
To view the details of certificates in the certificate store list, click the expand (triangle) indicator in the Name field.

Certificate information is displayed in the columns as follows:
- Name – Shows the name of the certificate.
- Referenced by – Shows if the certificate has references.
- Subject – Shows the subject alternative name of the certificate.
- Issuer – Shows the issuer of the certificate.
- Is CA – A green tick indicates whether the certificate is a CA.
- Has Key – A green tick indicates whether the certificate has an authorized public key assigned.
- Trusted – Shows if the certificate is trusted.
- Expires – Shows the expiration date of the certificate.
- Comment – Displays additional information if available.
- Hash – Displays the checksum for the certificate.
Managing Certificate Entries
To manage certificate entries, use the right-click context menu.
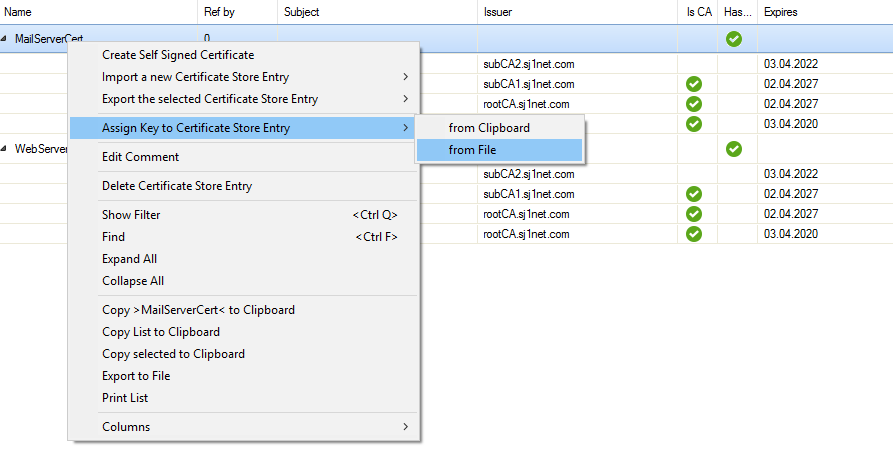
The context menu provides the following options:
- Create Self Signed Certificate – Lets you create a certificate.
Import a new Certificate Store Entry – Lets you import a certificate.
- Show Certificate – Opens the certificate view.
- Add Certificate to the OS Trusted List – Lets you define the selected certificate as trusted.
- Export – Lets you export a selected certificate.
- Edit Comment – Lets you add information to a selected certificate.
- Replace/Delete Certificate Store Entry – Lets you replace or remove a selected certificate.
- Show Filter – Opens the filtering section.
- Find – Opens the search bar.
- Expand/Collapse All – Expands or collapses the entries view.
- Copy ... to Clipboard – Lets you copy the selected entry, certificate, or list to the clipboard.
- Export to File – Lets you export the selected entry to a file.
- Print List – Lets you print the certificate list.
- Columns – Lets you select the columns that should be visible.
For information how to use the context menu, see How to Manage Certificates in the Certificate Store.
Filter Options
To filter the list entries by time period and date, right-click in the list and select Show Filter.

The filtering section provides a field for each column. Enter the filter criteria in the field above the column to use for the filter.

To reset the filter, right-click in the list again and select Clear and Hide Filter.
To search for entries by keyword, right-click in the list and select Find.

Enter the keyword in the search box. To search for case sensitive entries, select the Case check box.

All search results that match the keyword appear highlighted in green. Use the arrow icons in the search box to jump to the next entry.
Advanced Certificate Details
The Certificate View window shows advanced details of the certificate. To access the Certificate View window, either double-click or right-click a certificate in the list and select Show Certificate.
The main window shows the subject, issuer, and key. To view advanced details, click Advanced.
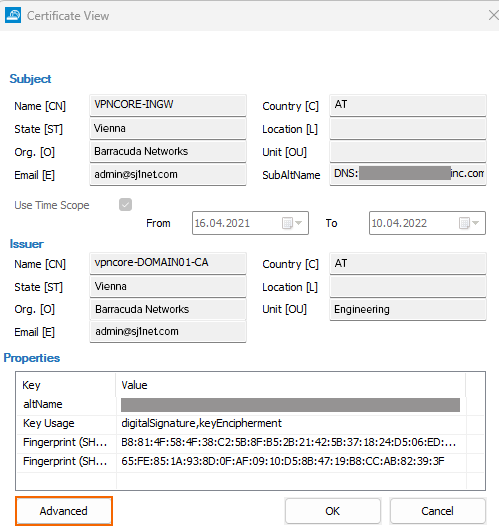
Advanced information, such as path and trust chain, is arranged in tabs.
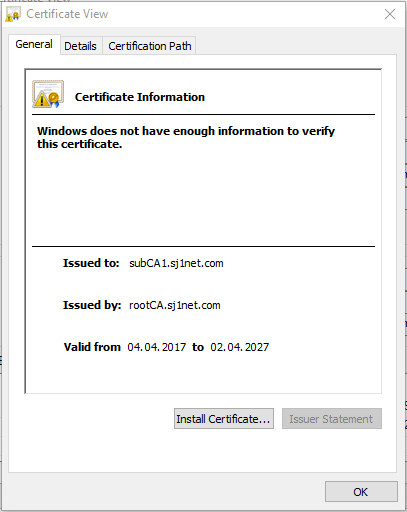
The General tab shows if the certificate is trusted. It also provides the option to install the certificate.
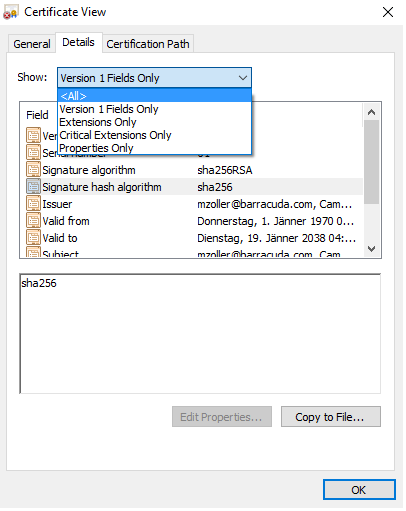
The Details tab shows all information that is available for the certificate. To narrow down the entries, click the Show drop-down field, and select the filter criteria.
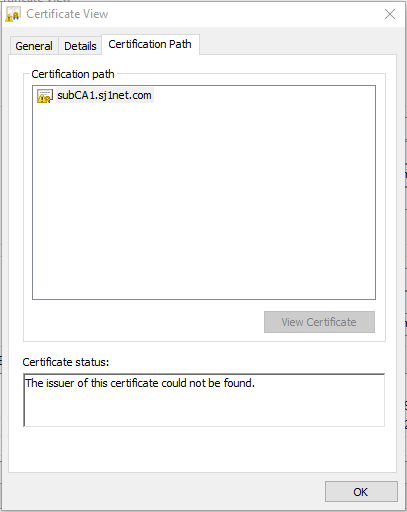
The Certification Path tab shows path, trust chain (if available), and status of the certificate.
