To reserve the same IP address for known DHCP clients, configure IP address reservations using MAC-to-IP-address mapping. IP address reservations are configurable in the simple and advanced DHCP service setup. DHCP reservations must reside outside of the DHCP range.
Before You Begin
- Configure the DHCP service. For more information, see How to Configure the DHCP Service.
- (optional) Configure advanced DHCP subnets and address pools. For more information, see Advanced DHCP Settings.
- Identify the IP addresses to be mapped to your client's MAC addresses. The MAC address of a client can be found on the DHCP tab in the Hardware-Address column:

Configure IP Address Reservations for Simple DHCP Setup
- Go to CONFIGURATION > Configuration Tree > Box > Assigned Services > DHCP > DHCP Enterprise Configuration.
- In the left menu, select Operational Setup IPv4.
- In the left menu, expand the Configuration Mode and click Switch to Advanced View.
- Click Lock.
- In the Subnets table, open the DHCP subnet configuration. The Subnet window opens.
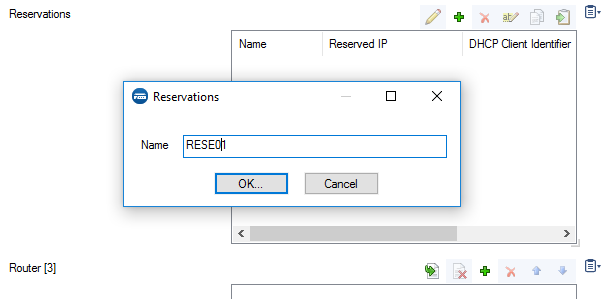
- In the Reservations table, click + and add the client.

- (optional) Specify a Name for the IP address reservation and click OK.
- Enter the Reserved IP for the client.
- (optional) Enter the DHCP Client Identifier that identifies the host client when requesting an IP address.
Enter the MAC Address of the client.

- Click OK.
- Click OK.
- Click Send Changes and Activate.
Configure IP Address Reservations for Advanced DHCP Setup
- Go to CONFIGURATION > Configuration Tree > Box > Assigned Services > DHCP > DHCP Enterprise Configuration.
- In the left menu, expand the Configuration Mode section, and click Switch to Advanced View.
- In the left menu, select Operational Setup IPv4 or 6.
- Click Lock.
- Enable Use Advanced Pool Configuration and configure DHCP subnets and address pools. For more information, see How to Configure DHCP Subnets and Address Pools.

- In the left menu, select Known Clients.
- In the Client Groups table, edit your client group, or click + and add client group members. For more information, see How to Configure Known Clients.
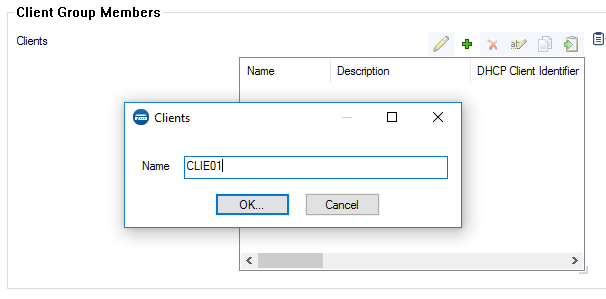
- In the Clients table, click + and add the client that should have a fixed IP address assigned.

- Enter a Name for the client and click OK. The Clients window opens.
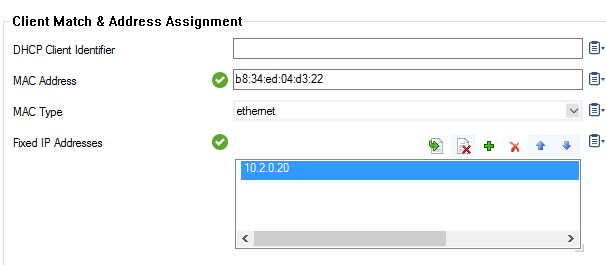
(optional) Enter the DHCP Client Identifier that identifies the host client when requesting an IP address.
- Enter the MAC Address of the client.
- From the MAC Type list, select the type of network card requesting a lease.
- In the Fixed IP Addresses field, enter the static IP address(es) that are assigned to the client.

- Click OK.
- Click OK.
- Click Send Changes and Activate.
