

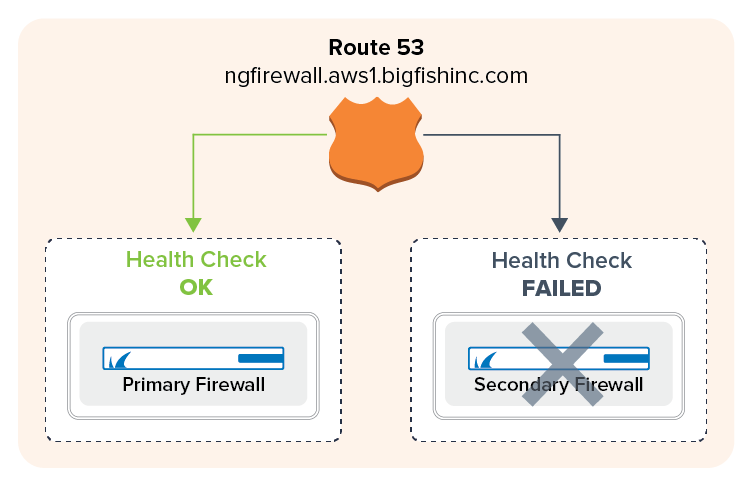
If you are running multiple stacks in different AWS regions, or multiple deployments in a single region, you must configure AWS Route 53 to access your services behind the CloudGen Firewalls. Also use Route 53 if you are using UDP-based services since the Elastic Load Balancer supports only TCP connections. To always route traffic to the active firewall in the HA cluster, define two record sets with a failover policy. The record set for the first firewall is combined with a health check. As long as the health check is valid, the DNS name for the firewall is resolved to the primary firewall. When the primary firewall fails over to the secondary firewall, the health check for the primary firewall fails, and after the TTL of the DNS record has expired, the DNS name for the firewall cluster resolves to the IP address in the secondary record set. When the primary firewall is active again, the health check will again show a healthy state and the DNS record will point to the IP address of the primary firewall.
Alternative
If you are not using Elastic IP addresses for your firewalls, you can also use the DNS name of the firewall for the health check and create a CNAME DNS record.
Before You Begin
- Set up a domain or subdomain in Route 53 and create a public hosted zone.
- Deploy a multi-AZ high availability cluster. For more information, see How to Configure a Multi-AZ High Availability Cluster in AWS Using the AWS Console.
- Look up the DNS names, and public or Elastic IP address for the primary and secondary firewalls.
Step 1. Create a Route 53 Health Check for the Primary Firewall
Configure the health check for a service running on the primary firewall, such as the VPN service. Do not create a check for box-level services because these services will not fail over to the secondary firewall.
- Log into the AWS console.
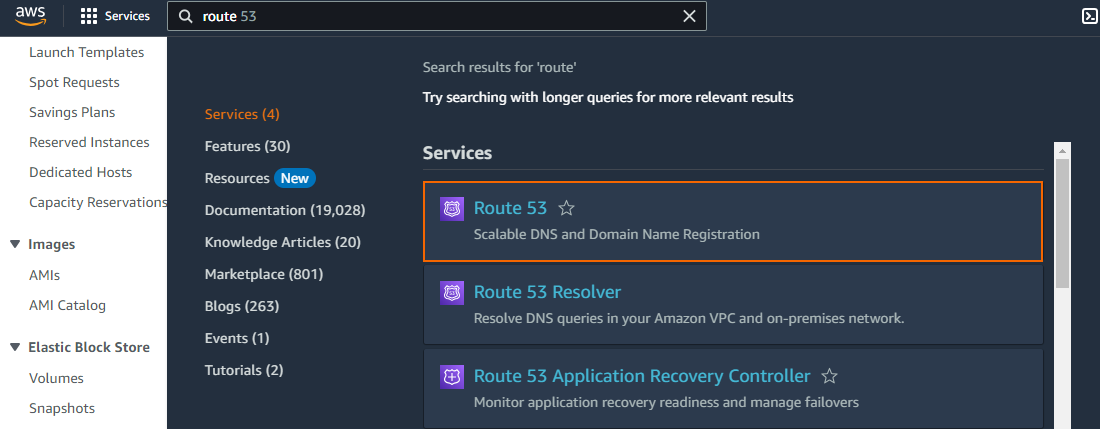
- Click Services and select Route 53.
- In the left menu, click Health checks.
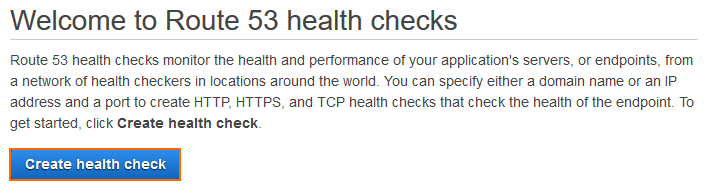
- Click Create health check.
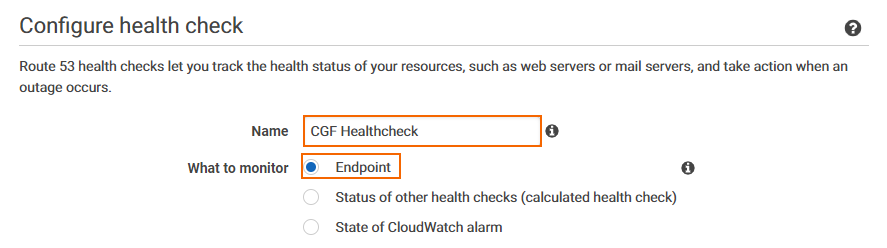
- Enter a Name.
- From the What to monitor list select Endpoint.
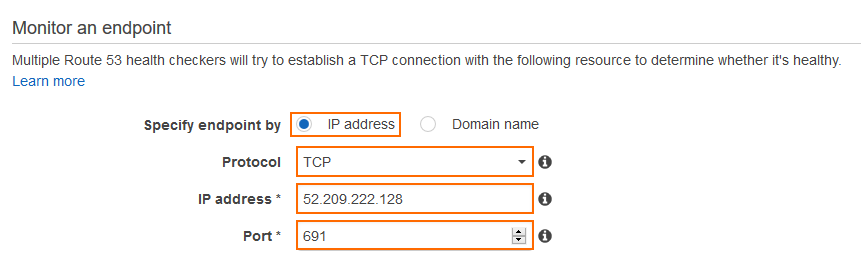
- Configure the service to be monitored:
- Specify and endpoint by – Select IP address.
- Protocol – Select TCP.
- IP address – Enter the public IP address for the primary firewall.
- Port – Enter
691to monitor the VPN service. The VPN service must be running on your firewall. Alternatively, you can also select another port on your firewall.
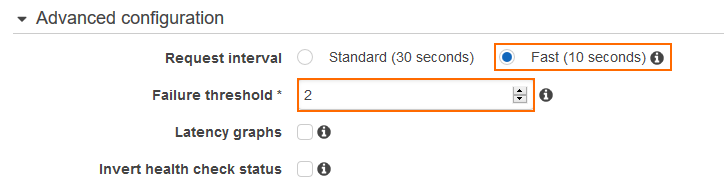
- (optional) Expand the Advanced configuration section and adjust the following settings to improve failover times:
- Request interval – Select Fast (10 seconds).
- Failure threshold – Select 2.
- Click Next.
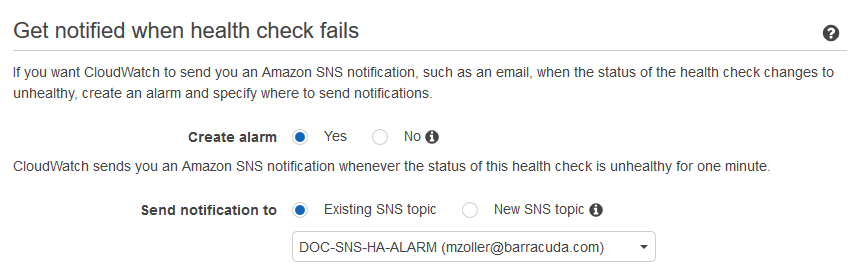
- (optional) Set Create alarm to yes and select an Existing SNS topic or create a New SNS topic to receive a notification.
- Click Create health check.
The health check is now active. Depending on the request interval and failover threshold, the Status of the health check changes from Unknown to Healthy.

Step 2. Create a Failover Record Set for the Primary Firewall
Create the DNS record for the primary firewall. Use a failover routing policy and add the health check you just created as a condition.
- Log into the AWS console.
- Click Services and select Route 53.
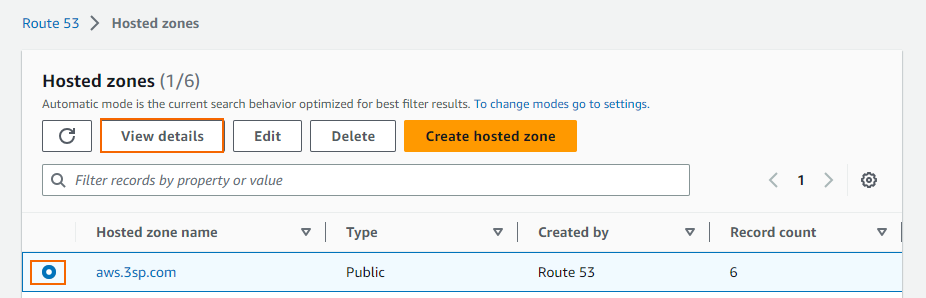
- In the left menu, click Hosted zones.
- Select your Domain Name and click View details.
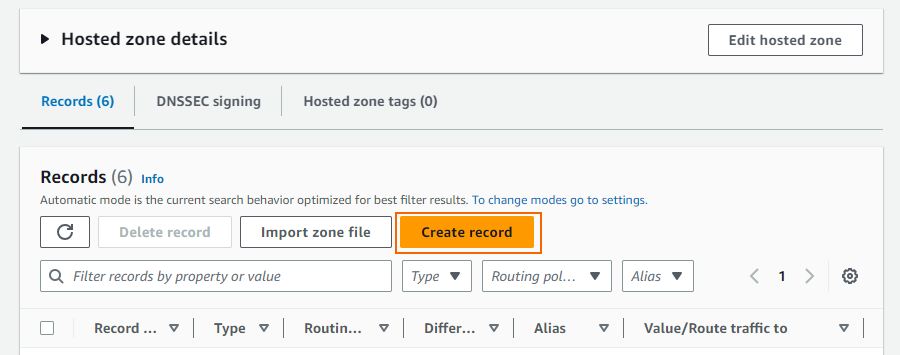
- Click Create record.
- Create the record set:
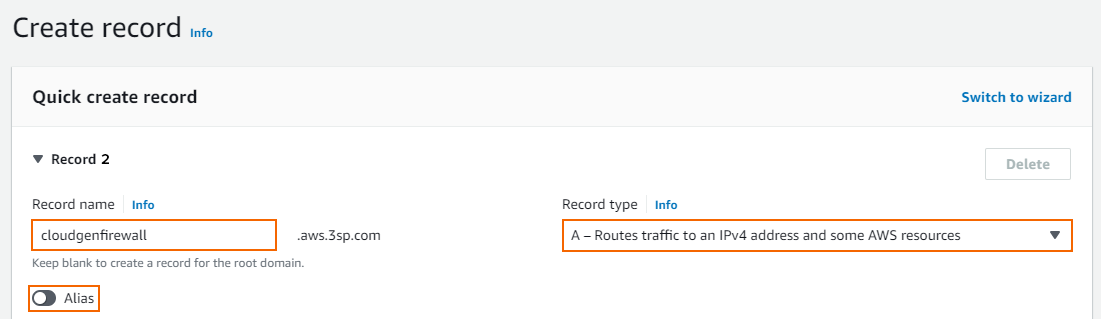
- Record name – Enter the DNS name.
- Record type – Select A (IPv4 address).
- Alias – Set to disabled.

- Value – Enter the EIP or public IP address for the primary firewall.
- TTL (seconds ) – Set the number of seconds the DNS records can be cached by non-authoritative DNS servers.
- Routing policy – Select Failover.
- Failover record type – Select Primary.
- Record ID – Enter a unique ID to differentiate from other failover record sets using the same name and type.
- Health check ID – Select the health check created in Step 1.
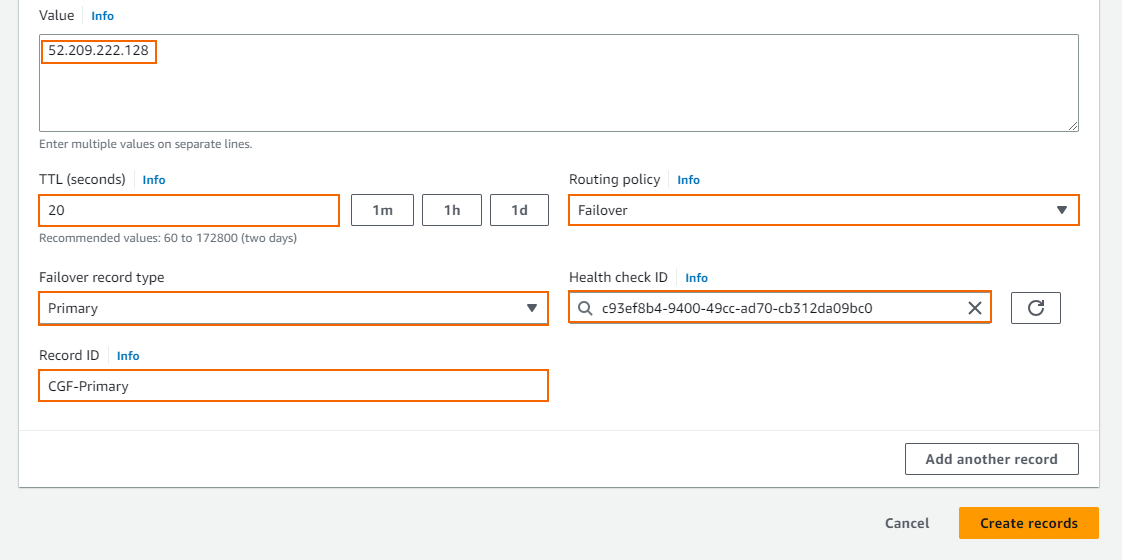
- Click Create records.
The record set for the primary firewall is now listed with the other DNS records of this hosted zone.
Step 3. Create a Failover Record Set for the Secondary Firewall
Create the DNS record for the secondary firewall. Use a failover routing policy.
- Log into the AWS console.
- Click Services and select Route 53.
- In the left menu, click Hosted zones.
- Select your Domain Name and click View details.
- Click Create record.
- Create the record set:
- Record name – Enter the DNS name you used for the primary firewall.
- Record type – Select A (IPv4 address).
- Alias – Set to disabled.
- Value – Enter the EIP or public IP address for the secondary firewall.
- TTL (seconds ) – Set the number of seconds the DNS records can be cached by non-authoritative DNS servers.
- Routing policy – Select Failover.
- Failover record type – Select Secondary.
- Record ID – Enter a unique ID to differentiate from other failover record sets using the same name and type.
- Health Check ID – Leave empty.
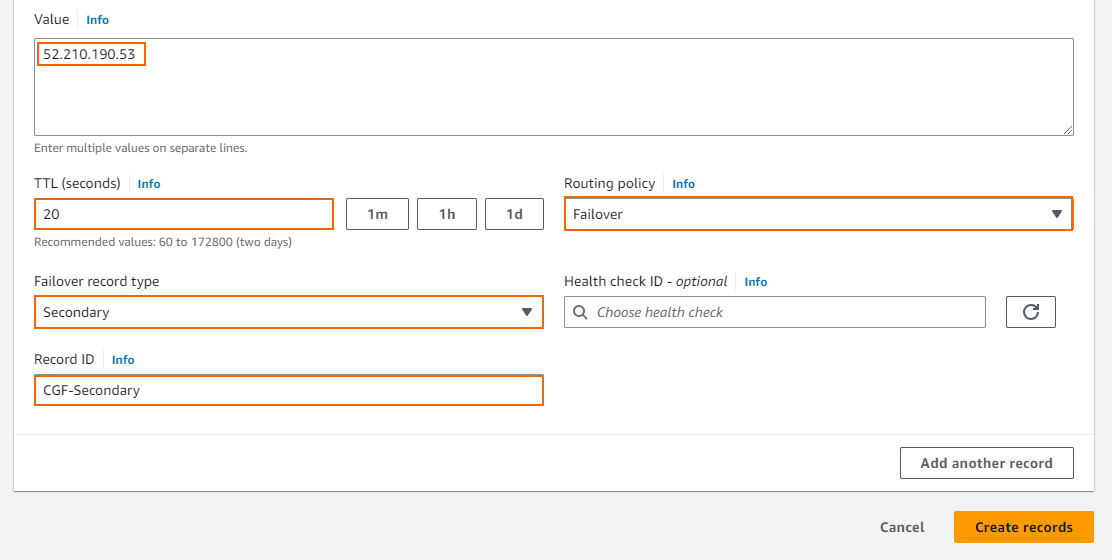
- Click Create records.
Both record sets for the primary and secondary firewalls are now listed in the hosted zone.
