

Barracuda Networks provides a set of predefined templates that allows administrative users to quickly deploy the CloudGen Firewall in a virtual network, combined with Azure services. In order to ensure high flexibility and scalability in an existing network environment with traffic shaping and routing requirements, and to achieve uninterrupted communication between internal and external clients and resources, this setup also introduces the Azure Load Balancer. The Azure Load Balancer, as a resource, is configured with rules that ensure optimal traffic distribution based on demand. To deploy Barracuda CloudGen Firewall templates, you must have a configured resource group, a storage account, and a virtual network. This article explains how to prepare for template installation in Microsoft Azure.
Before You Begin
- Check the service requirements listed in CloudGen Firewall Active-Active Performance in Microsoft Azure.
- Check your network requirements and select the deployment method that fits your infrastructure.
Step 1. Create a Resource Group
Create a resource group for your subscription in the Microsoft Azure cloud.
- Log into the Microsoft Azure Portal.
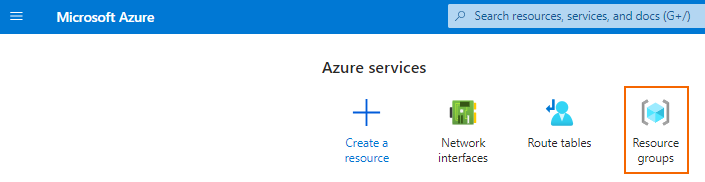
- Select Resource groups in the top panel.
- In the Resource groups page, click + Create.
- Specify values for the following:
- Subscription – Select the subscription in which you want to create the resource group.
- Resource group – Enter a name for the resource group.
- Region – Select the location your resource group resides in.
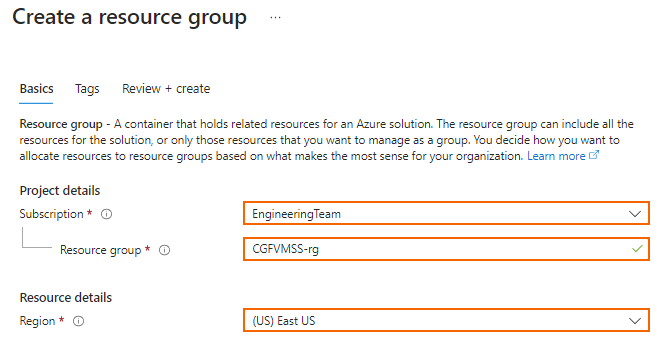
- Click Review + create.
- Review your settings and click Create.
Step 2. Create a Storage Account
Perform the following steps to create a storage account in the Microsoft Azure Portal:
- Select Storage Accounts in the top panel.
- Click + Create.
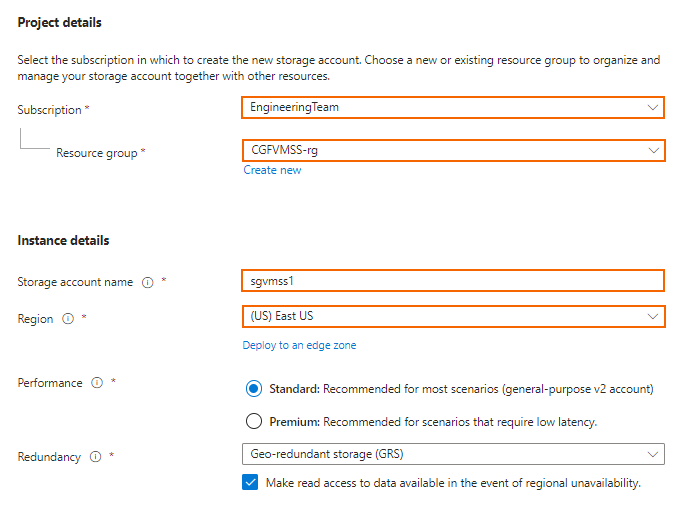
- In the Create a storage account page, specify the following values:
- Subscription – Select the subscription in which you want to create the storage account. Ensure that the subscription for the storage account and the resource group is same.
- Resource group – Select the resource group created previously.
- Storage account name – Enter a name for the storage account.
- Region – Select the location for the storage account. Ensure that the location for the storage account and the resource group is same.
- Performance – Select the performance tier as required.
- Walk through the configuration wizard by clicking Next and configure the type of storage account you wish to create.
- Review your settings and click Create.
Step 3. Create VNET and Subnet
Create one or more virtual networks in the resource group. To segment your VNET, configure subnets, where you can later deploy resources.
In the Microsoft Azure Portal,
- Select Virtual Networks in the top panel.
- Click + Create.
- In the Create virtual network page, specify the following values:
- Subscription – Select your subscription. Ensure that the subscription for the VNET and the resource group is same.
- Resource group – Select the resource group created previously.
- Virtual network name – Enter a name for the VNET.
- Region – Select the location. Ensure that the location for the VNET and the resource group is same.
- Walk through the configuration wizard by clicking Next.
- In the IP addresses window, add the address space for your VNET, and define a subnet.
- Click Next.
- Review your settings and click Create.
You can now deploy resources in your virtual network in segments based on categories.
Next Steps
Deploy your CloudGen Firewall instances using one of the templates provided by Barracuda Networks: