Use the following steps to export Teams data:
Log into https://login.barracudanetworks.com/. If you are not automatically forwarded to the Cloud-to-Cloud Backup application, select Cloud-to-Cloud Backup from the left pane.
Navigate to the Restore page from the side navigation menu, and select the Teams data source.
To find a historical email or folder revision from a previous date, click the date in the Backups From calendar. Use the calendar to select the desired day to view data available for restore from that date.

Select the Team from which to export data.
Select the folder from which to export data and locate the item(s) to export.
Alternatively, using the search bar, type in a search term. The results with the search term in the subject line are displayed.Select the item(s) to export, then click the Export button. A notification displays at the bottom of the page.
To view the export status, go to the Reports page.
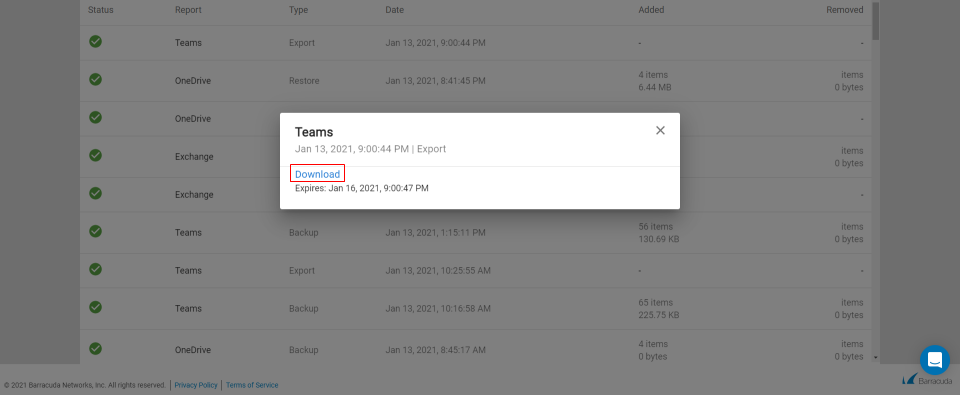
To download the item(s), go to the Reports page and click on the item(s) you exported. Click Download to download the item(s). A single file export less than 10GB will download automatically. If you are exporting multiple files, see below.

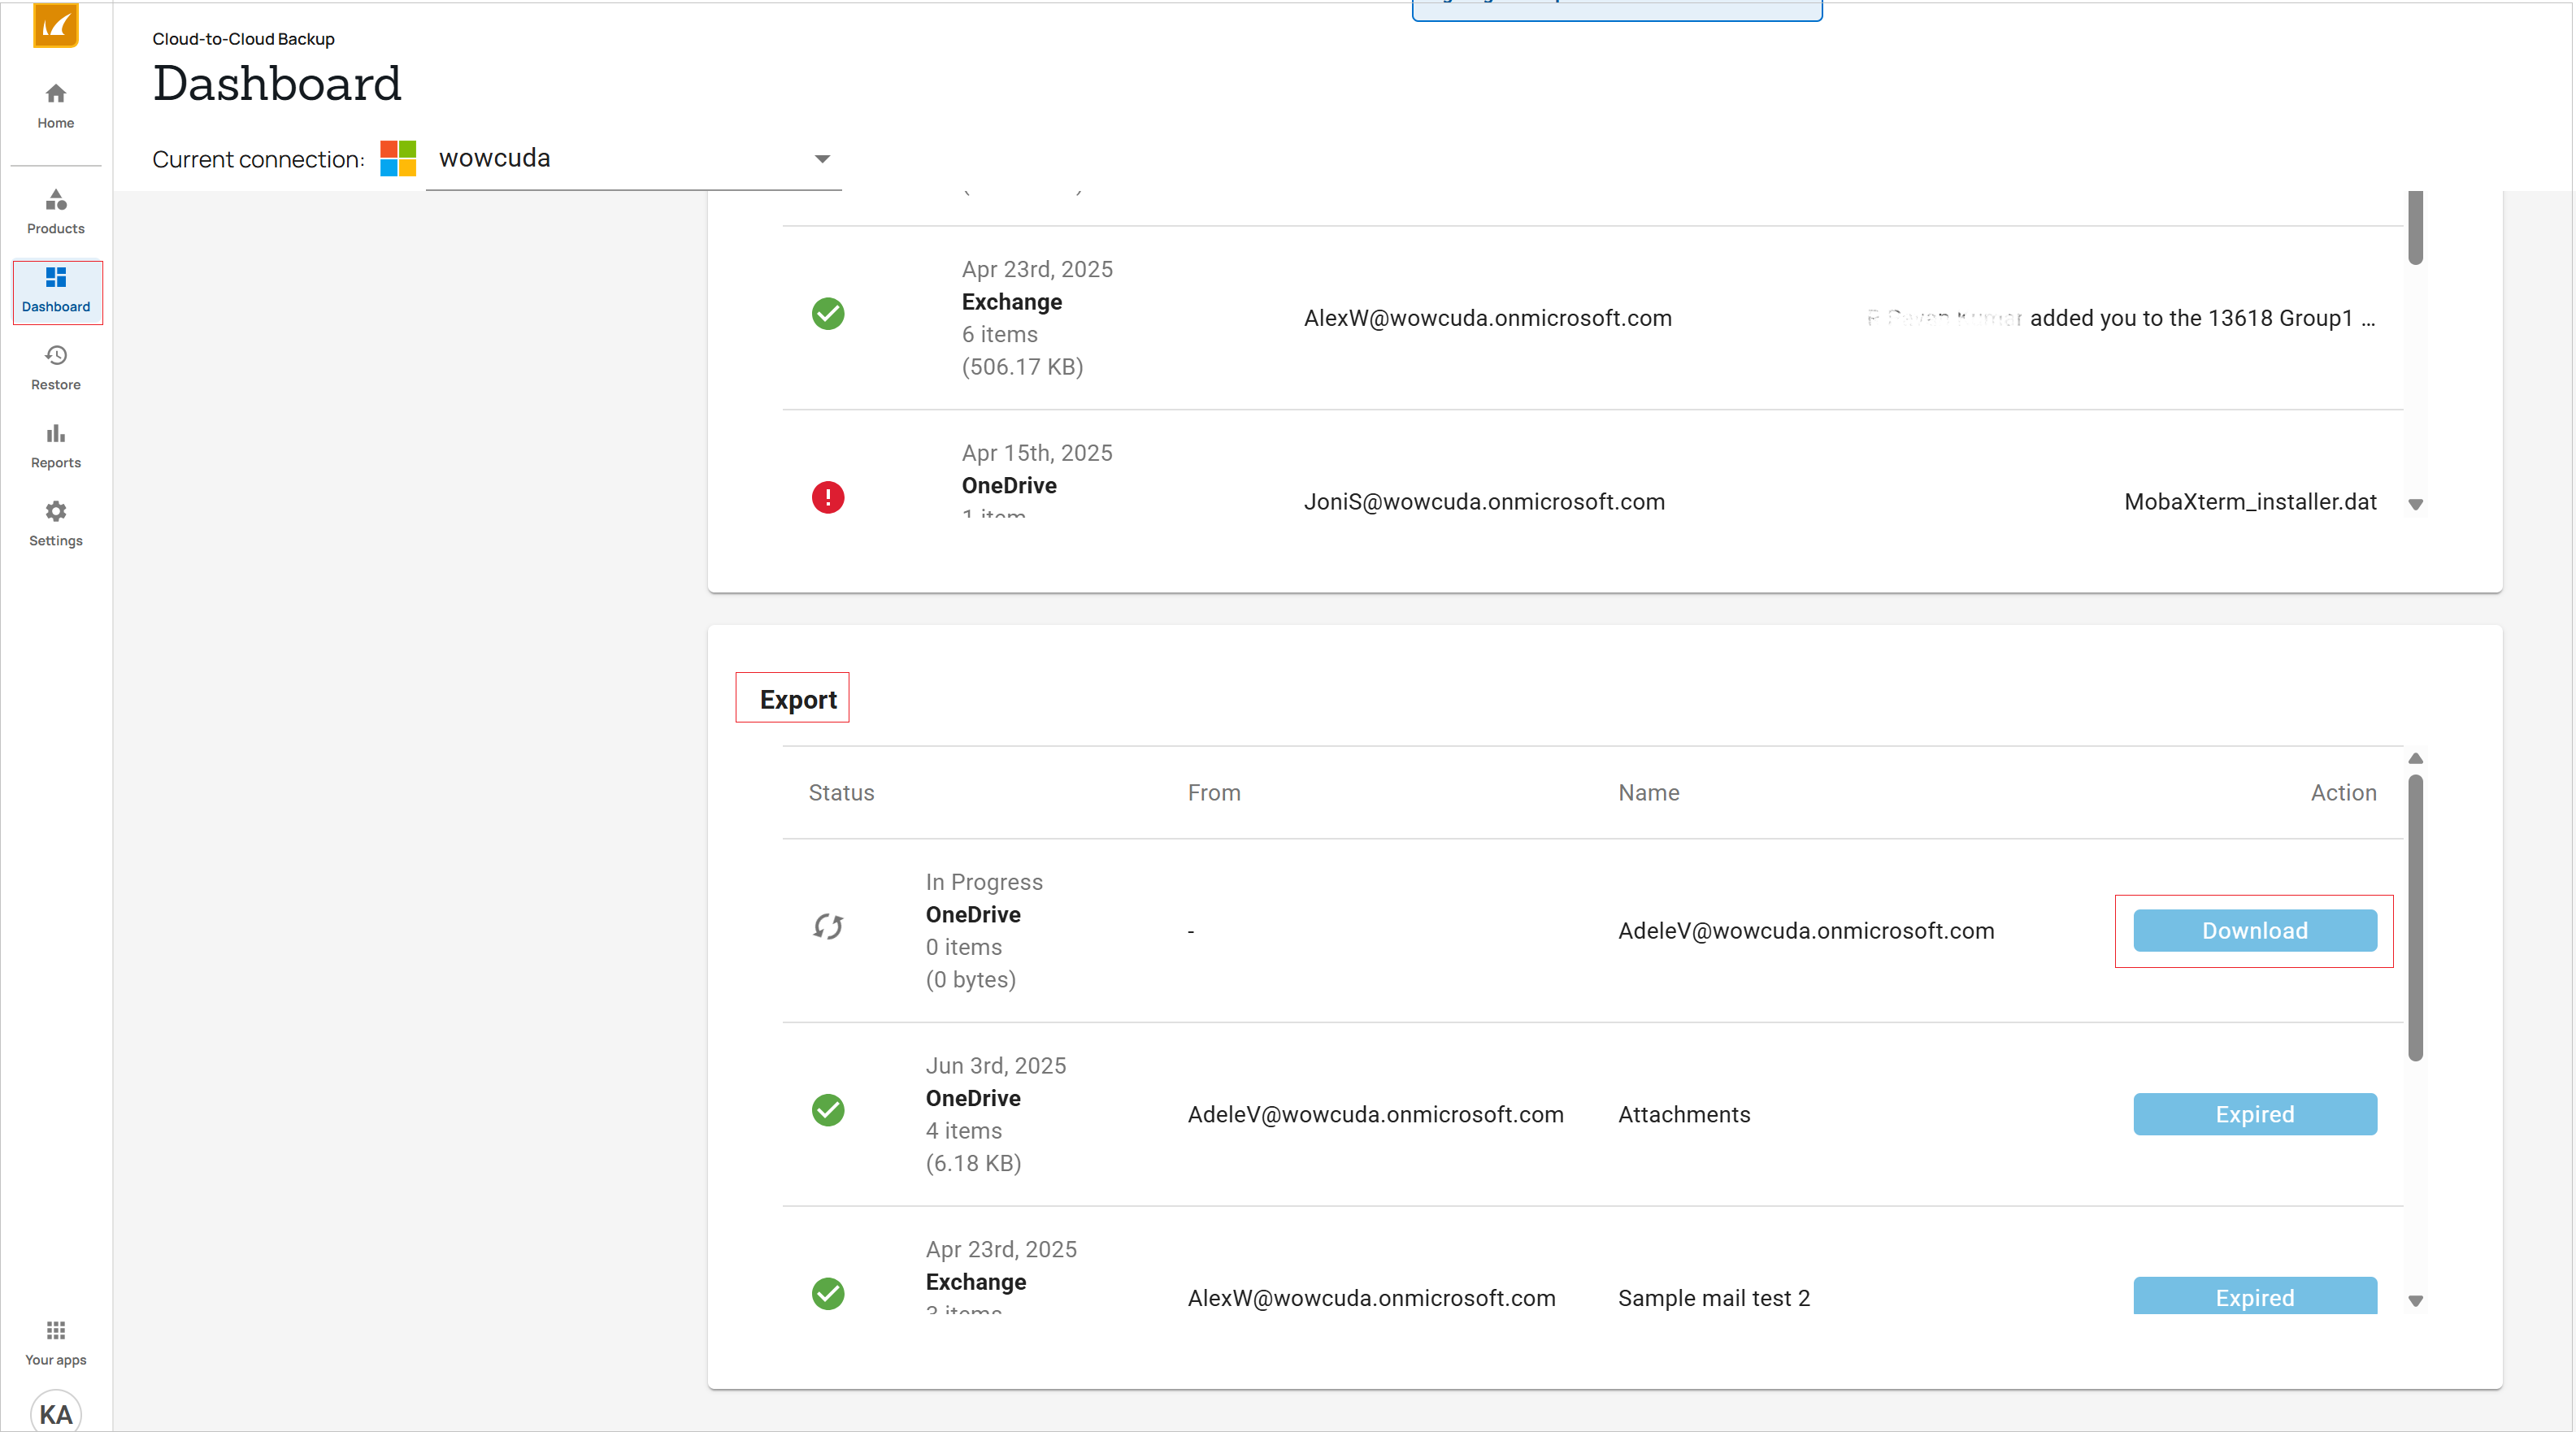
Alternatively, go to the Export section in the Dashboard to download the item(s). Click Download next to the item(s) you want to download. A single file export less than 10GB will download automatically. If you are exporting multiple files, see below.
Exporting Multiple Files
When exporting multiple files, the Download link in the Reports page and Export section of the Dashboard will bring up a new page listing the ZIP file(s) in the export job. Note that you can only download the ZIP file(s) from this page. If the export job exceeds 10GB or 25,000 items, the page includes details of each ZIP file within the nested ZIP file. Use the browser download manager to select one or more download jobs at your convenience.
