

Use the following steps to restore SharePoint data:
- Log into https://login.barracudanetworks.com/. If you are not automatically forwarded to the Cloud-to-Cloud Backup application, select Cloud-to-Cloud Backup from the left pane.
- Navigate to the Restore page from the side navigation menu, and select the SharePoint data source.
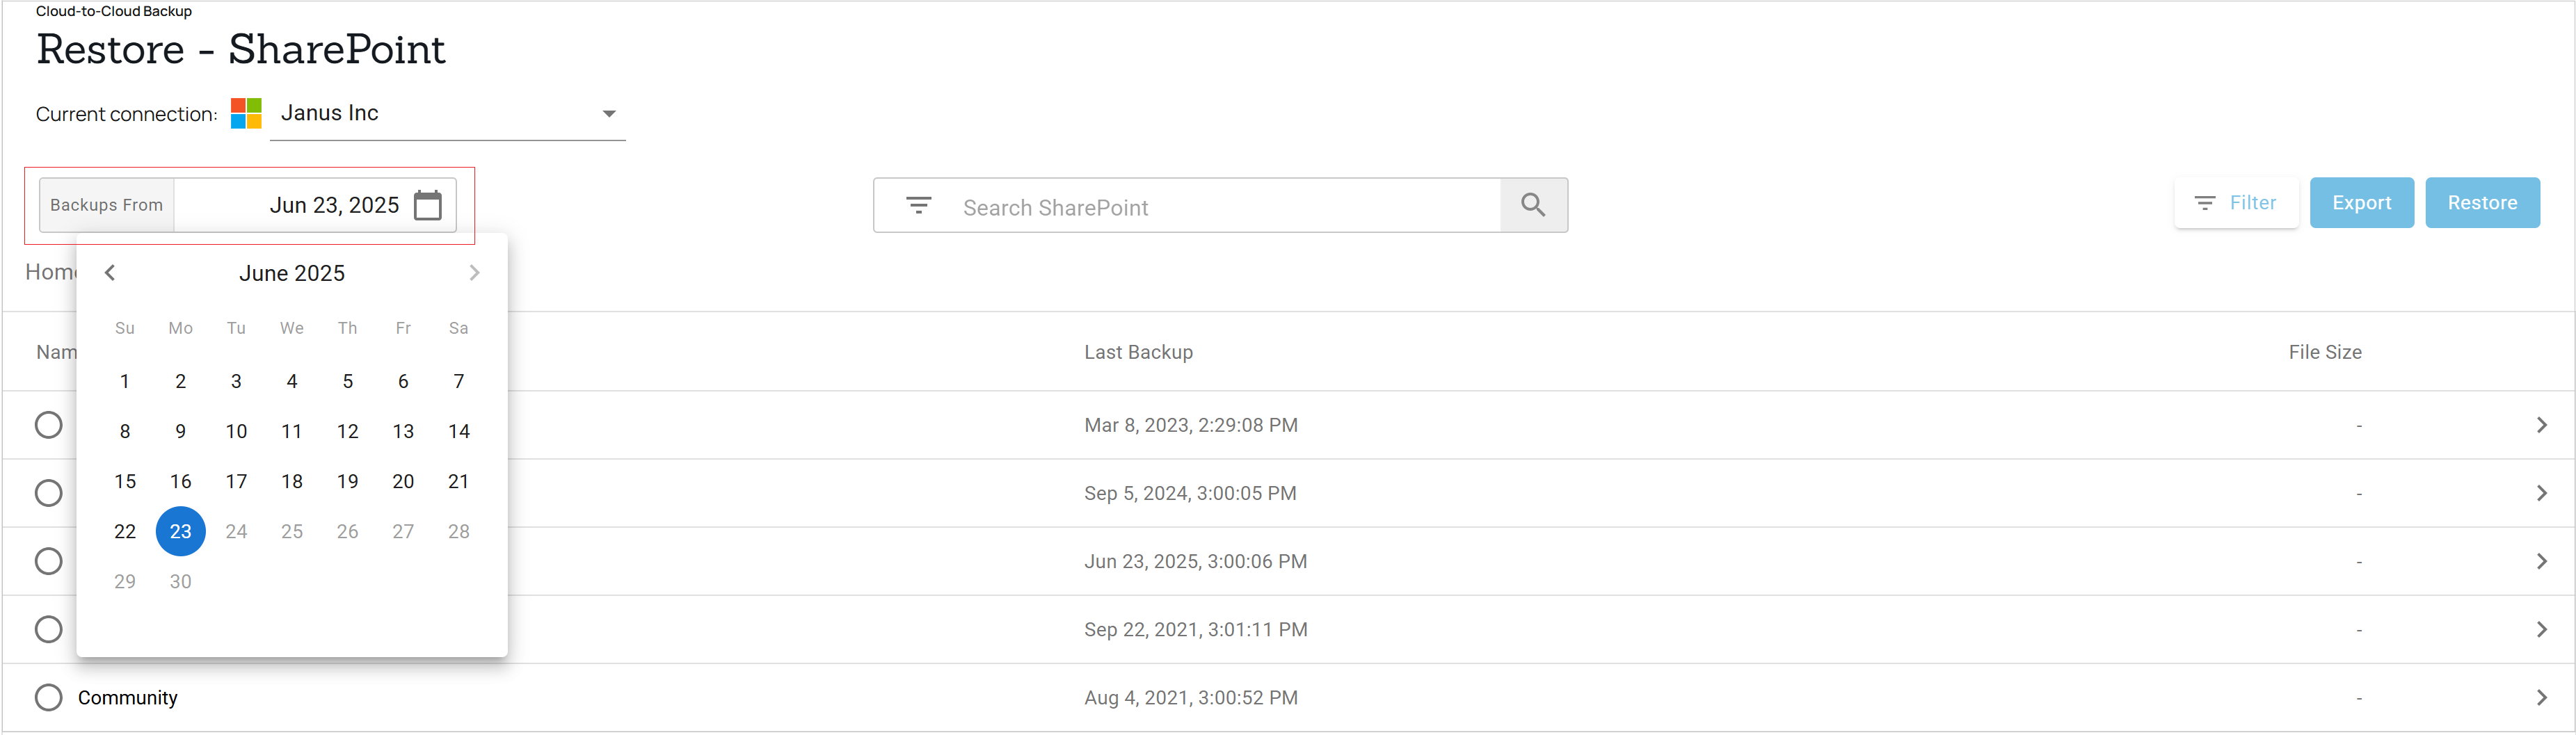
- To find a historical email or folder revision from a previous date, click the date in the Backups From calendar. Use the calendar to select the desired day to view data available for restore from that date.
- Select the site from which to restore data. Note that the site must also exist in Microsoft 365 in order to restore the data.
- Select the folder from which to restore data and locate the item(s) to restore.
Alternatively, using the search bar, type in a search term. The results with the search term in the subject line are displayed. - Select the file(s) and folder(s) to restore, and click the Restore button. You can also restore a full site.
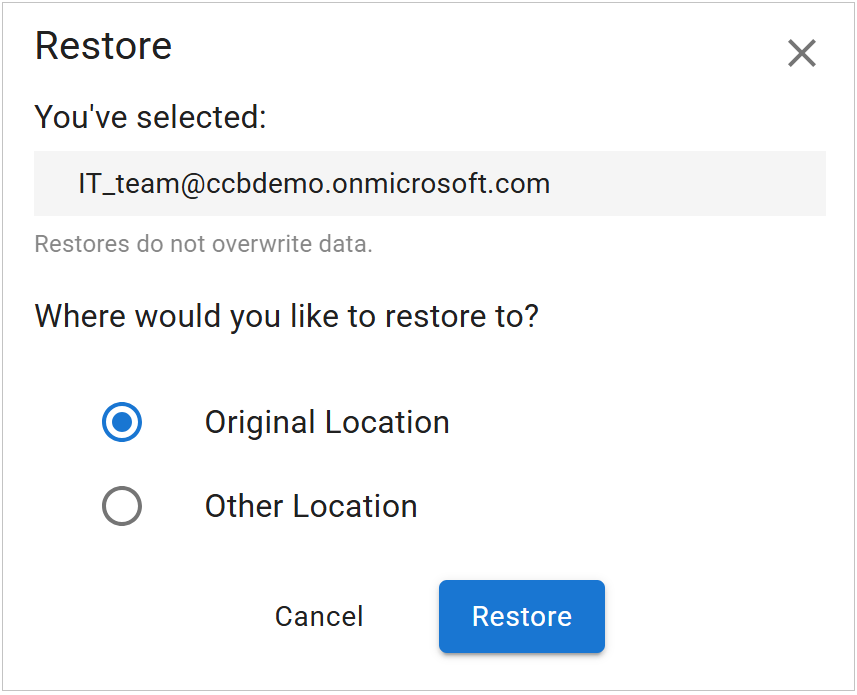
The Restore dialog box displays. Select to restore to the Original Location or Other Location to select a different site. Click Restore.
A notification displays at the bottom of the page.- To view the restore status, go to the Reports page.