

To create a System Preferences template, perform the following steps.
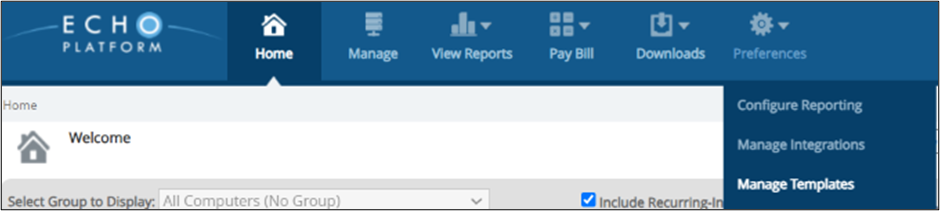
- At the ECHOplatform ribbon, click Preferences, Manage Templates as shown below.
The Manage Templates page is displayed.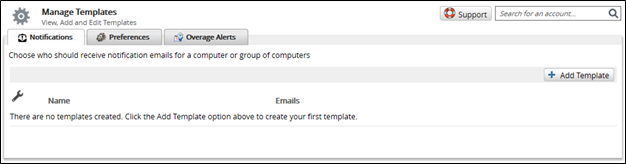
- Click the Preferences tab.
The Preferences page is displayed.
- Click the Add Template button.
The System Preferences template is displayed.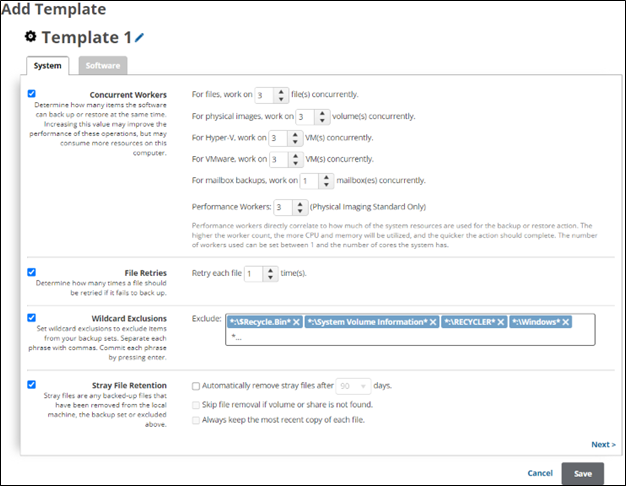
- At the Template name, provide a new unique template name. See Creating a New Template Name.
- At the Concurrent Workers section, click the check box.
The fields are enabled.
Click the up/down arrows to specify how many items are backed up or restored at the same time.
The following table provides the default settings.Item
Concurrent Workers Default Setting
Files
3
Hyper-V
3
VMware
3
Mailbox backups
1
Performance Workers (Physical Imaging Standard Only)
3
- At the File Retries section, click the check box.
The fields are enabled.
- Click the up/down arrows to specify how many times a file should be retried if it fails to back up.
Note : The default setting is 1. - At the Wildcard Exclusions section, click the check box.
The fields are enabled.
- Set wildcard exclusions to exclude items from the backup sets.
Note : Separate each phrase with commas. Commit each phrase by pressing Enter .
An example of committed wildcard exclusions is displayed below.
- At the Stray File Retention section, click the check box.
The fields are enabled.
Definition: Stray files are any backed-up files that have been removed from the local machine or the backup set. - Optionally select the following:
- Automatically remove stray files after x days.
Note: The default is 90 days. - Skip file removal if volume or share is not found.
- Always keep the most recent copy of each file.
Note: The last two options are enabled only when the first item is selected.