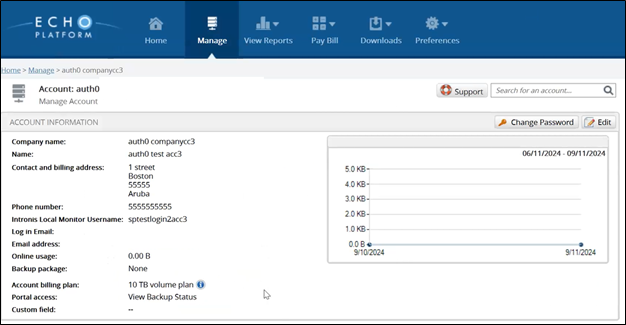
To create accounts for your customers, perform the following steps.
At the ECHOplatform ribbon, click Manage.
The Management Dashboard is displayed.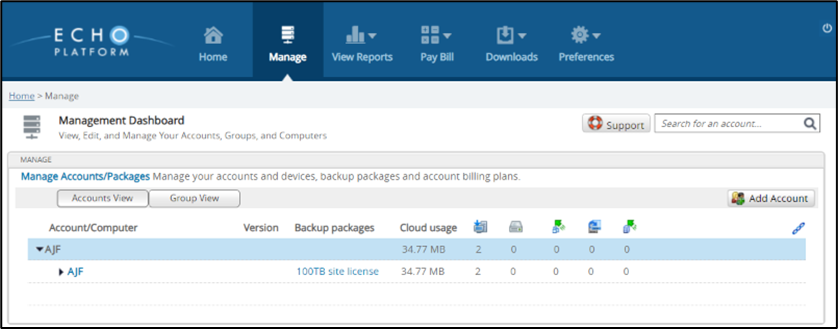
Click account name to highlight it blue, then click Add Account.
The New Account page is displayed.
Fields with a red asterisk are required.
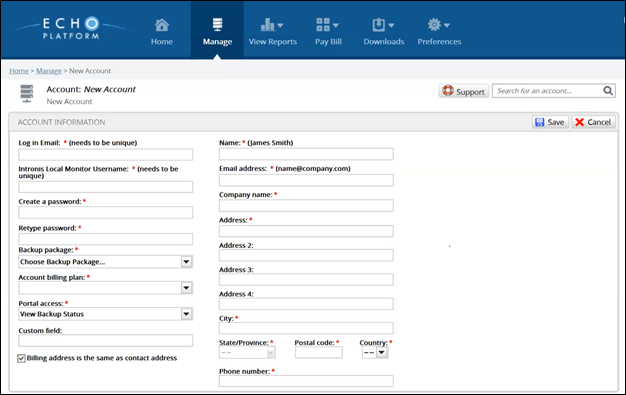
Type your unique login email address.
Type your Intronis Local monitor username.
The username field requires a unique username. This field is restricted to alphanumeric characters plus underscore.
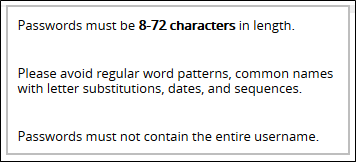
Type and retype Password.
The following password requirements are displayed.
Choose the Backup Package.
Backup packages are how you are billed for this customer account. The number in the parenthesis is the number of packages currently being used.Select an Account Billing Plan.
Selecting a plan on how you want to bill your client.Assign Portal Access.
The type of access you give your client to their own portal.Choose View Backup Status if your customer has only Barracuda Networks products. This option provides a read-only view from their portal.
Choose Create/Edit, Delete and Restore to allow users to create, edit, delete, and restore backups from their portal.
Choose Restore Only for restore only, a role similar to View Backup Status that allows basic access to run restores.
Complete the contact information on the right side with your customer's information.
Before you can choose a State/Province, you must first choose a Country.
Note: Asterisks indicate a mandatory field. Every new Account must have a package assigned.If you run over your pre-purchased amount, you are prompted to accept the new package, as shown below.
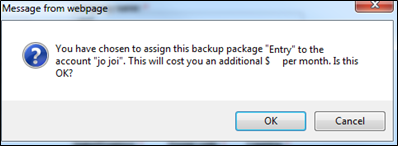
Click OK.
After you complete the form, click Save.
The new Account page is displayed.