Groups can be used to organize all of your different clients’ computers into groupings to which you can apply templates globally rather than one computer at a time.
Typical group types or names may include the following:
- Laptops
- Desktops
- Servers
- Exchange Servers
- SQL Servers
The default group includes all clients and their computers until you create new groups.
After a group is created, existing computers can be clicked and dragged into a desired group.
Groups can have templates applied within the Manage tab.
New computers can be added to groups upon creation.
Creating a Group
To create a group, perform the following steps.
- At the Management Dashboard, click the Group View tab, and then click Add Group.
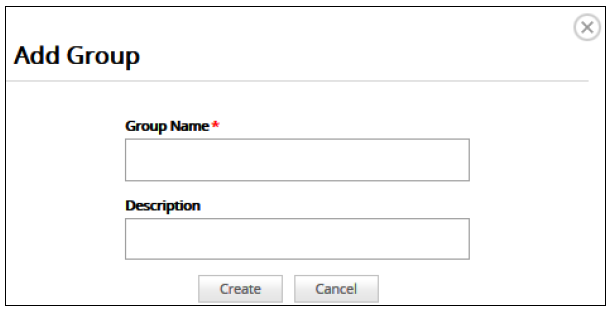
The Add Group dialog appears.
- Type the name of the group, add a description, and then click Create.
The new group is displayed.
Editing a Group
To edit a group, perform the following steps.
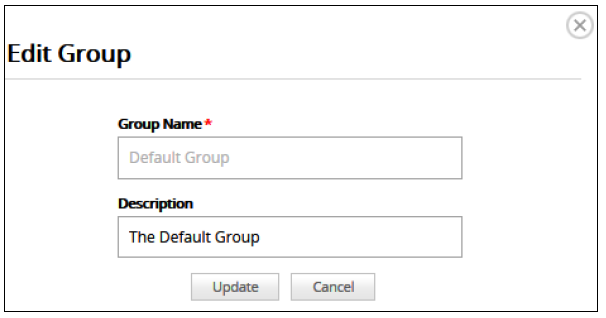
- At the Management Dashboard, click the group name, and then click Add Group.

The Add Group pop-up is displayed. - Change the name and or description, and then click Update.
