

The following topics are included in this article:
The Computers Page
Installing the Intronis Backup Agent
Uninstalling the Intronis Backup Agent
Assigning Monitors
Displaying Backup Sets
Running On Demand Backup
The Computers Page
The Computers page displays all computers contained in all the Automate clients. The Computers page allows you to do the following:
Configure each computer's Intronis Monitor
Start existing backup sets on demand
Create Files and Folders and Physical Imaging Standard backup sets
Install or uninstall the Intronis backup agent
The Computers page is displayed below.

The following table provide a description of the column listings.
Column Name | Description |
Client | Name of the client. |
Location | Location of the client. |
Computer | The computer name with a link to the Barracuda MSP site. |
Online Status | Displays Online or Offline. |
Intronis ID | Displays Intronis ID. |
Cloud Storage | Provides cloud storage size. |
Last Backup Ran | Provides date of last backup. |
Version | Version of the installed agent. |
Backup Status Failure Monitor | Indicates Backup Status Failure Monitor enabled status. |
Backup Status Warning Monitor | Indicates Backup Status Warning Monitor enabled status. |
No Recent Backup Monitor | Indicates No Recent Backup monitor enabled status. |
No Recent Backup Monitor Triggered | Indicates No Recent Backups triggered. |
Backup Duration Monitor | Indicates Backup Duration monitor enabled status. |
Backup Duration Monitor Triggered | Indicates Backup Duration Monitor triggered. |
Selecting Ribbon Options for Display
The Computer page ribbon options are displayed below. The ribbon options displayed can be customized.

Customizing the Ribbon Options Displayed
To customize the ribbon options displayed, perform the following steps.
Right-click anywhere on the Computers page white space.
The ribbon option menu is displayed.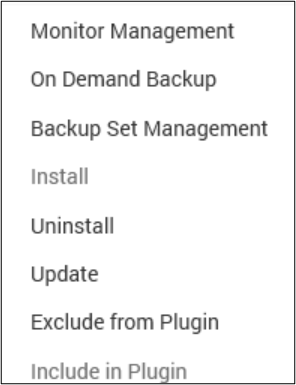
Select the options you want displayed on the Computers page ribbon.
The Computers options you selected are displayed.
Selecting Computers Displayed from the Show All Options Menu
To select Computers that are displayed from the Show All menu, perform the following steps.
Click the Show All drop-down arrow.
The Show All option menu is displayed.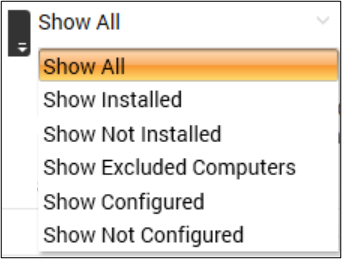
Select the option you want to display on the Computers page.
The Computers options you selected are displayed.
Selecting Columns for Display
To select columns that are displayed perform the following steps.
Right-click any of the column names.
The column options menu is displayed.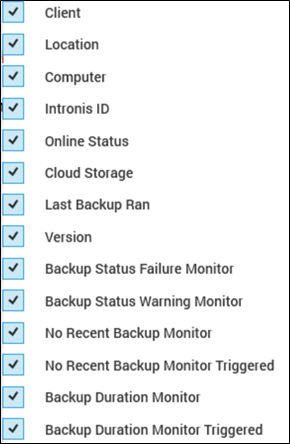
Select the columns you want displayed on the Computers page.
The columns you selected are displayed.
Installing the Intronis Backup Agent
To install the Intronis Backup Agent, perform the following steps.
At the Intronis Backup Computers page, ensure the Client Credentials are set. See Setting Client Credentials.
Select the desired computers and then click the Install button, as shown below.

The following status message is displayed.
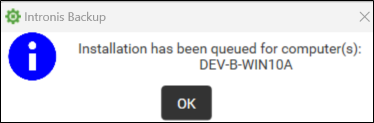
Click OK.
The installation creates and links to a new Intronis computer ID.
Notes:If reinstalling, you may do so manually.
Reinstalling an existing agent/ID is not possible.
Multiple computers can be selected to install multiple agents at once.
Uninstalling the Intronis Backup Agent
To uninstall the Intronis Backup Agent, perform the following steps.
At the Intronis Backup Computers page, select the desired computer(s), and then click the Uninstall button, as shown below.

The following status message is displayed.
Click OK.
Assigning Monitors
To enable, disable, and set the Duration Exceeded Monitors, perform the following steps.
At the Intronis Backup Computers page, select the desired computer to manage Monitors, and then click Monitors, as shown below.
Note: You can assign monitors to multiple computers.
The Assign Monitors page is displayed.
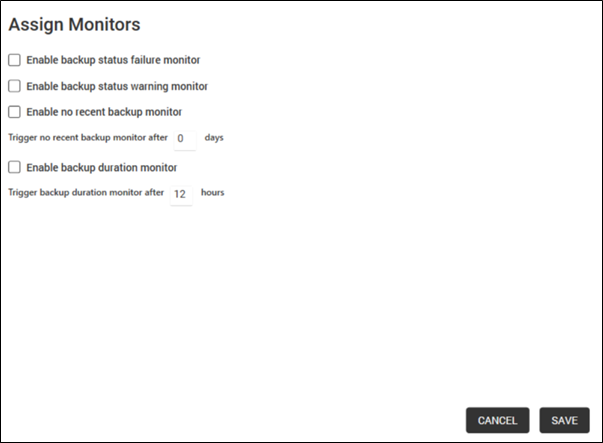
Optionally select the enable check box for:
- Backup status failure monitor
- Backup status warning monitorIf your select Enable no recent backup monitor, set the desired threshold to trigger the Duration Exceeded option in days.
If your select Enable recent backup monitor, set the desired threshold to trigger the Duration Exceeded option and then click Save.
Note: The default threshold is 12 hours.
Displaying Backup Sets
To display backup sets on a machine, perform the following steps.
At the Intronis Backup Computers page, select Backup Sets.
The Backup Sets pop-up is displayed with a list of all backup sets for that machine.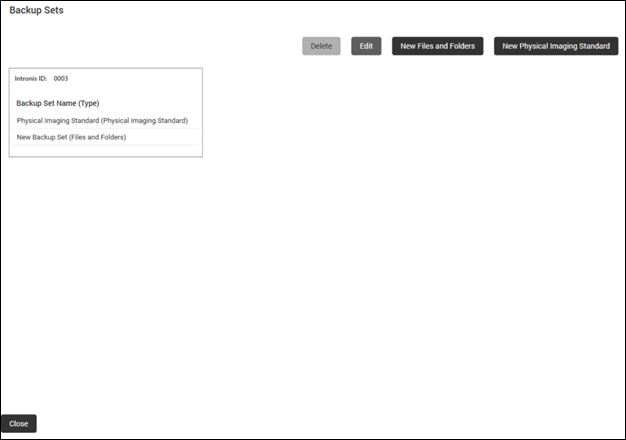
Running On-Demand Backup
The On Demand Backup feature allows you to view and run backup sets that already exist on the remote computer.
To run On-Demand Backup, perform the following steps.
At the Intronis Backup Computers page, select On Demand Backup.
The On-Demand Backup page is displayed.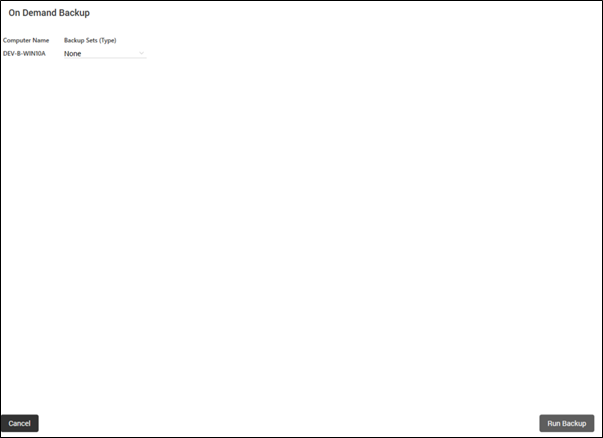
Click None.
The drop-down menu is displayed.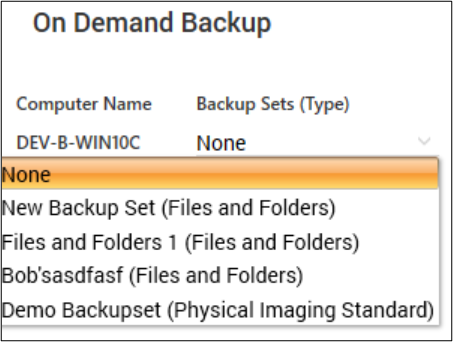
Select the Backup you want to run.
The Backup Set is displayed.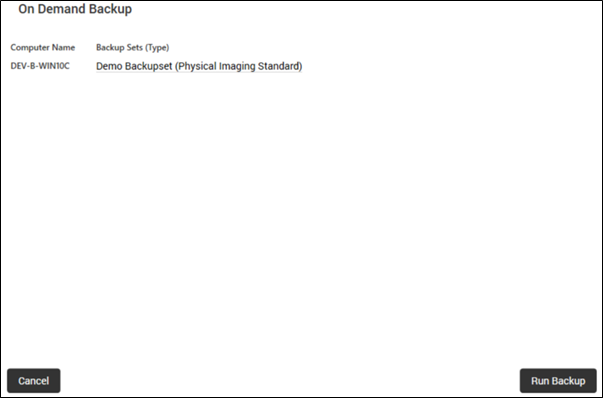
Click the Run Backup button.