To create a Files and Folders Backup Set, perform the following steps.
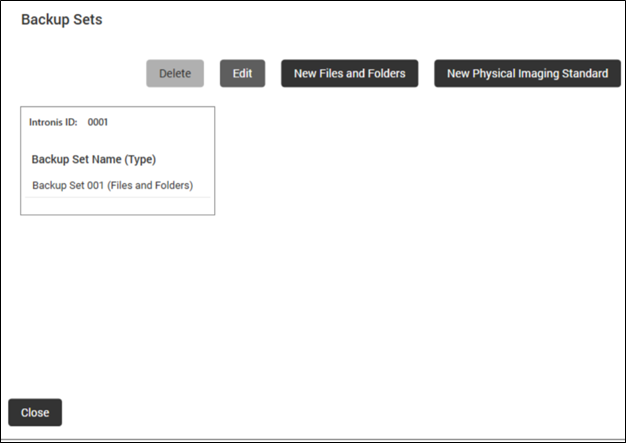
At the Computers page, select Backup Sets.

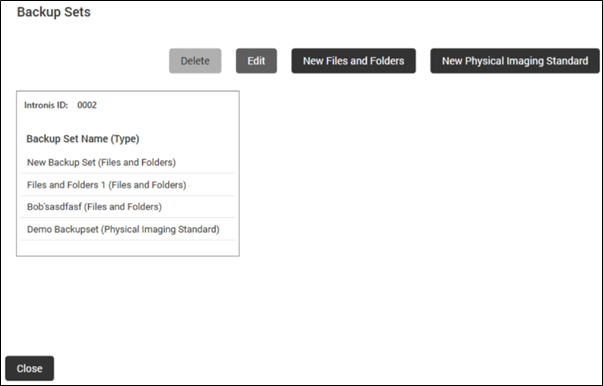
The Backup Set page is displayed.
Click the New Files and Folders button.
The Create Files and Folders Backup page is displayed.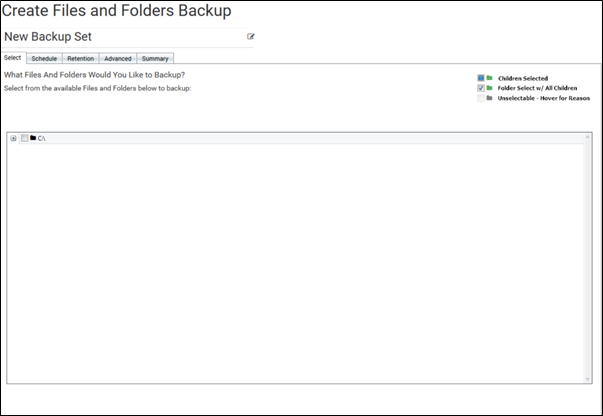
Click New Backup Set to provide a new name for the backup set.
The selection is highlighted.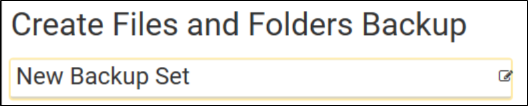
Type the new name of the backup set in the field.
The new backup set name is displayed.
Select the check box at the row of the files and folders to expand files and folders available to the backup as shown below.

Note: The legend on the right side of the page describes the status of the folders, as shown below.
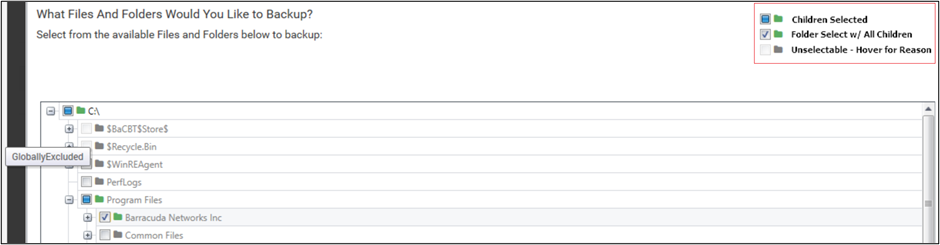
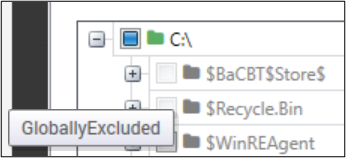
The status of of an unavailabe folder is displayed by hovering over it as displayed below.
Select the files and folders that you would like to include in the backup set and click Next.
The Schedule page is displayed.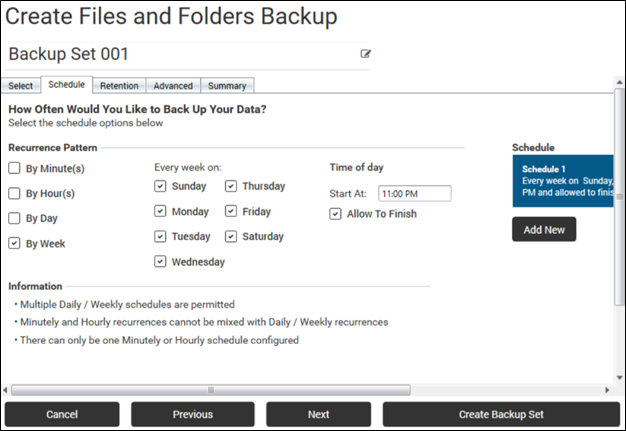
Accept or edit the default schedule. See About Backup Schedules for more information.
To add a new schedule, click Add New in the Schedule section.
The new schedule is displayed.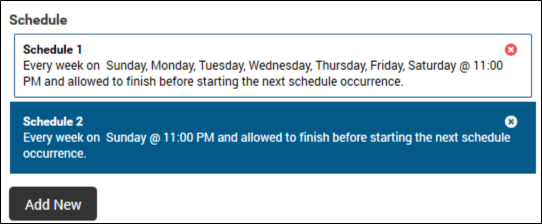
In the Recurrence Pattern section, select the times you want the schedule to run.
The new times are displayed.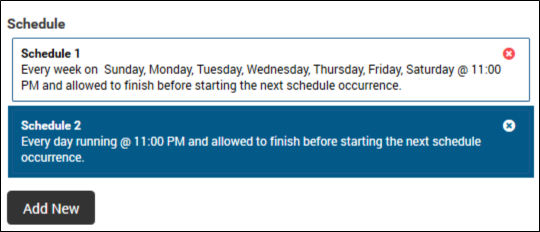
Clearing the Allow to Finish check box allows you to assign an End time to cancel a scheduled backup the following day. You must select a time before the next scheduled Start time.
The schedule is displayed in the Schedule column. Clicking the delete icon removes the schedule.
After setting the schedule, click Next.
The Retention page is displayed.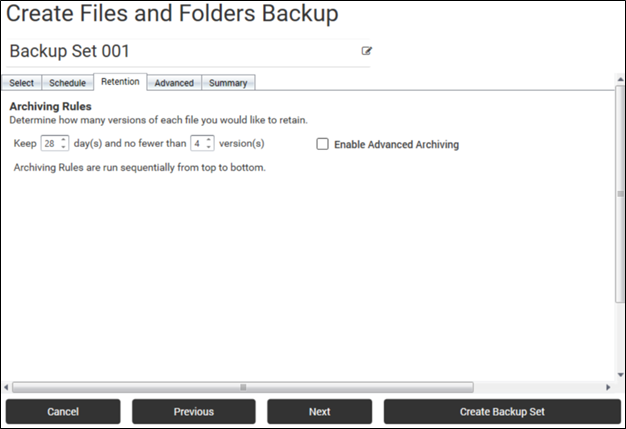
Optionally, select the number of days and versions you wish to archive or accept the default settings.
Note: The default setting is at least 4 versions are kept for 28 days.Optionally, select the Enable Advanced Archiving check box. For Advanced Archiving information, see About Advanced Archiving Rules.
The Advanced Archiving fields are displayed.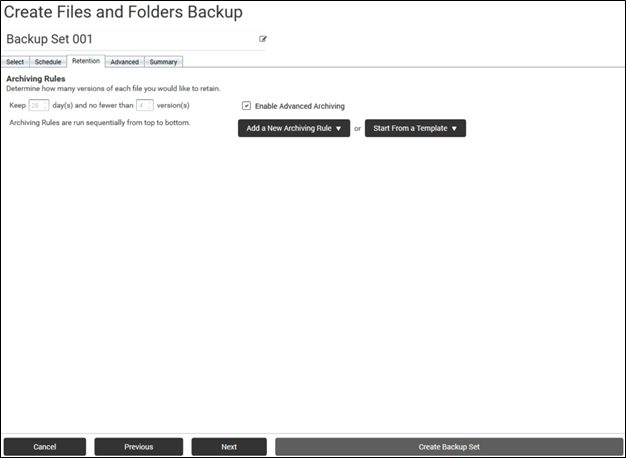
Make your selections and then click Next.
The Advanced page is displayed.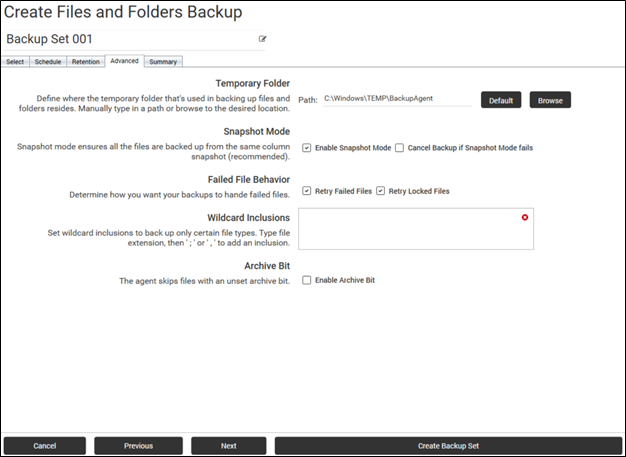
Use the following table to help make optional selections.
Temporary Folder | Optionally, specify where the temporary folder that is used in backing up files and folders resides. Requirement: You must specify a temporary folder located on a disk with enough space. At the Temporary Folder field, accept the default, type a new path, or click the Browse button to locate the temporary folder that is used in backing up. See Browsing to a Folder. |
Snapshot Mode | Snapshot mode ensures all files are backed up from the same volume snapshot (recommended). |
Failed File Behavior | Specify how you want backups to manage failed files by retrying failed files and/or retrying locked files. |
Wildcard Inclusions | Set wildcard inclusions to back up only certain file types.  |
Archive Bit | When disabled, the agent skips files with an unset archive bit. |
After making your selections, click Next.
The Summary page is displayed.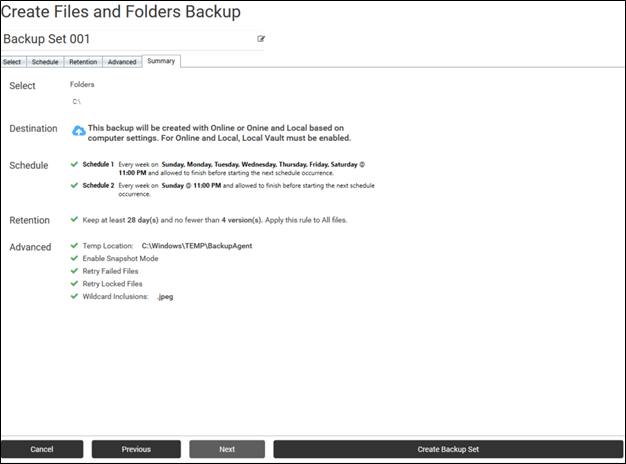
Verify your selections, and then click Create Backup Set.
The new backup set is displayed on the Backup Sets page.