

The Backup Monitor can be used to perform the following:
- Routine Tasks
- Re-installation Tasks
Routine Tasks
The Backup Monitor can be used to perform the following routine tasks:
- Run a Hyper-V, VMware, and Image backup
- Delete a Hyper-V, VMware, and Image backup
- View logs related to image and VMware actions
- View image and VMware backups in the Account Summary and Backup Sets screens
You can create these backups using the management portal at https://manage.barracudamsp.com.
Re-installation Tasks
The Backup Monitor can be used to perform the following re-installation tasks:
- Recover Previous Installation
- Move Account to this Computer
- Recovery Mode Installation
Recover Previous Installation
Select Recover Previous Installation if you are re-installing the software on the computer on which the software was originally installed.
Move Account to this Computer
Select Move Account to this Computer if you are installing the software for this subaccount on a new or replacement computer.
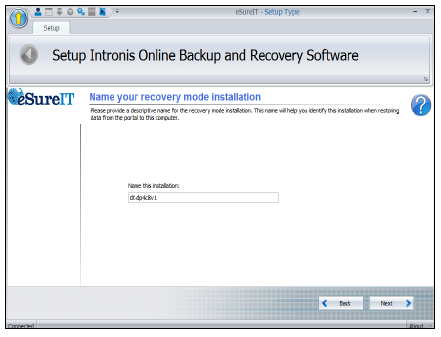
Recovery Mode Installation
Select Recovery Mode Installation if you are installing to perform a restore and if the original software for this subaccount is still installed and active on the original computer.
Re-installation Procedure
To perform any of the re-installation tasks, perform the following steps.
- Click the Backup Monitor shortcut displayed on your desktop.

The Setup screen is displayed.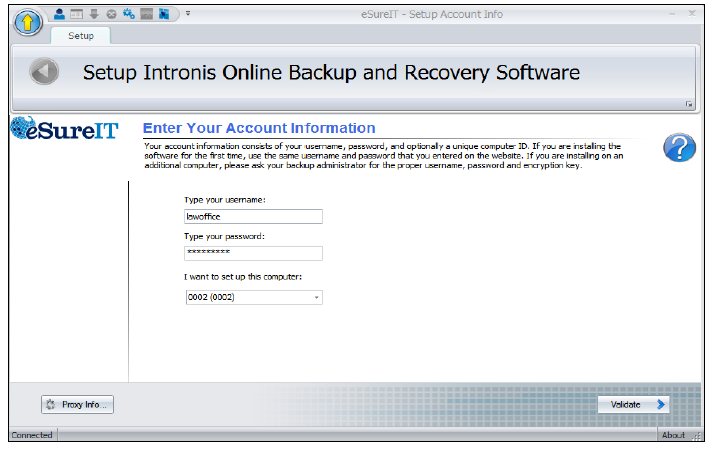
- Type username, password, and computer, and then click Validate.
The Test screen is displayed.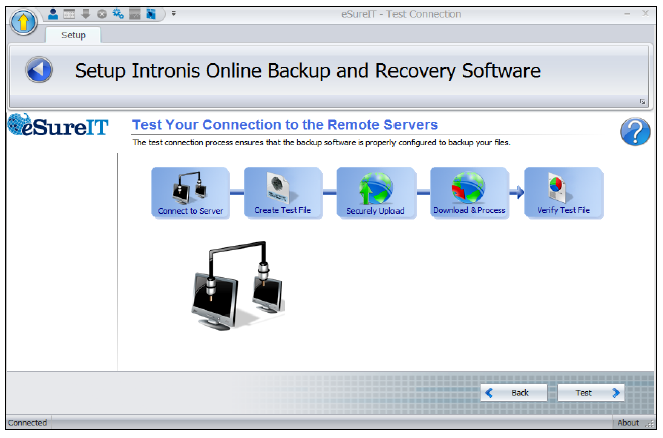
- Click the Test button.
The tests are performed, and the Next button is displayed.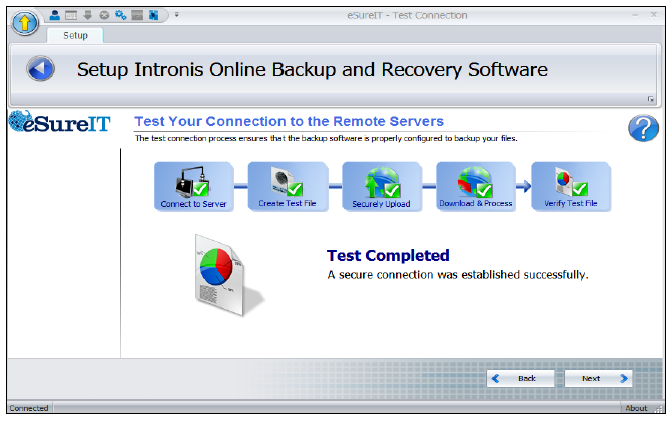
- Click Next.
The Setup Type screen is displayed.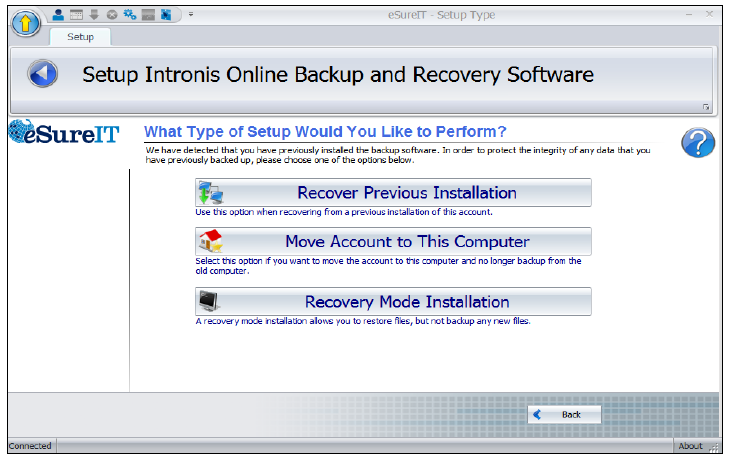
Use the following table to continue.
| If you select… | Then… |
|---|---|
| Recover Previous Installation | Click Next to continue to next step. |
| Move Account to this Computer |
|
| Recovery Mode Installation |
|
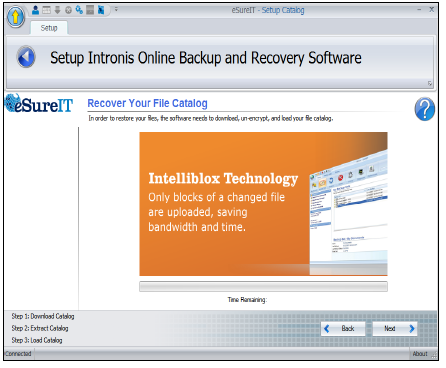
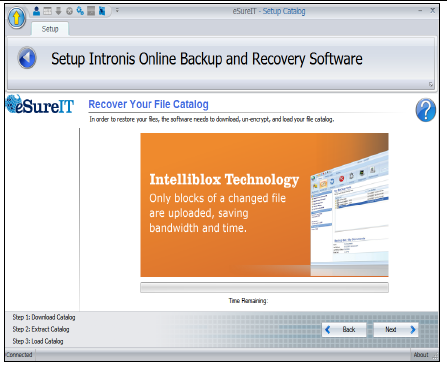
The Default Settings screen is displayed.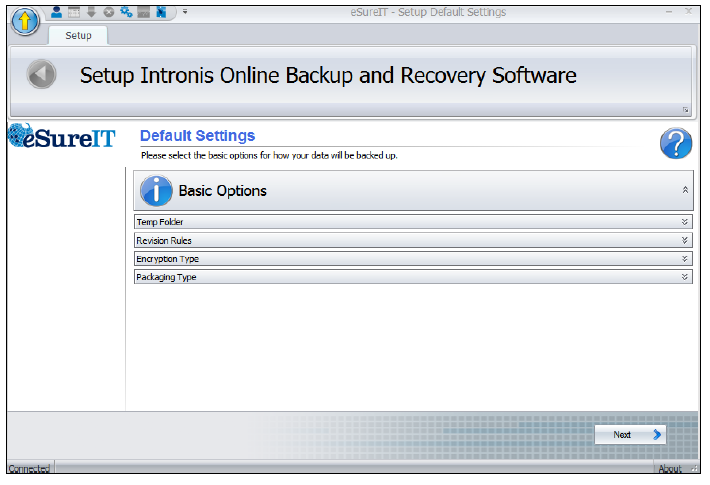
6. Click each option bar to display default settings, and if desired make your changes.
The options are displayed below.
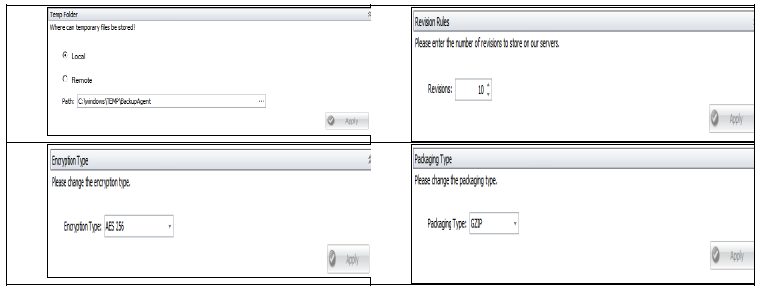
7. When complete, click Next.
The Backup Monitor is displayed.
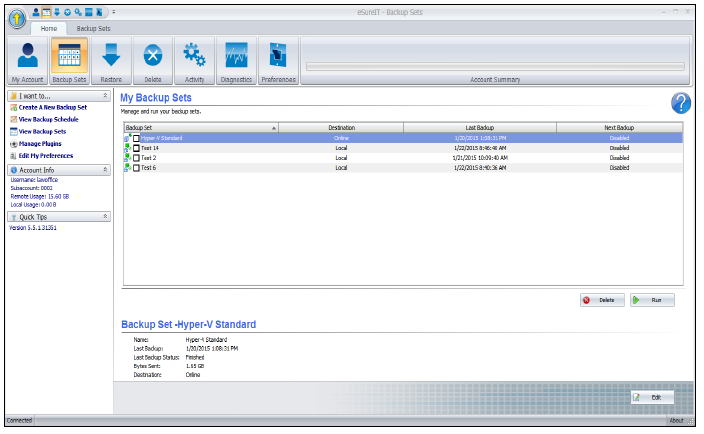
8. If moving an account or in installing recovery mode, run the restore.
- Select the files, folders, or backup sets you wish to restore from.
- To restore the latest versions of the files, select them, and then select the Restore button.
- To restore different revisions that have been stored, select the (+) next to each individual file, select the desired revision, and then select the Restore button.
9. Proceed to restore data through the Restore wizard in the portal, making sure to choose the correct installation when prompted.