

When restoring files and folders, you may need to use a custom view in order to isolate just the files and folder you want. Whether it is restoring from a snapshot older than a week or restoring only stray files, custom views give you flexibility in choosing what to restore.
Directions
Custom views allow you to apply a variety of filters to the same view, giving you the most flexibility when whittling down your selections. The following will show you how to use custom views as well as explain what some of the options you'll see.
- Open up the Backup Monitor and go to the Restore tab.
- In the Miscellaneous section under Files and Folders, click on the New Custom View option.

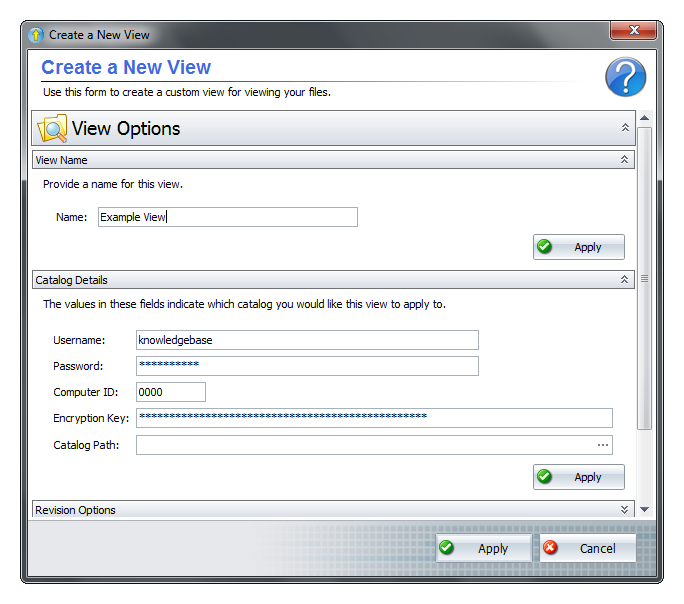
- In the Create a New View window that pops up, edit the options you want and click Apply to create the new view. You don't need to specify something for every section, just those you want to change. Explanations of those options are as follows:
- View Name - This is the name for the view you are creating.
- Catalog Details - This option will determine which catalog you use to restore from. This option should not be used for normal restores; it is only suitable if you are restoring from a restore drive.
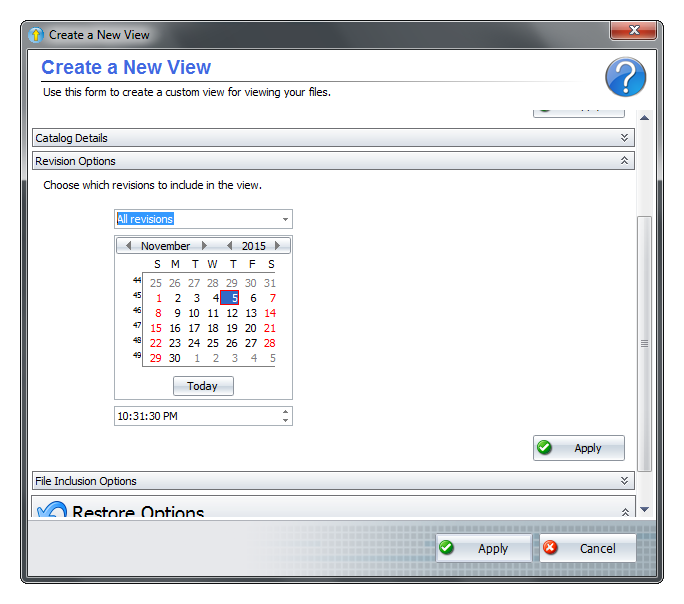
- Revision Options - At this section, you can create a snapshot similar to those from the Daily Snapshots section. Pick a date and time you want to be the cut-off point. Then, from the drop-down above the calendar, pick whether you want to be given Revisions older than that cut-off date or Revisions newer than that cut-off date. If you keep the drop-down option at All revisions, the view will not filter out versions by date.
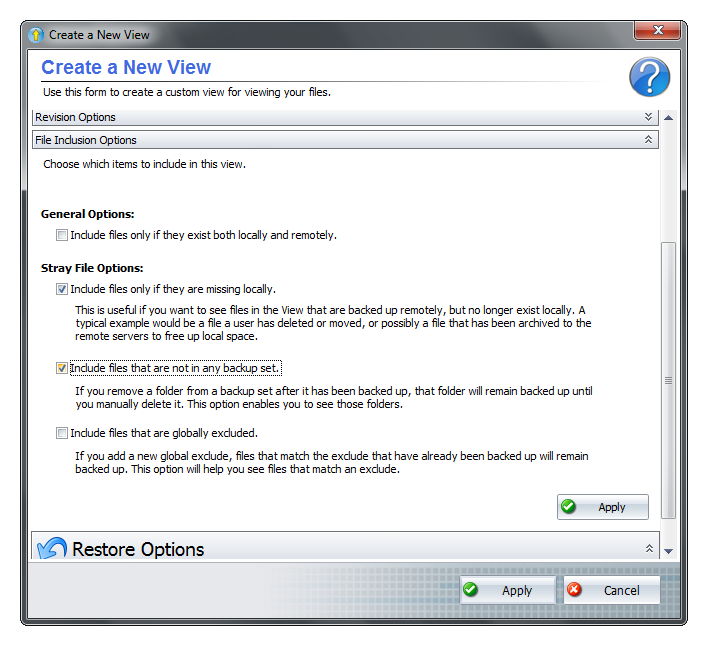
- File Inclusion Options - Here is where you will choose if you want to filter out stray files. If you select the option for Include files only if they exist both locally and remotely, this will only restore files that are not stray. Choosing one or more of the options under Stray File Options will only restore stray files. While each option describes the type of stray files they include, best results are usually seen by choosing Include files only if they are missing locally and Include files that are not in any backup set.
- Alternate Restore Source Folder - This option will allow you to point the software to a specific location housing the backup data. This option, much like the Catalog Details isn't useful for most restores except those from a restore drive.
- Expand the custom view you just created to navigate to the files and folders you want to restore. Select those items from the right-hand panel and hit Restore at the bottom.
- In the Restore Options window that appears, choose where to restore the files and what file details will be restored.
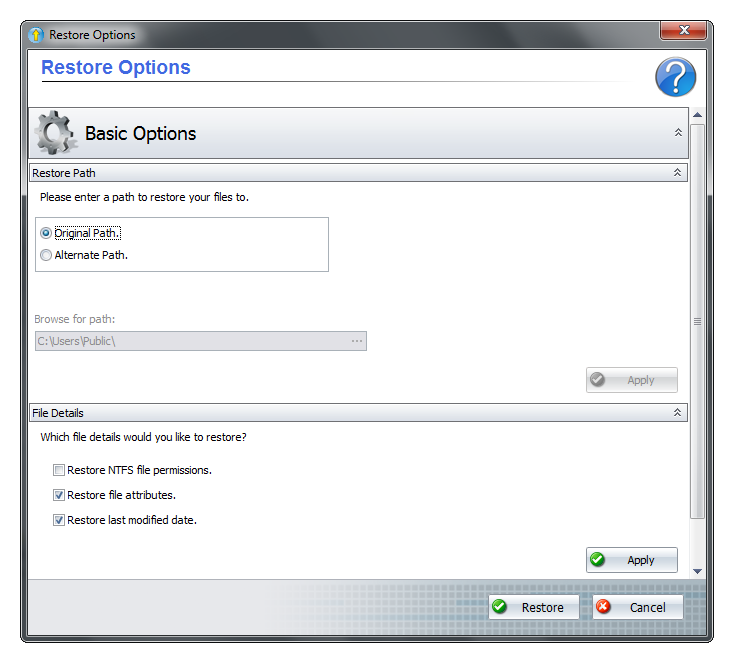
Click Restore to initiate the restore.