

Proper configuration of recipient verification is crucial to ensure your mail gateway functions effectively. This prevents problems like backscatter, but also ensures that only mail for valid recipients is processed by Barracuda Networks.
It is highly recommended that customers using Microsoft 365 configure recipient verification in Email Gateway Defense with Entra ID. You can also configure recipient verification on your mail server. Note that if you configure recipient verification solely with your email provider, Email Gateway Defense will still display records of emails sent to recipients that the email provider has rejected.
Configure Recipient Verification in Email Gateway Defense
Generate a user list using the following Advanced Configuration article.
Ensure directory integration is set to sync automatically so that the user list is up to date.
To enable recipient verification, go to Users > Default Policy, and set the Default policy for unmanaged users to Block.
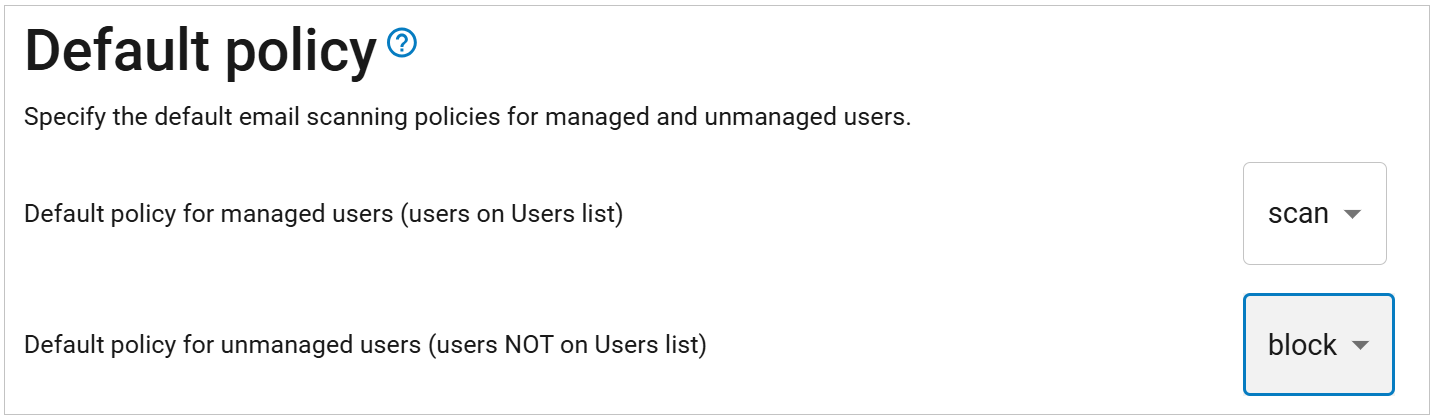
All recipients on inbound mail are now checked against the user list configured in Barracuda Networks. If the recipient is not on the user list, the email is blocked.
To revert the changes, set the Default policy for unmanaged users to Scan. This will configure Email Gateway Defense to use your mail server for recipient verification.
Configure Recipient Verification on Your Mail Server
To configure recipient verification on your mail server, refer to the documentation provided by your e-mail provider. See also the following Microsoft articles: