

The Barracuda Email Security Gateway can be deployed as a virtual appliance in the Amazon cloud. To launch a Barracuda Email Security Gateway using Amazon Web Services, follow the steps in this guide to upload the Barracuda Email Security Gateway virtual appliance using your existing Amazon Web Services account. Then, continue with the Barracuda Email Security Gateway Quick Start Guide for Amazon Web Services for licensing and initial configuration of your virtual appliance. Amazon Web Services charges apply. For more information, see Amazon's monthly pricing calculator at http://calculator.s3.amazonaws.com/calc5.html.
Create a Persistent Public IP Address for Your Barracuda Email Security Gateway
When an instance of your Barracuda Email Security Gateway appliance is created, a public IP address is associated with the instance. However, this IP address can change if the instance is stopped. To create a persistent IP address, see Configuring an Elastic IP Address for an Instance.
Launch the Barracuda Email Security Gateway Instance on Amazon Web Services
From the Amazon Web Services (AWS) Management Console:
- Log into the AWS Management Console and open the Amazon EC2 console at https://console.aws.amazon.com/ec2/.
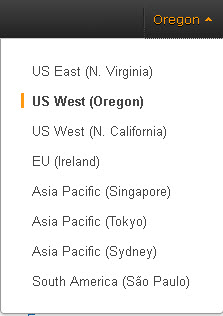
- From the top right corner of the page, select the region for the instance. This is important because some Amazon EC2 resources can be shared between regions.
- Click Launch Instance.

In Step 1: Choose an Amazon Machine Image (AMI) page, select AWS Marketplace and search for the Barracuda Email Security Gateway AMI. Click Select next to the Barracuda Email Security Gateway AMI.

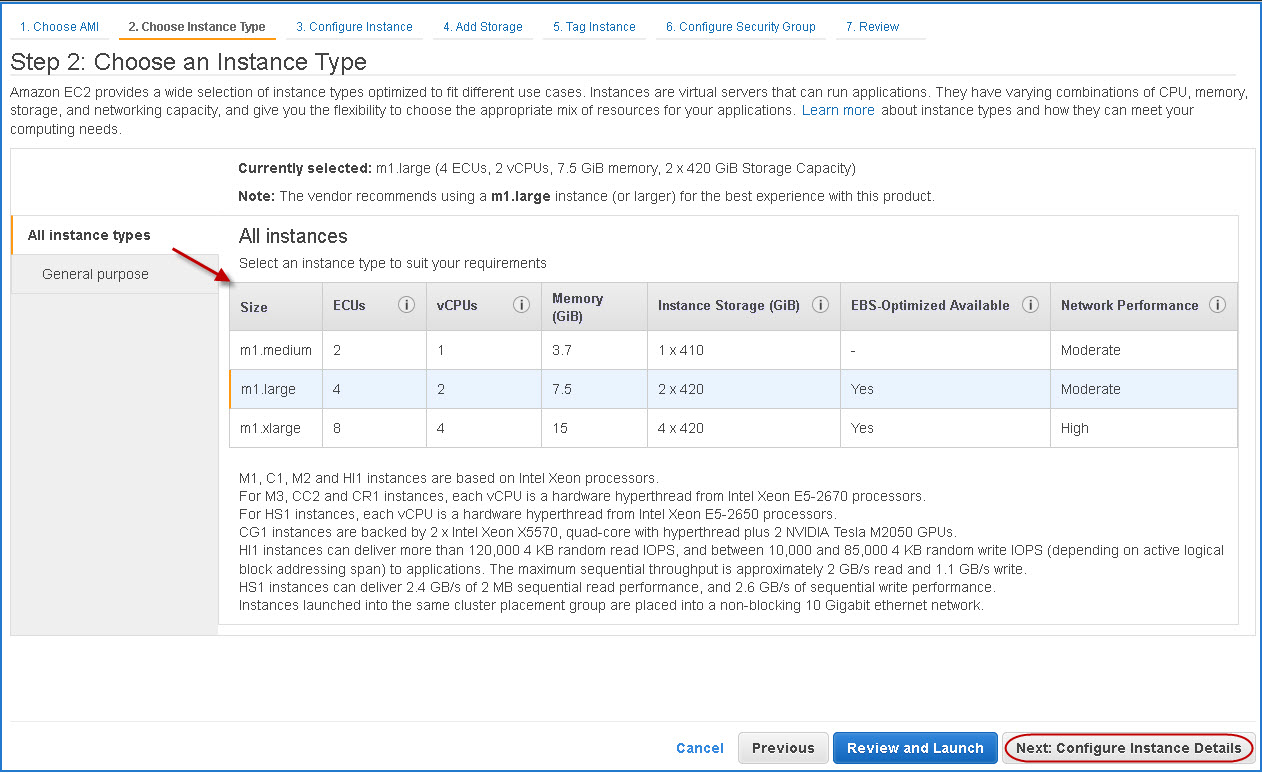
In Step 2: Choose an Instance Type page, select an instance type from the All Instance types or General purpose table. Click Next: Configure Instance Details to continue.
In Step 3: Configure Instance Details page:
- Enter the Number of instances you want to launch.
- Select the appropriate Network from the list.
- Select the appropriate Subnet from the list, or keep the default subnet.
In the Advanced Details pane, keep the default setting for all parameters and click Next: Add Storage.

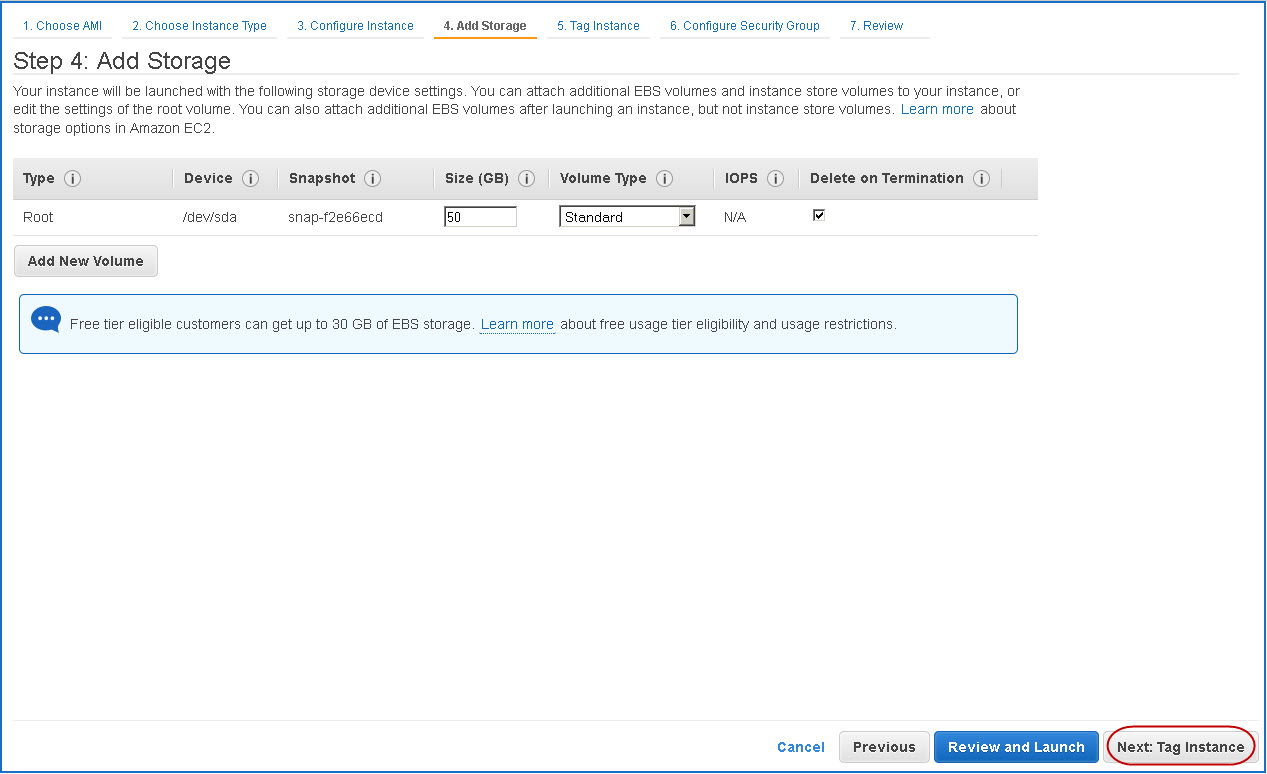
In Step 4: Add Storage page, the table displays the storage device settings for the instance. Modify the values if required and click Next: Tag Instance.
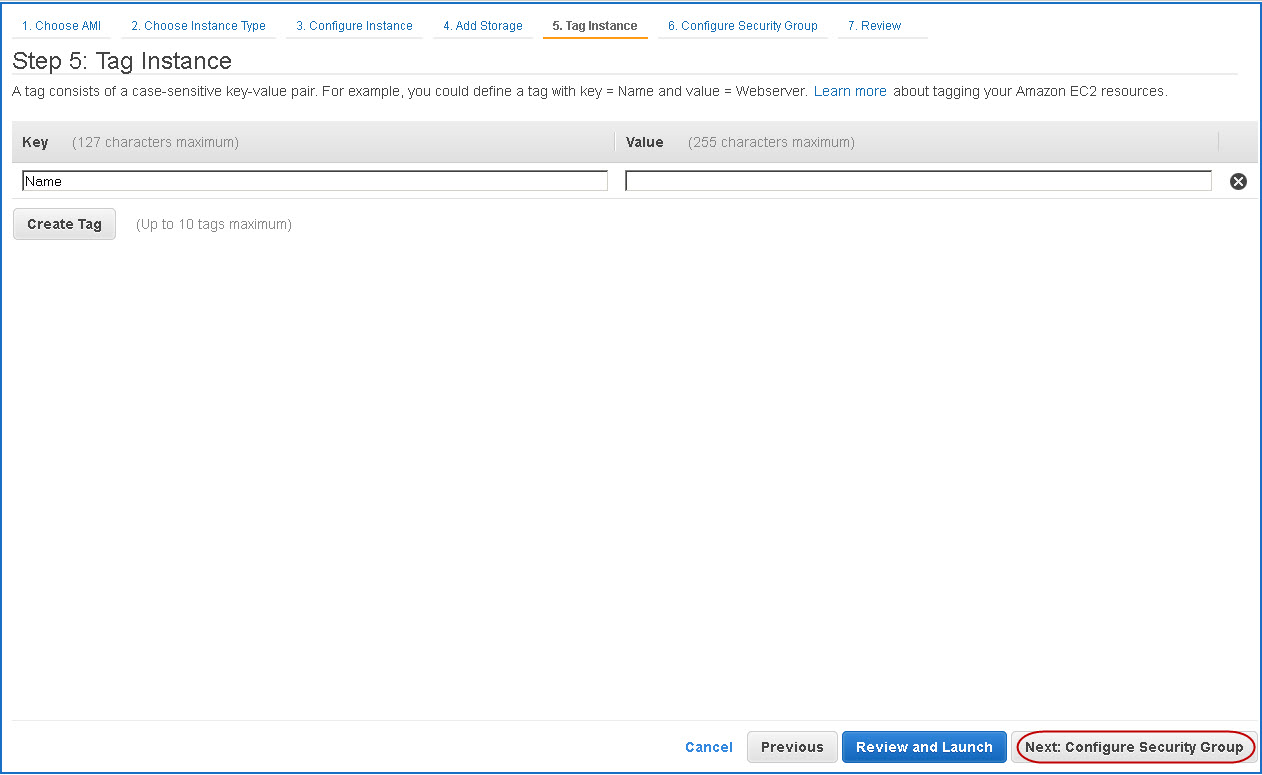
In Step 5: Tag Instance page, add/remove the tags for the instance (if required).
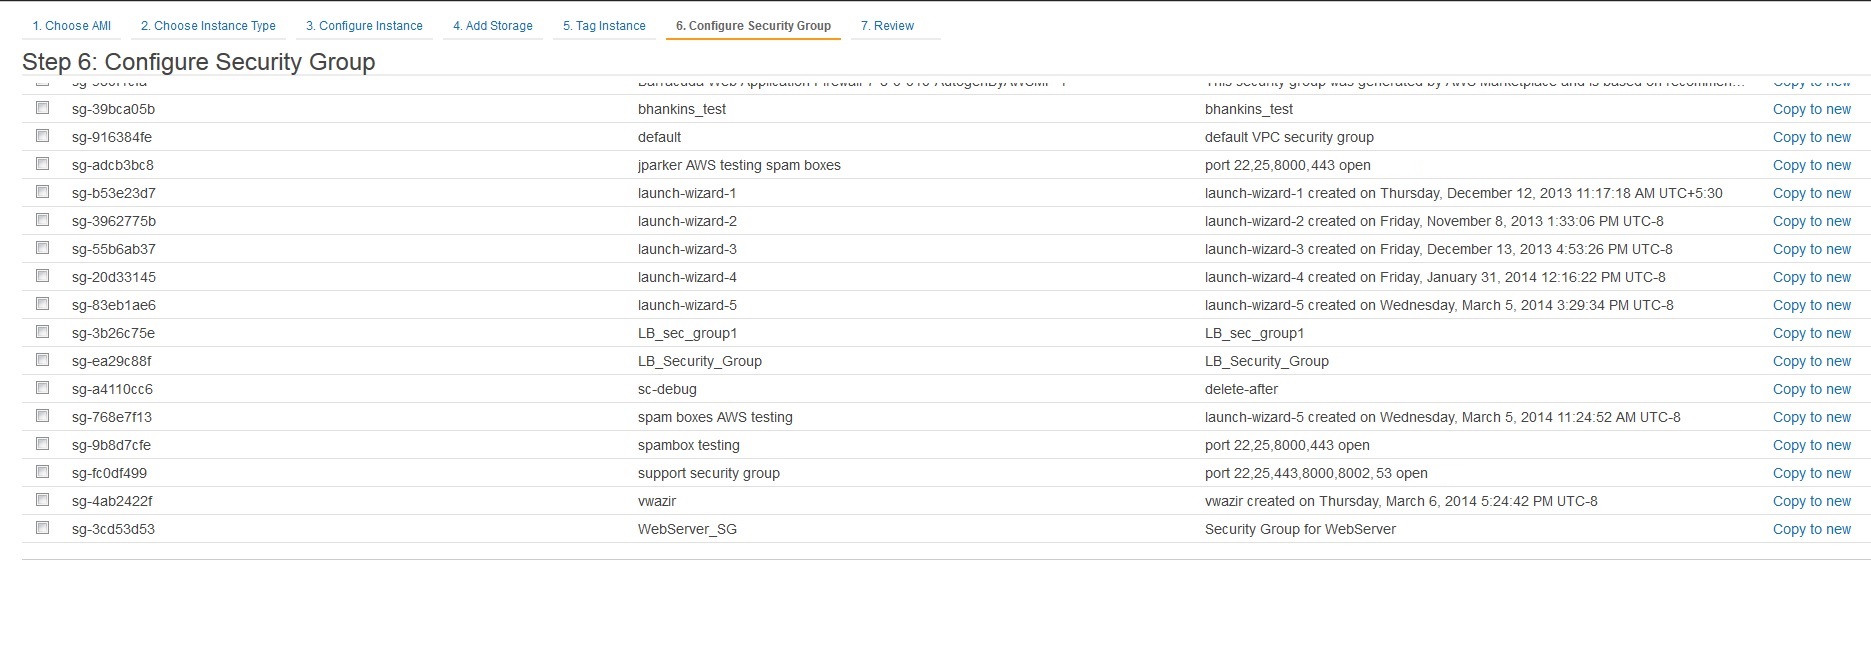
In Step 6: Configure Security Group page, choose Select an existing security group to select and assign the security group(s) from the existing list, or choose Create a new security group to create a new group (refer to Creating a Security Group on Amazon Web Services for more information). Click Review and Launch.
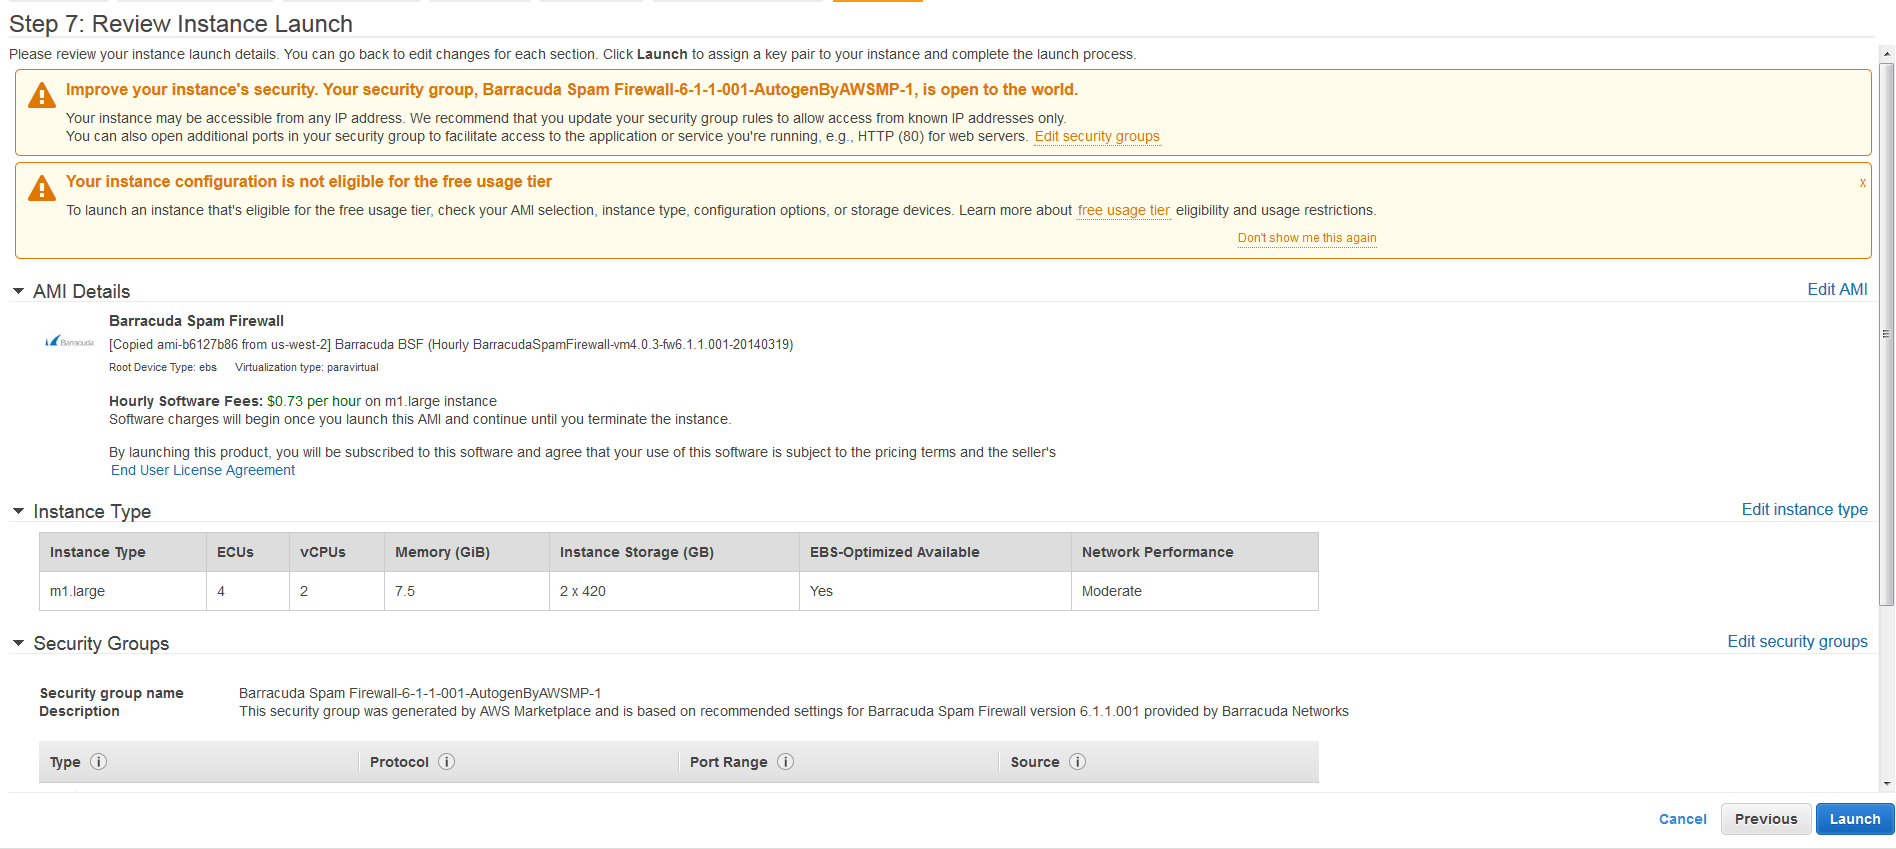
In Step 7: Review Instance Launch page, review your settings before launching the instance, and then click Launch.
Amazon Web Services now provisions the Barracuda Email Security Gateway. Allow a few minutes for the Amazon Web Services Agent and the Barracuda Email Security Gateway virtual machine to boot up.
Continue with Barracuda Email Security Gateway Quick Start Guide for Amazon Web Services to license and configure your virtual appliance.