

This guide walks you through the steps to deploy and provision the Barracuda Email Security Gateway on Microsoft Azure.
In this article
Before You Begin
If your organization does not have an Azure account, go to the Microsoft Azure purchase options page, and follow the onscreen instructions to create an account.
Deploy and Provision the Barracuda Email Security Gateway
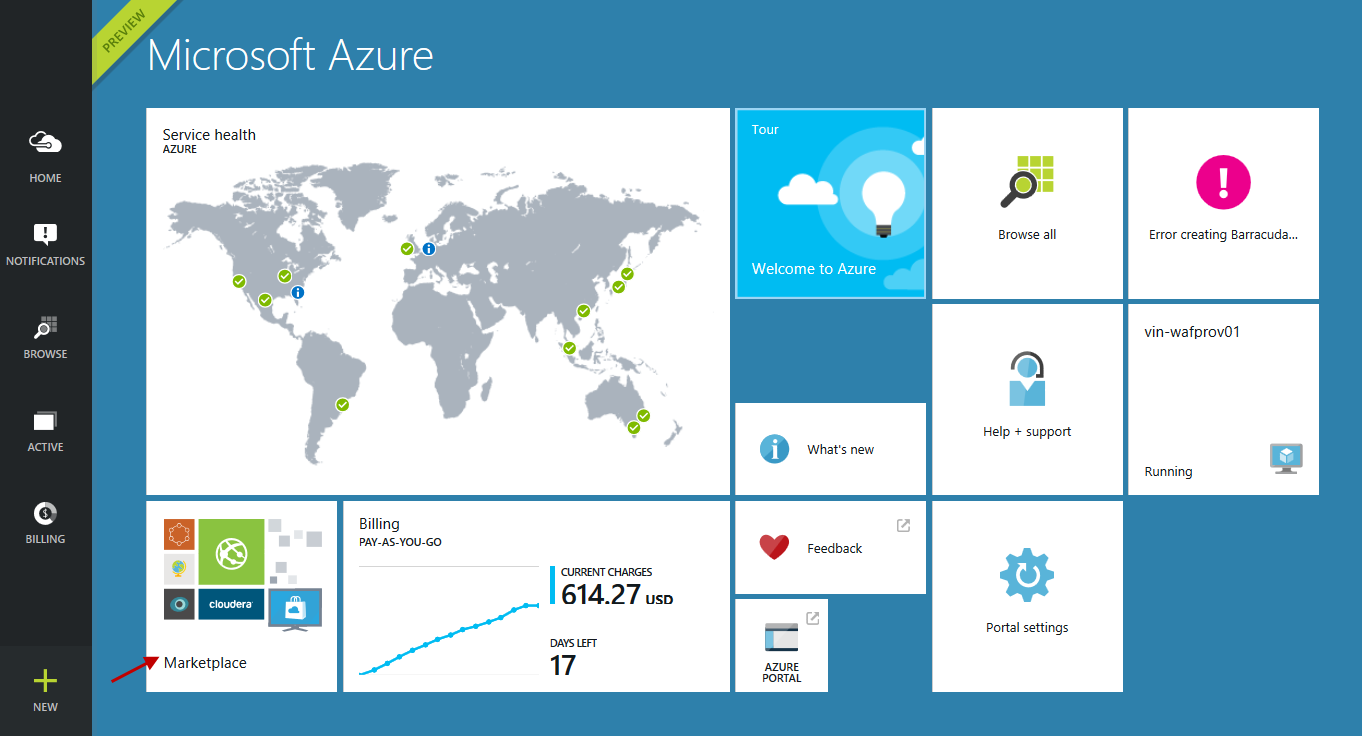
- Log into the Microsoft Azure Management Portal.
- Click Marketplace at the bottom of the screen.
- In the Marketplace window, select Virtual Machines and enter Barracuda Email Security Gateway in the text field.
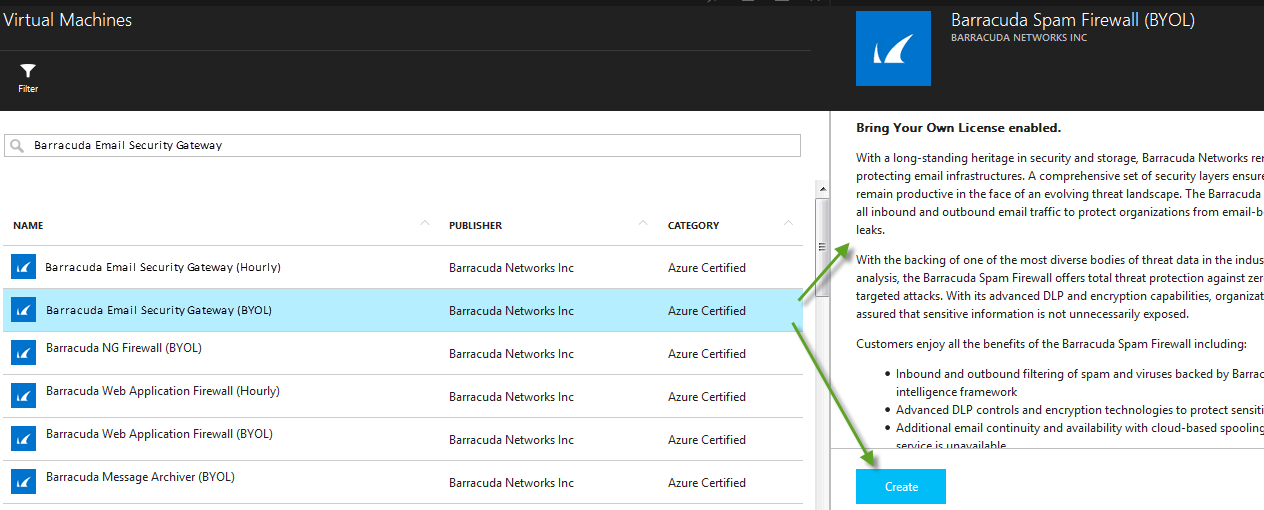
Mouse over the search result and select Barracuda Email Security Gateway (BYOL or Hourly/Metered as per your requirement). Read the product overview, and then click Create.
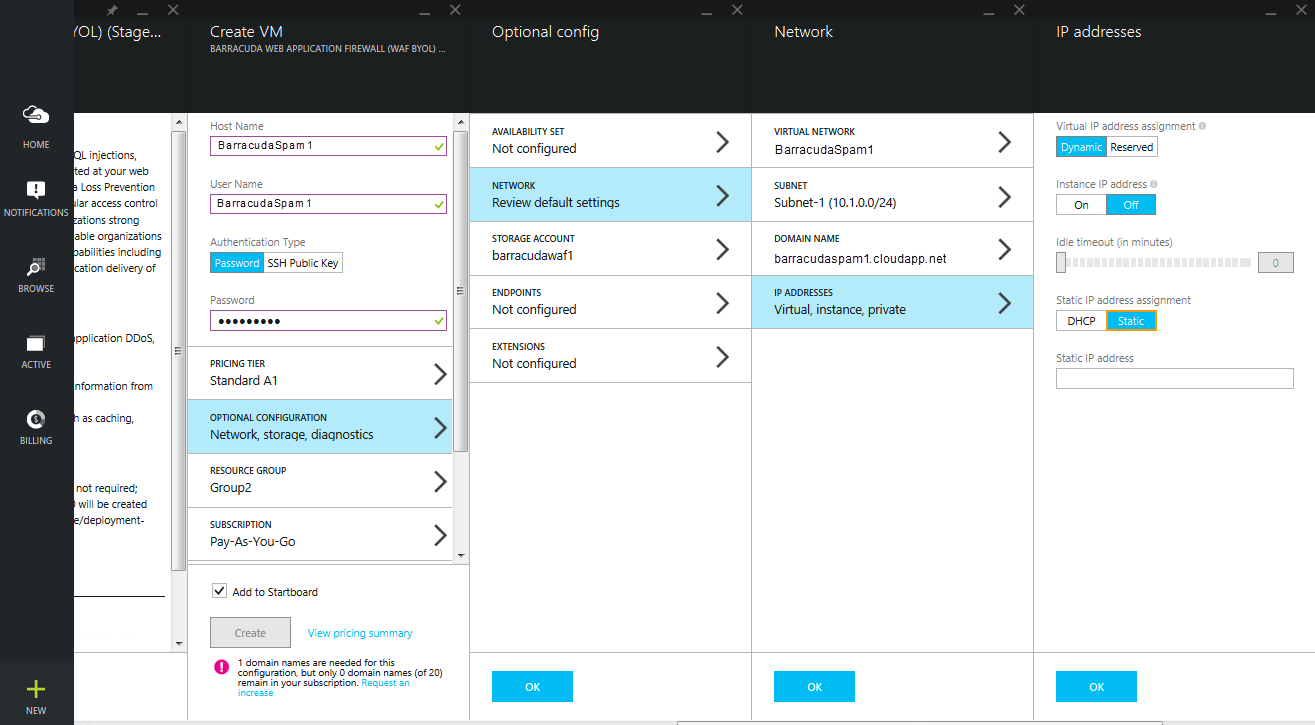
- On the Create VM page:
- Enter the host name in the HOST NAME field.
- Enter a username in the USER NAME field . This entry is not used by the Barracuda Email Security Gateway.
- Under Authentication Type, choose SSH Public Key or Password based on your selection. Note that this entry will not be used by the Barracuda Email Security Gateway.
- Select the PRICING TIER based on your requirement.
- In the OPTIONAL CONFIGURATION section, do the following:
- AVAILABILITY SET - Configure as per your requirement.
- NETWORK - Configure the network in which you want to deploy the Barracuda Email Security Gateway. Ensure it is in the same network as your web servers.
- STORAGE ACCOUNT - Select an existing storage account or create a storage account
- ENDPOINTS - By default, port 8000 (TCP) and port 443 (TCP) will be opened as endpoints to access the web interface of the Barracuda Email Security Gateway. Port 25 (TCP) is also opened by default. Configure additional endpoints if needed on the Barracuda Email Security Gateway.
- EXTENSIONS - Do not add any extension, as the Barracuda Email Security Gateway does not support extensions.
- Select a group in RESOURCE GROUP.
- Choose the subscription for the instance and click Create.
- Read the legal terms in the Buy page and click Buy to complete the deployment.
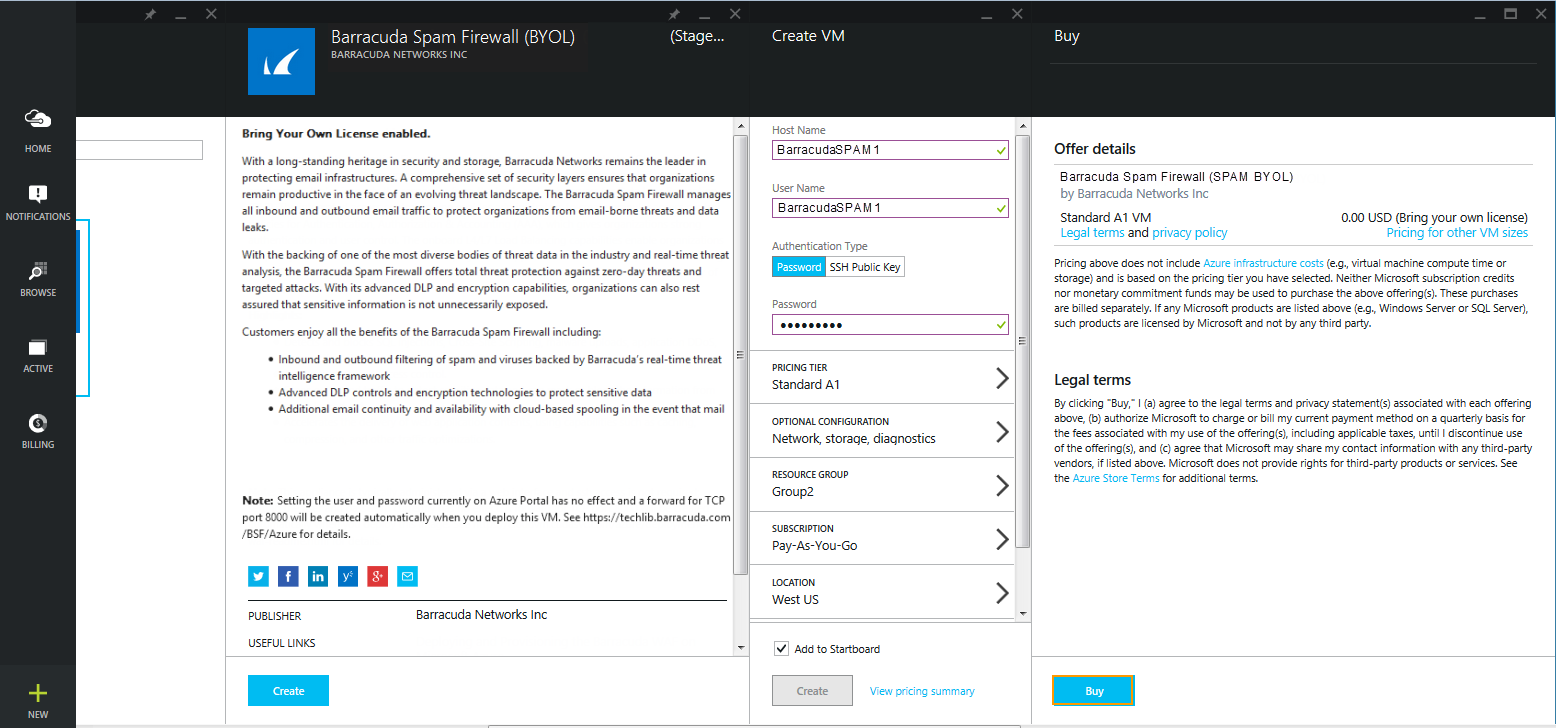
After clicking Buy, Microsoft Azure begins provisioning the Barracuda Email Security Gateway. You can check the status of provisioning from the Microsoft Azure Portal. Allow a few minutes before taking any further actions in the Portal. During this time, the Microsoft Azure Linux Agent and Barracuda Email Security Gateway image boot up.
Make sure you do not restart the Barracuda Email Security Gateway while it is provisioning.
Next Step
Continue with the Barracuda Email Security Gateway Quick Start Guide on Microsoft Azure.