

This article applies to:
- Barracuda Load Balancer running firmware version 3.6.1.009 or higher
- Barracuda Load Balancer 340 or above
- Microsoft® Exchange Server 2013
This article assumes you are connected to the Barracuda Load Balancer web interface and have an activated subscription.
Step 1. Create Services
1a. Log into the Barracuda Load Balancer as the administrator, and go to the BASIC > Service page.
1b. Click Advanced View, and add a Service for all items in Table 1 below:
- In the Server Name field, enter the Service name
- In the Service Type field, select the Server type
- In the Virtual IP field, enter the Virtual IP address
- Select the protocol, and enter it in the port in the associated field
- Choose the interface to be bound to
- Add the Real Server IP addresses, and add the port of the CAS servers IP address. To add multiple servers click on the
 button.
Table 1. Services.
Service Name | Virtual IP Address | Protocol | Service Type | Service Port | Real Server Port | Monitor Port |
HTTPS | VIP Address of the FQDN that client use to access mail.domin.local autodiscover.domain.local eas.domain.local outlook.domain.local oab.domain.local ecp.domain.local | TCP | Layer 7 HTTPS | 443 | 443 | 443 |
HTTP Redirect | VIP Address of the FQDN that client use to access mail.domin.local autodiscover.domain.local eas.domain.local outlook.domain.local oab.domain.local ecp.domain.local | TCP | Layer 7 HTTP | 80 | N/A Redirect Service | 80 |
Step 2. Edit the Settings
Once the Services are configured, edit the Service settings using the values in Table 2.
Table 2. Service Settings.
Service Name | Service Details Page Setting |
HTTPS | Persistence Setting
Session Timeout Settings (found at the bottom of the page in the Advanced section)
SSL Offloading
|
HTTP Redirect | In the General Section, set the value Enable HTTP Redirect to yes. |
Step 3. Configure HTTPS Connection to the CAS Server
Click Edit on the Server setting using the values in Table 3.
Table 3. Server Details
Service Name | Server Details Setting |
HTTPS | Edit the Server details,
|
Step 4. HTTPS Service Health Checks
4a. Go to the BASIC > Services page, and click the Edit icon for each Real Server associated with the OWA - HTTPS Service; The Real Server Detail page displays.
4b. In the Real Server Detail section, set Port to 443.
4c. In the Server Monitor section, set the following values:
- Set the Testing Method to Simple HTTPS.
- Set the Port to 443.
- Change the Test Target to:
/owa/auth/logon.aspx
If you have modified the path of logon.aspx from the Exchange 2013 default, use the modified path in the Test Target. - Config Test Match to:
2011 Microsoft Corporation - Change Additional Headers to:
User-Agent: Barracuda Load Balancer Server Monitor - Set the Status Code to 200 and set the Test Delay to 30.
Step 5. Configure DNS
Once the configuration is complete you can configure the DNS for mail.domain.local, autodiscover.domain.local ,eas.domain.local, outlook.domain.local, oab.domain.local , ecp.domain.local to point to the VIP created for the HTTP & HTTPS Service using the following steps:
5a. Configure HTTPS namespace on the Exchange Admin Center:
- Log into your Microsoft Exchange Admin Center.
- Click on Servers, click on the virtual directories, click edit on CAS1, and configure external access domain:
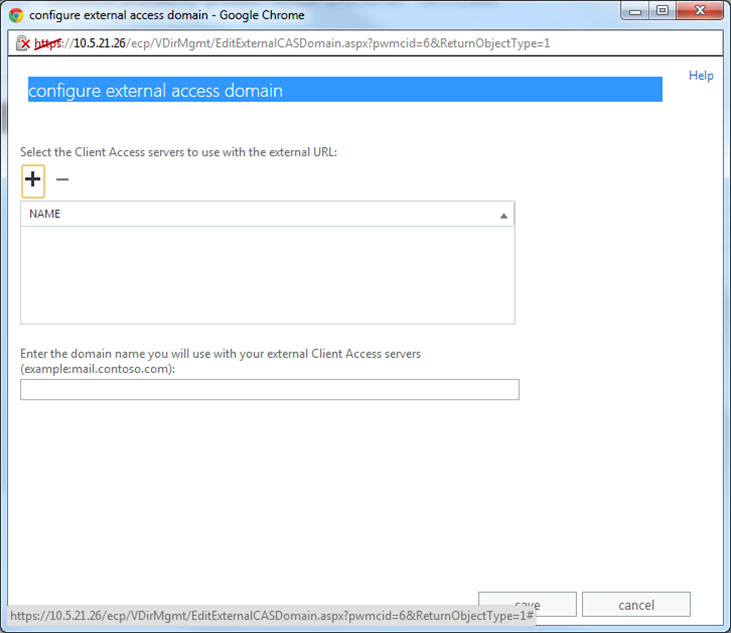
- Add both the servers to the list and configure the external domain:
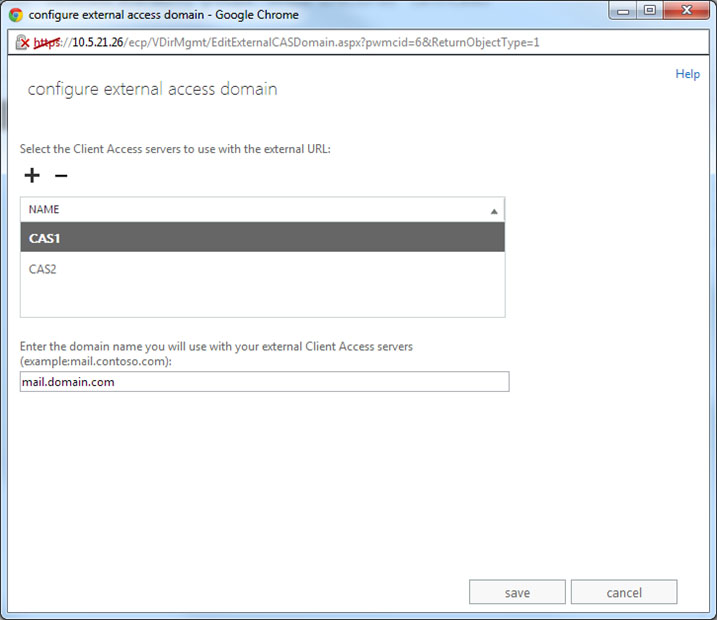
5b. Click save to save the configuration.
Step 6. Configure Hub Transport Services on the Barracuda Load Balancer
On each active Barracuda Load Balancer that handles traffic for Hub Transport Services, complete the following steps to configure Hub Transport Services for Exchange.
6a. Log into the Barracuda Load Balancer, go to the BASIC > Services page, and expand the Add New Service section.
6b. Add the SMTP Service and, optionally, the SMTP/SSL Service listed in Table 4.
Table 4. SMTP Service
| Service Name | Virtual IP Address | Protocol | Service Type | Service Port | Real Server Port |
|---|---|---|---|---|---|
| SMTP | VIP address for FQDN that resolves to CAS array. For example: exchange.domain.local | TCP | TCP Proxy | 25 | 25 |
| (Optional) SMTP/SSL | VIP address for FQDN that resolves to CAS array. For example: exchange.domain.local | TCP | TCP Proxy | 587 | 587 |
- In the Real Server field, if your Real Servers are consolidated with both the CAS and HUB roles installed, enter their IP addresses for each Service that you create. If the Hub Transport role is installed on separate servers (other than those with the CAS role), enter the IP addresses of only the servers with the Hub role installed. The created Services load balance the SMTP traffic to the Hub transport servers for incoming client SMTP connections.
Exchange Hub Transport should never be configured to communicate with other internal Microsoft Exchange Hub Servers via the Barracuda Load Balancer. The Service on the Barracuda Load Balancer should only be used for client connections or inbound connections from other organizations.