The Barracuda Load Balancer ADC can be deployed in a HA setup on Amazon Web Services using the CloudFormation Template. The Barracuda Load Balancer ADC integrates with various AWS services to provide HA capability.
Deployment using the CloudFormation template enables you to bootstrap the configuration of the Barracuda Load Balancer ADC. The initial deployment will allow you to specify the service configuration during launch. After the deployment, the instances come up as a clustered Active/Passive HA pair. The configuration between the clustered instances is automatically synchronized once in every two (2) minutes.
The latest Barracuda CloudFormation Template (CFT) is available < HERE >. This CFT will deploy the Barracuda Load Balancer ADC with the basic service configuration and set up the necessary AWS IAM Roles for a successful bootstrapping
This CFT deploys the Barracuda Load Balancer ADC into a pre-existing VPC deployment to load balance the servers.
The Barracuda CloudFormation Template (CFT):
- Provides an option to select the deployment mode (Stand-alone or High Availability (HA)) for the Barracuda Load Balancer ADC.
- Creates an IAM role that can be used to make AWS API calls for service failover in case of outage.
- Security group creation and assignment to the deployed Barracuda Load Balancer ADC instances.
AWS Services required for the HA Setup
The following are the AWS services required for the HA setup:
- Virtual Private Cloud (VPC)
- Elastic Compute Cloud (EC2)
- CloudFormation
- Identity and Access Management (IAM)
Pre-requisites
- Latest Barracuda Load Balancer ADC CFT Template.
- VPC ID, and subnet ID where you want to deploy the Barracuda Load Balancer ADC and load balance your servers.
- Ability to create an IAM Role. The CFT will create an IAM role that has permissions to attach and detach secondary private IP's.
Default Values of the Barracuda Load Balancer ADC CloudFormation Template
The following are the default values of the Barracuda CloudFormation Template (CFT). You can modify the values as needed.
- Instance Type - Instance type to be used in Amazon Web Services (AWS). Default: m3.medium
- Security Group with the following ports opened:
| Port | Protocol | Description |
|---|---|---|
8000 | TCP | Provides Management access to the Barracuda Load Balancer ADC web interface. |
| 80 | TCP | Provides HTTP access to the Barracuda Load Balancer ADC web interface |
443 | TCP | Provides HTTPS access to the Barracuda Load Balancer ADC web interface. |
8002 | TCP | Required for clustering the instances. |
ALL | VRRP(112) | Used for heart beat between the instances. |
ALL | ICMP | To enable ping between the instances. This is also helpful in troubleshooting. |
ALL | ALL | Required for Layer 4 services to serve traffic. |
How Barracuda CloudFormation Template (CFT) Works
What CloudFormation Template (CFT) does:
- A CloudFormation Template (CFT) is uploaded and a stack is created on Amazon Web Services. With this:
- An Amazon S3 bucket gets created with the specified stack name and unique ID.
- An appropriate IAM role to access the S3 bucket is added.
- The Barracuda Load Balancer ADC VM(s) will be deployed.
- After the Barracuda Load Balancer ADC instance is up and ready to serve the traffic:
- ADC Instance is configured based on the service configuration data provided during CFT upload.
- The Barracuda Load Balancer ADC Primary is now ready to serve the traffic to the configured services.
- If the secondary instance detects that primary is unreachable it does the following:
- Make AWS API calls to transfer the secondary private IP addresses from the Primary instance to itself.
- It assumes active role and starts serving the traffic till the primary instance is reachable again.
Importing the Barracuda Load Balancer ADC Template and Deploying the Instance
Perform the steps below to import the Barracuda Load Balancer ADC CloudFormation Template and deploy the instance:
- Log into the Amazon Management Console.
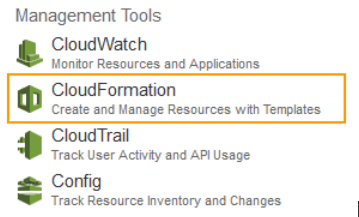
- Select CloudFormation under Management Tools.
- In the CloudFormation Management Console, click Create Stack.
- In the Create A New Stack page, perform the following steps:
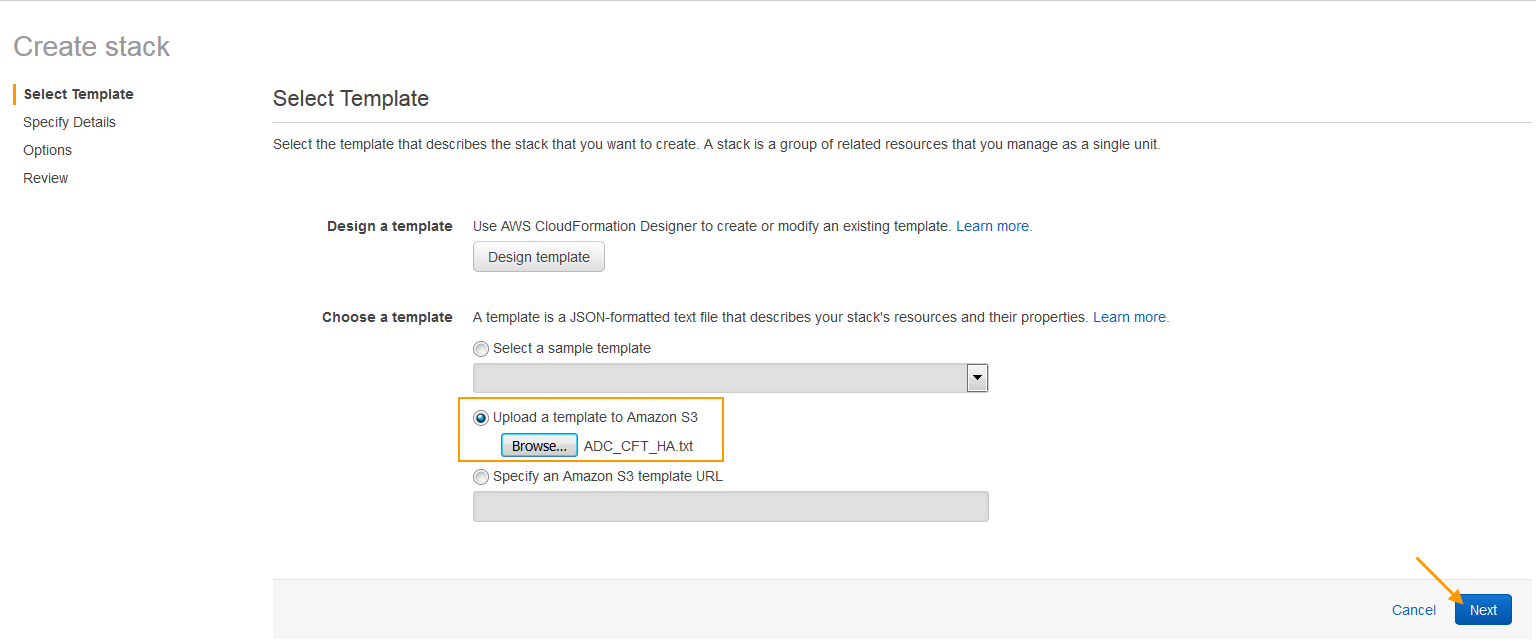
- On the Select Template page:
Select Upload a template to Amazon S3 under Choose a template.
Click Browse to select the Barracuda Load Balancer ADC’s latest CFT
Click Next. The Specify Details page appears.
- On the Specify Details page, do the following configuration:
In the Specify Details section:
- Enter a name for the CloudFormation stack in the Stack Name field.
In the Parameters section, specify values for the following:
Network Configuration
Parameter Name
Description
Which VPC should this be deployed to?
Select the VPC that you wish to deploy the Barracuda Load Balancer ADC instance(s) from the drop-down list.
Select the subnet of the VPC where you want to create the instance
Select the subnet ID associated with the availability zone(s) where the Barracuda Load Balancer ADC instance needs to be deployed. Note that the subnet must be part of the VPC that you choose.
Additional Port Specify any additional port to be opened in the security group for the ge-1-1 interface. "-1" is the default value, which means no additional port will be opened. If you want to open additional ports like 443, 80, etc., specify the required ports here.
Amazon EC2 Configuration
Parameter Name
Description
Instance Type
Select an instance type depending on your requirement.
Configure instances in High Availability Mode?
- Select Yes if you want to deploy the instance in a high availability setup.
- Select No if you want to deploy the instance as a stand-alone unit.
Assign Elastic IP?
Select Yes to assign an elastic IP address to the instance.
Barracuda ADC BootStrap Configuration
Parameter Name
Description
Service Name
Enter a name for the service that needs to be created on the Barracuda Load Balancer ADC instance.
Service Type
Select the service type for the service.
Service Port
Enter the port number on which the service is listening to.
HTTP Redirect Port
(Optional) Enter the HTTP redirect port for an Instant SSL service.
Secure Site Domain
(Optional) Enter the secure side domain for an Instant SSL service. To include all domains, enter an asterisk (*).
Service Netmask
Enter the netmask for the service.
Servers
Enter the IP address of the server, or Fully Qualified Domain Name (FQDN) of the server.

- Click Next to continue.
- On the Options page, enter a key-value pair to identify the instance(s) of this stack. Click Next.

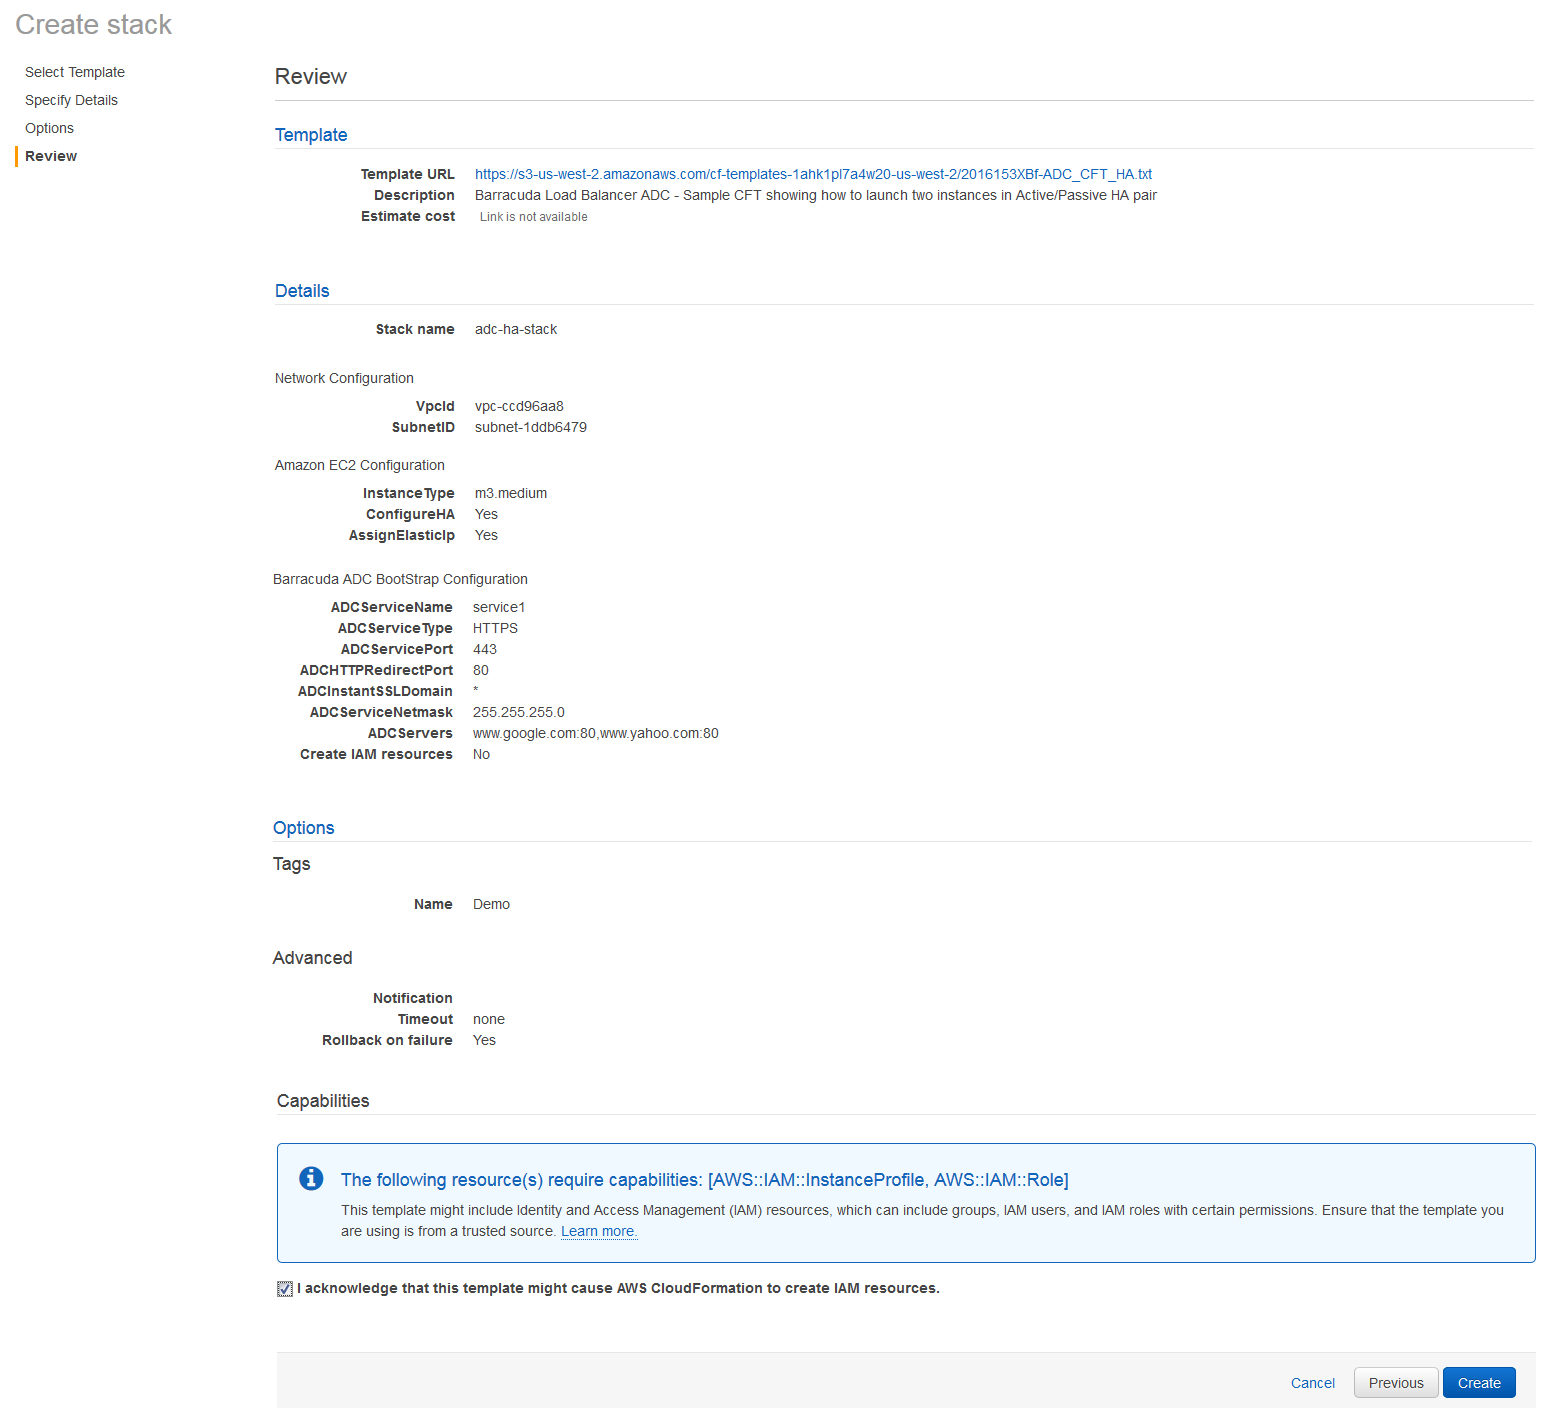
- On the Review page, verify the values you entered, select the IAM capability check box, and click Create.
- On the Select Template page:
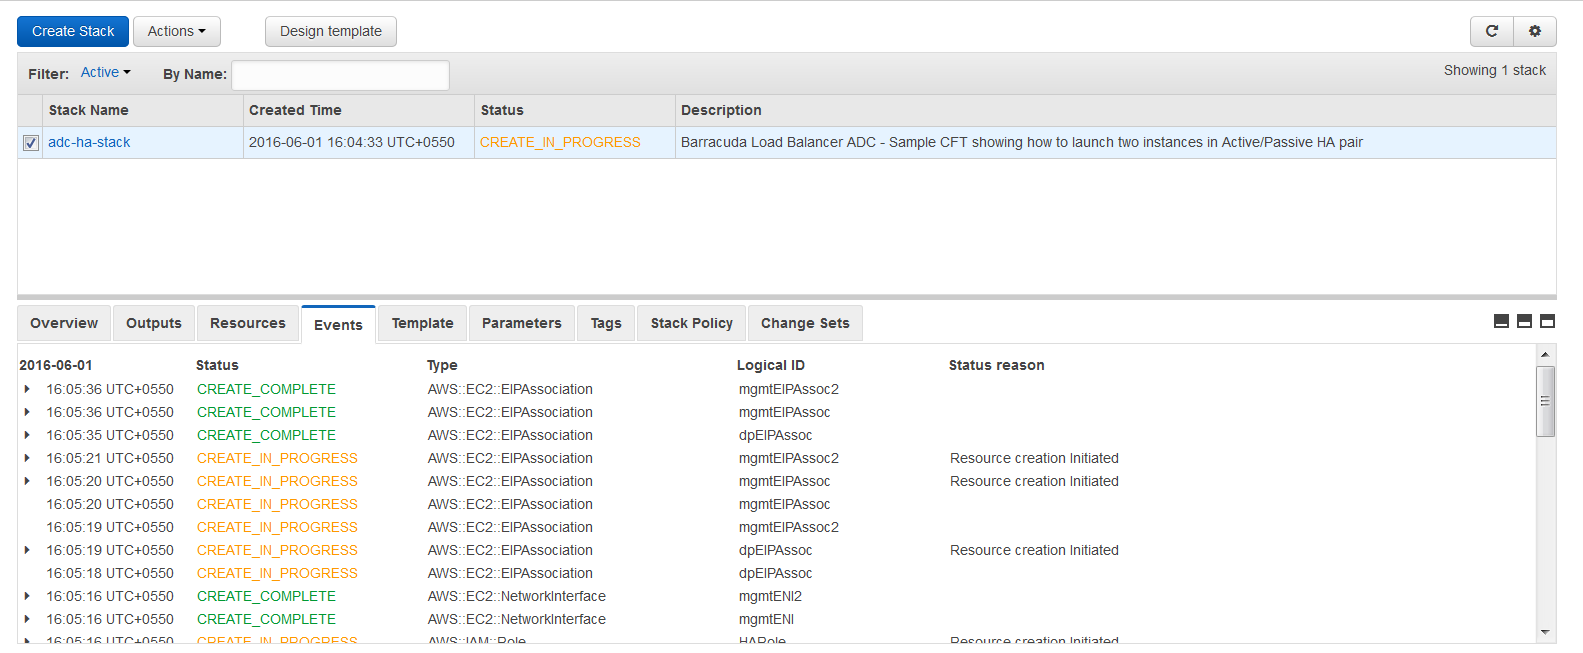
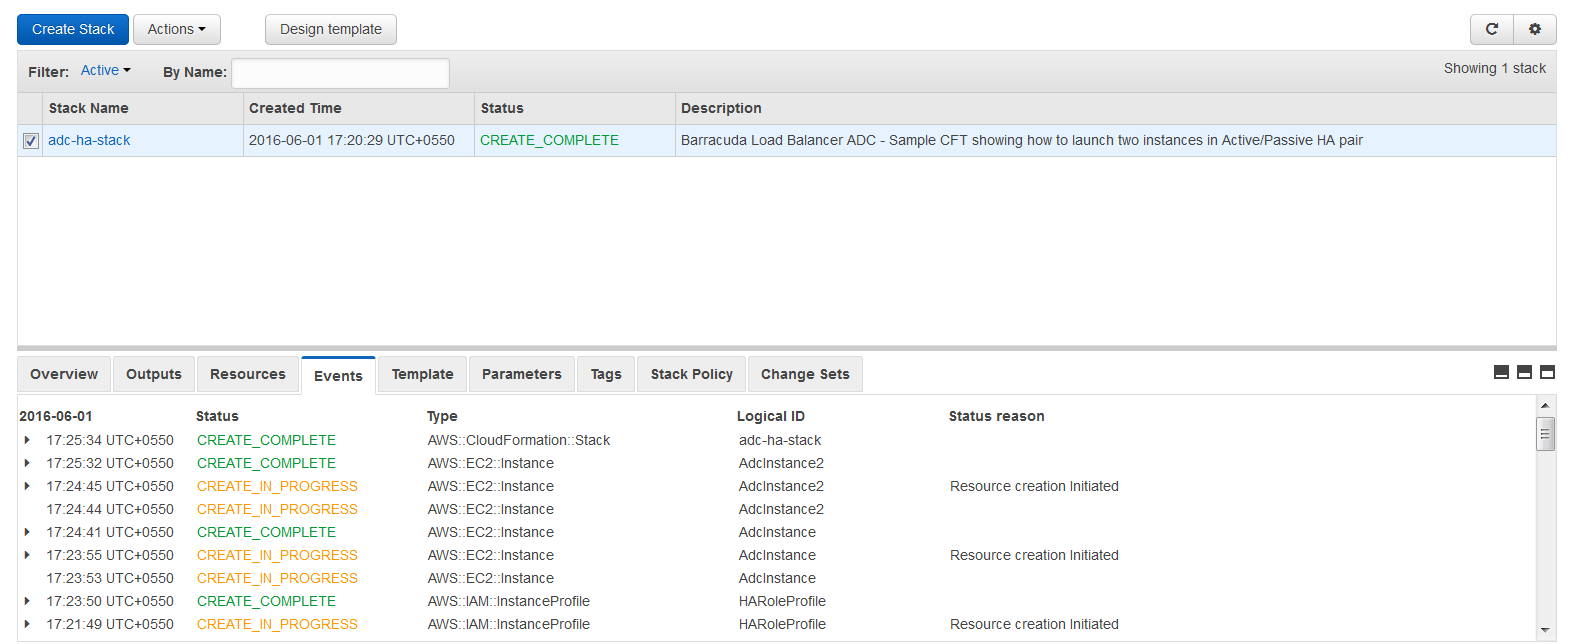
- The CFT now starts its operation. You can see the CREATE_IN_PROGRESS status displayed on the CloudFormation Management Console for the stack. Select the tabs and see the status of events and resources that are being created. An example of the successfully created resources is available in the screenshot below:
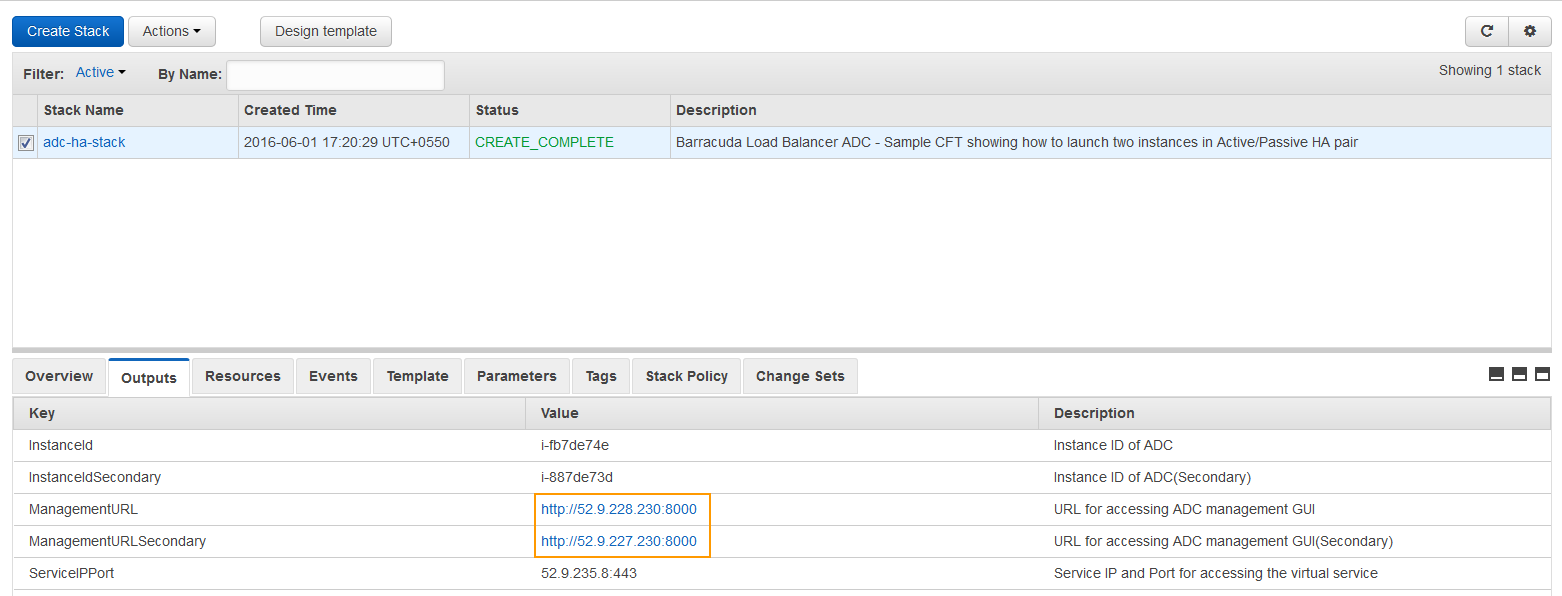
- After the stack is created, the Barracuda Load Balancer ADC instances will be deployed. To access the instance(s), select the Output tab and click on the Management URLs.
- You will be redirected to the Licensing page with the following options.
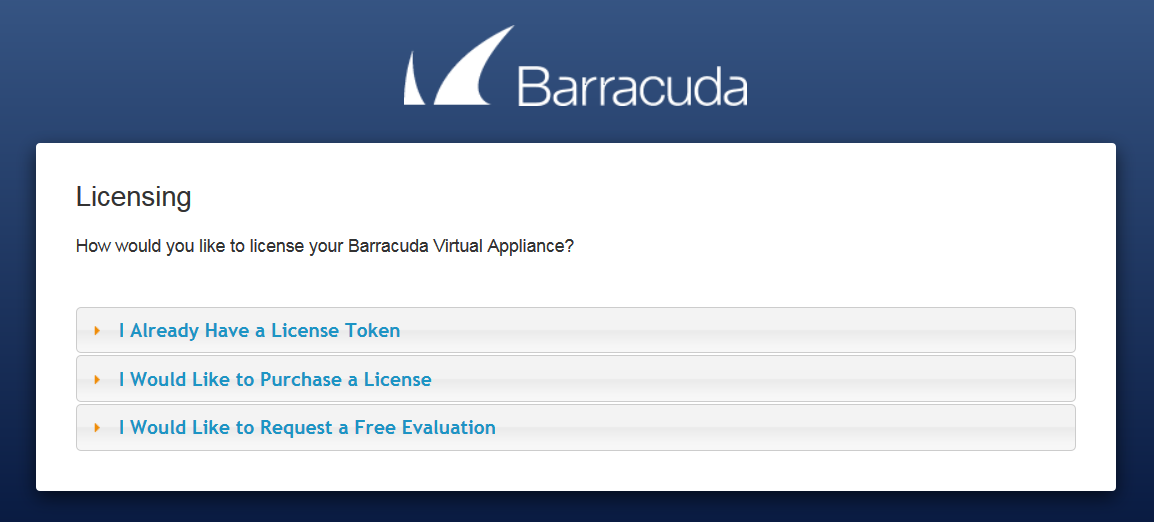
- I Already Have a License Token – Use this option to provision your Barracuda Load Balancer ADC with the license token you have already obtained from Barracuda Networks. Enter your Barracuda Networks Token and Default Domain to complete licensing, and then click Provision.
The Barracuda Load Balancer ADC connects to the Barracuda Update Server to get the required information based on your license, and then reboots automatically. Allow a few minutes for the reboot process. Once the instance is provisioned, you are redirected to the login page. - I Would Like to Purchase a License – Use this option to purchase the license token for the Barracuda Load Balancer ADC. Provide the required information in the form, accept the terms and conditions, and click Purchase.
The Barracuda Load Balancer ADC connects to the Barracuda Update Server to get the required information based on your license, and then reboots automatically. Allow a few minutes for the reboot process. Once the instance is provisioned, you are redirected to the login page. - I Would Like to Request a Free Evaluation – Use this option to get 30 days free evaluation of the Barracuda Load Balancer ADC. Provide the required information in the form, accept the terms and conditions, and click Evaluate.
The Barracuda Load Balancer ADC connects to the Barracuda Update Server to get the required information based on your license, and then reboots automatically. Allow a few minutes for the reboot process. Once the instance is provisioned, you are redirected to the login page.
- I Already Have a License Token – Use this option to provision your Barracuda Load Balancer ADC with the license token you have already obtained from Barracuda Networks. Enter your Barracuda Networks Token and Default Domain to complete licensing, and then click Provision.
- Log into the Barracuda Load Balancer ADC instance with:
- Username: admin
- Password: Instance ID of your Barracuda Load Balancer ADC in Amazon Web Services.
- Navigate to the BASIC > Administration page and enter your old password, new password, and re-enter the new password. Click Save Password.
