

Auto Scaling helps you maintain application availability and allows you to scale your Amazon EC2 capacity up or down automatically according to conditions you define. For more information on auto scaling, refer to the Amazon documentation: Auto Scaling and Auto Scaling Groups articles.
To create an auto scaling group, perform the following steps:
- Go to the EC2 Management Console.
- Click Auto Scaling Groups under AUTO SCALING.
- Click Create Auto Scaling group.

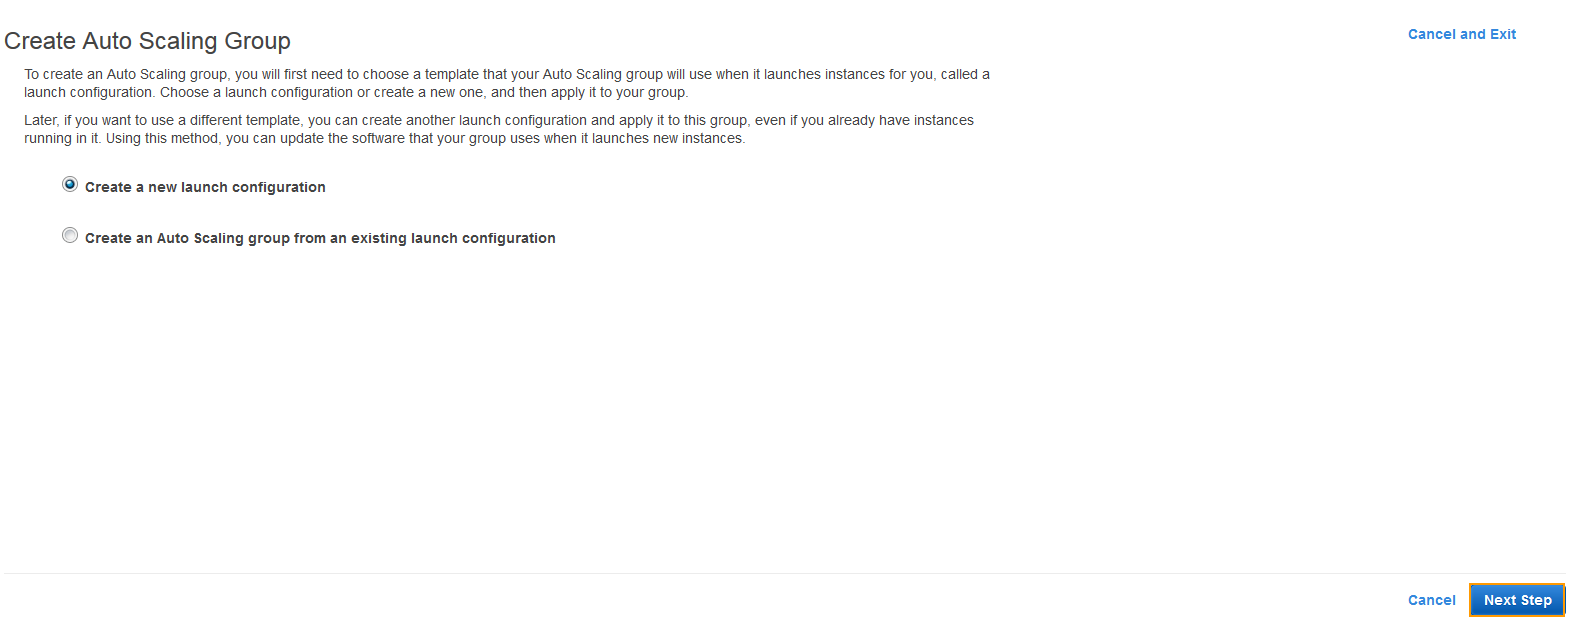
- On the Create Auto Scaling Group page, select Create a new launch configuration and click Next Step.
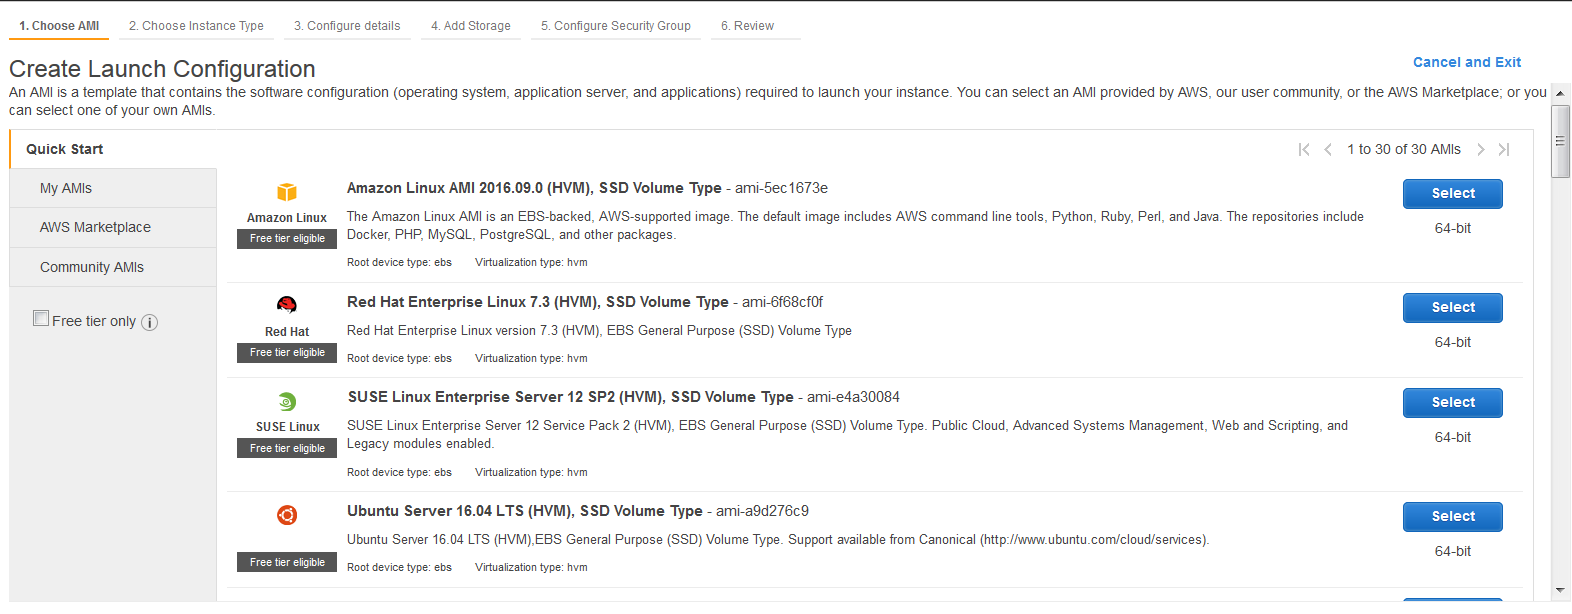
- On the 1. Choose AMI page, select a server AMI,
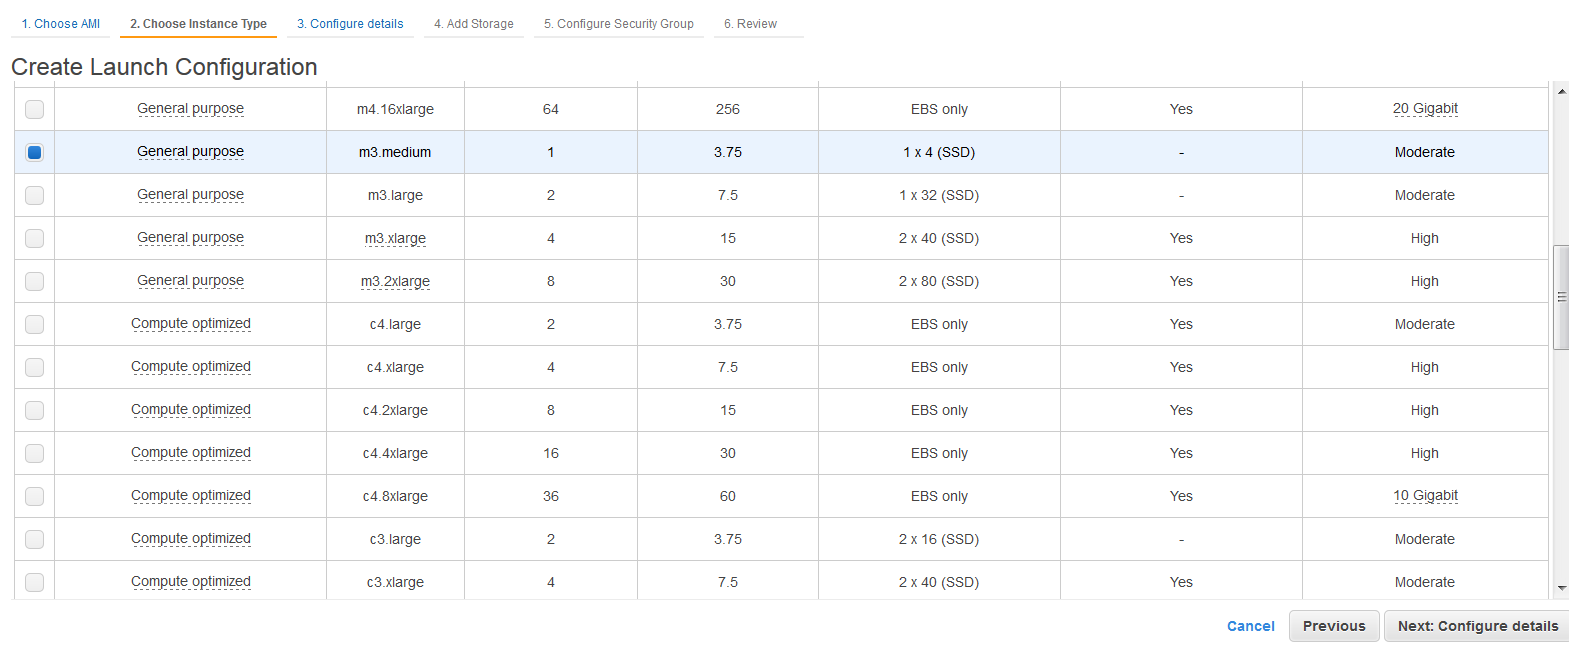
- On the 2.Choose Instance Type page, select an instance type and click Next: Configure details.
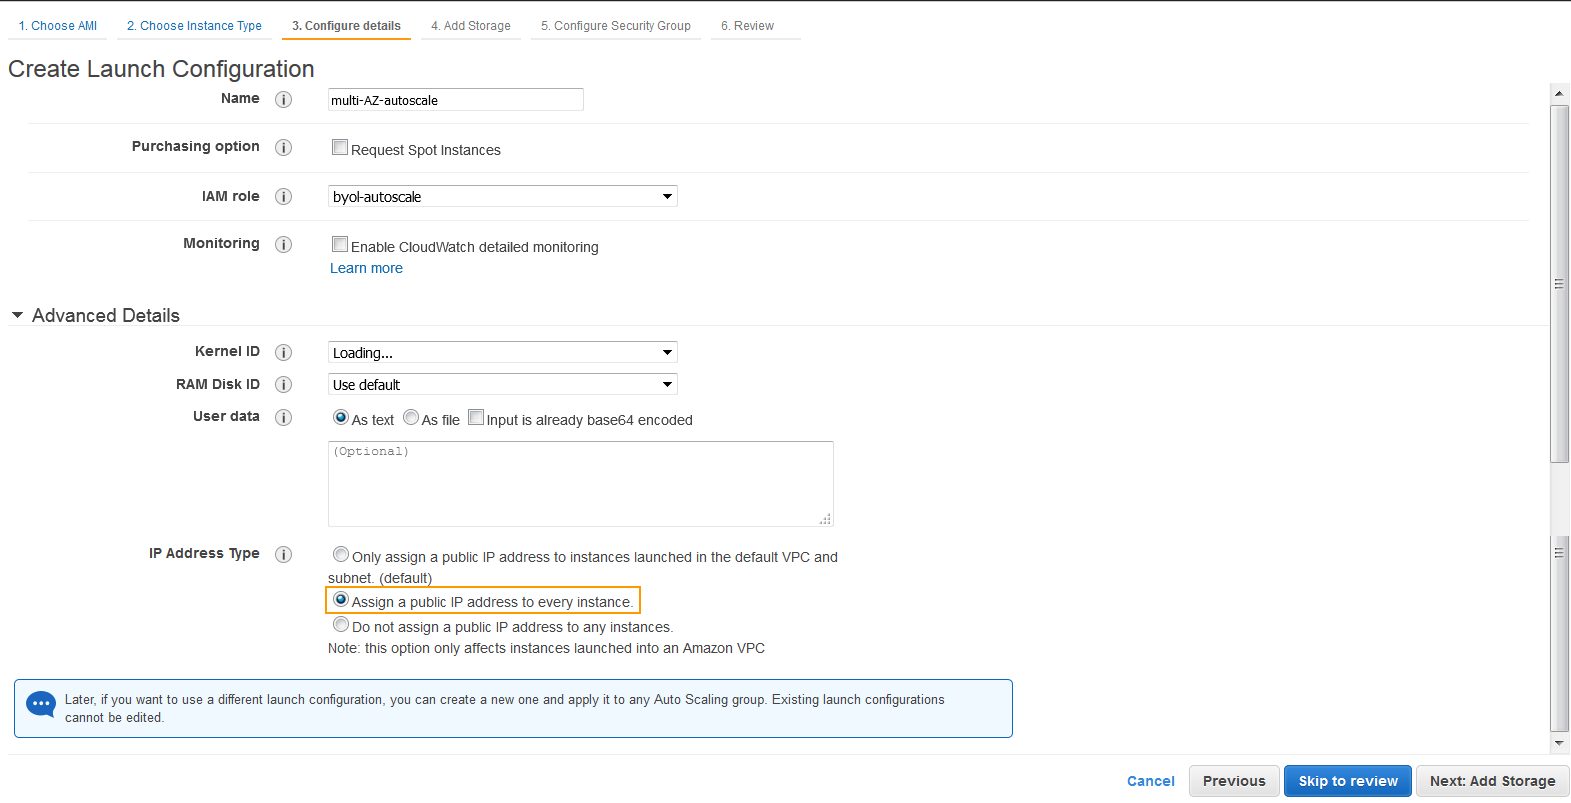
- On the 3.Configure details page, do the following:
- Name: Enter a name for the server instance.
- IAM role: Select the IAM role you have created.
- In the Advanced Details section, select Assign a public IP address to every instance under IP Address Type and click Next: Add Storage.
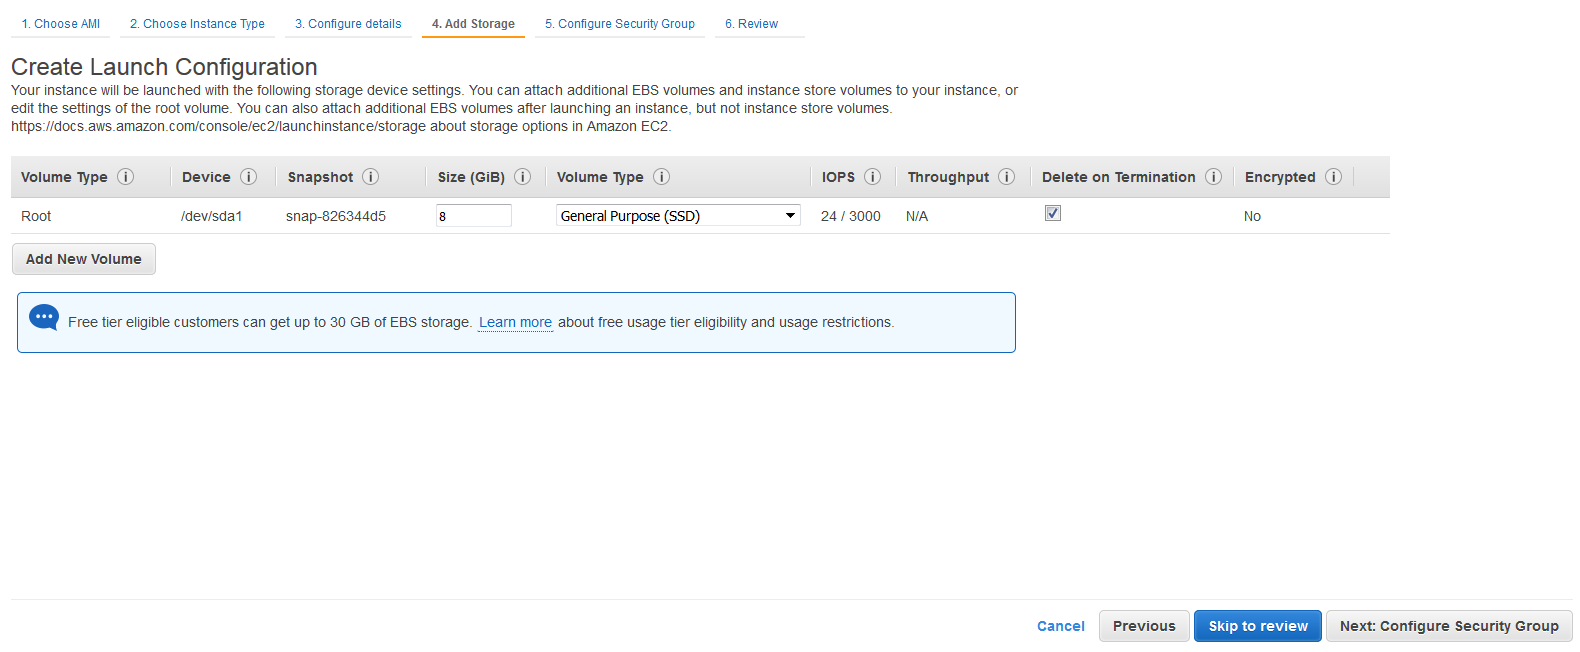
- On the 4: Add Storage page, review the storage device settings for the instance. Modify the values if required, and then click Next: Configure Security Group..
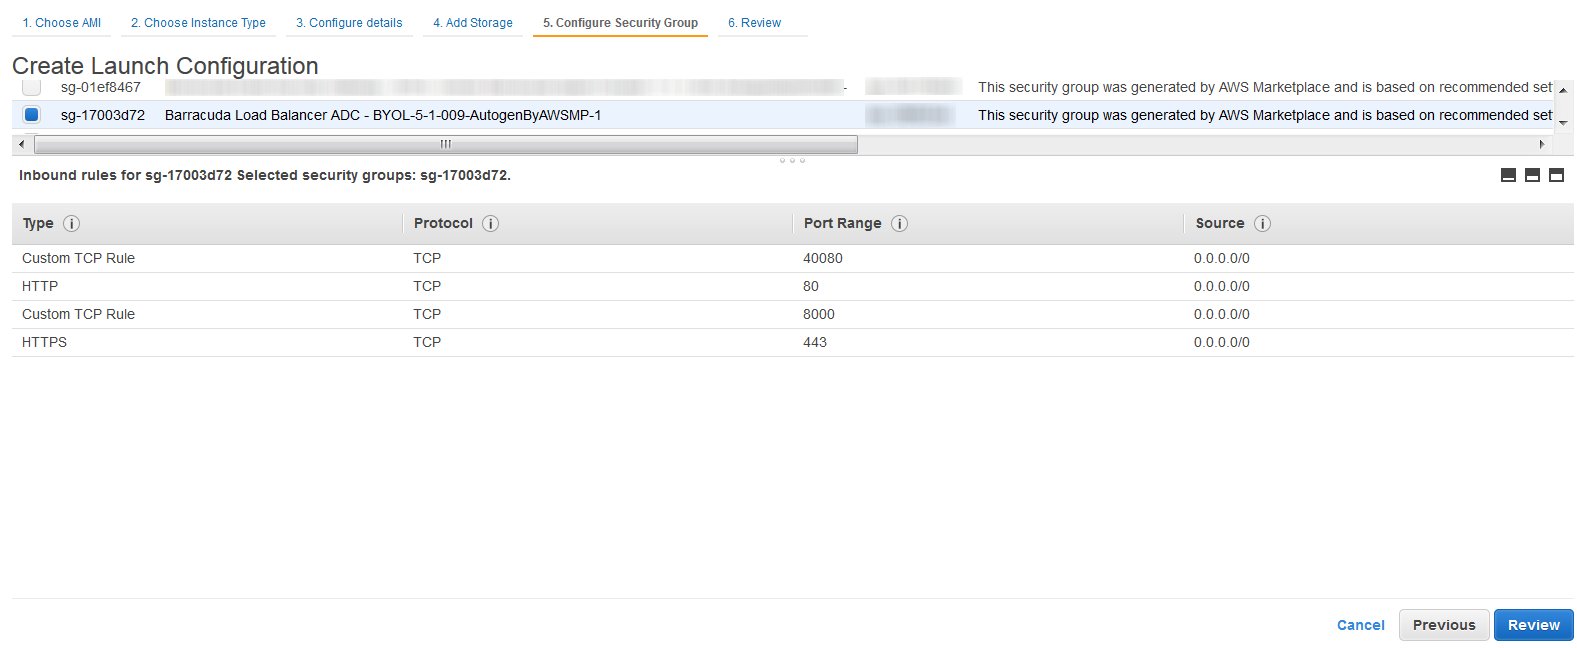
- On the 5: Configure Security Group page:
- Choose Select an existing security group under Assign a security group.
- Select the security groups that you created and click Review.
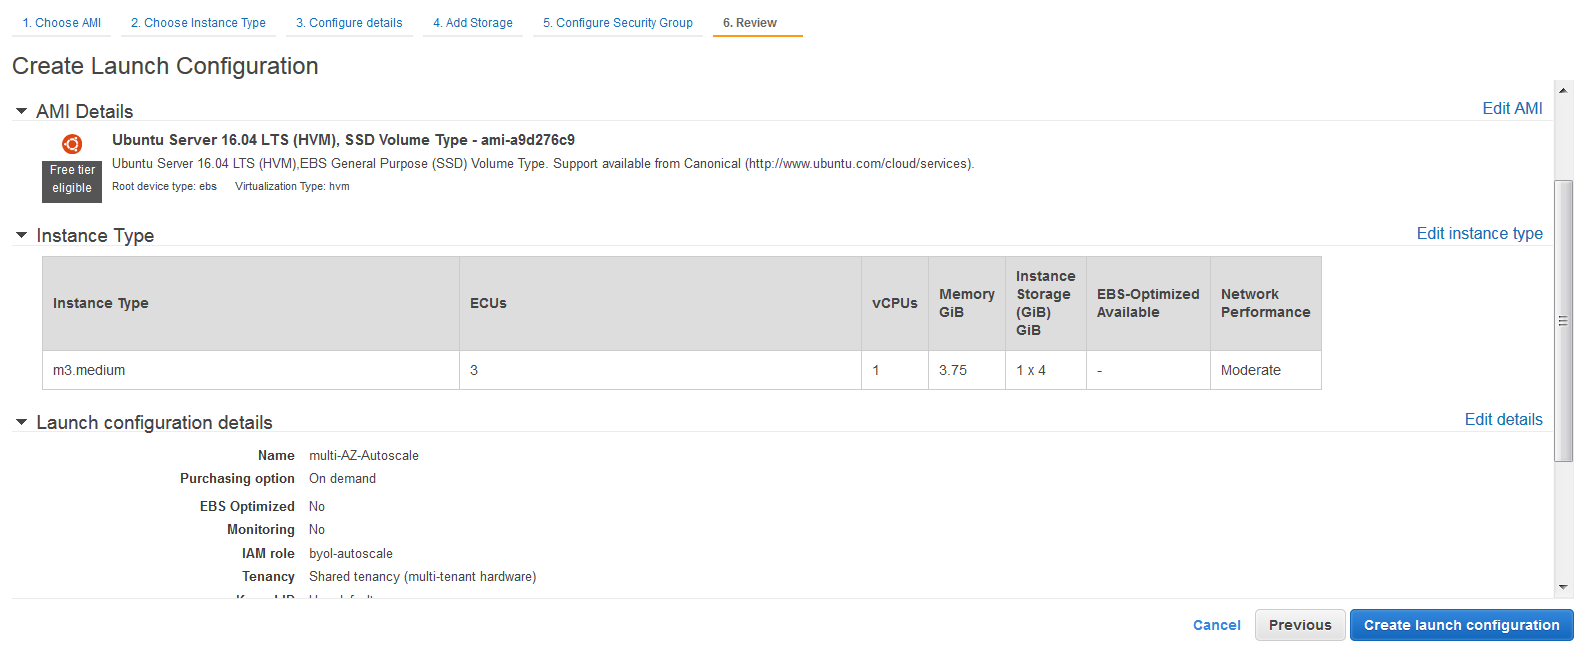
- On the 6: Review page, review your settings and click Create launch configuration.
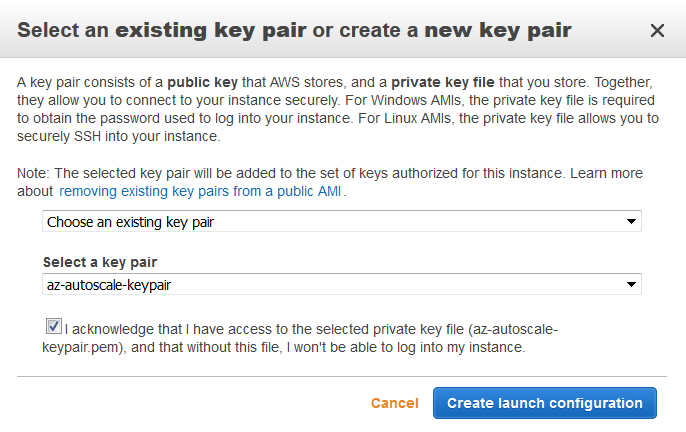
- In the Select an existing key pair or create a new key pair pop-up window:
- Choose an existing key pair or create a new pair.
- Select the I acknowledge that I have access to the selected private key file ("key pair name"), and that without this file, I won't be able to log into my instance check box.
- Click Create launch configuration.
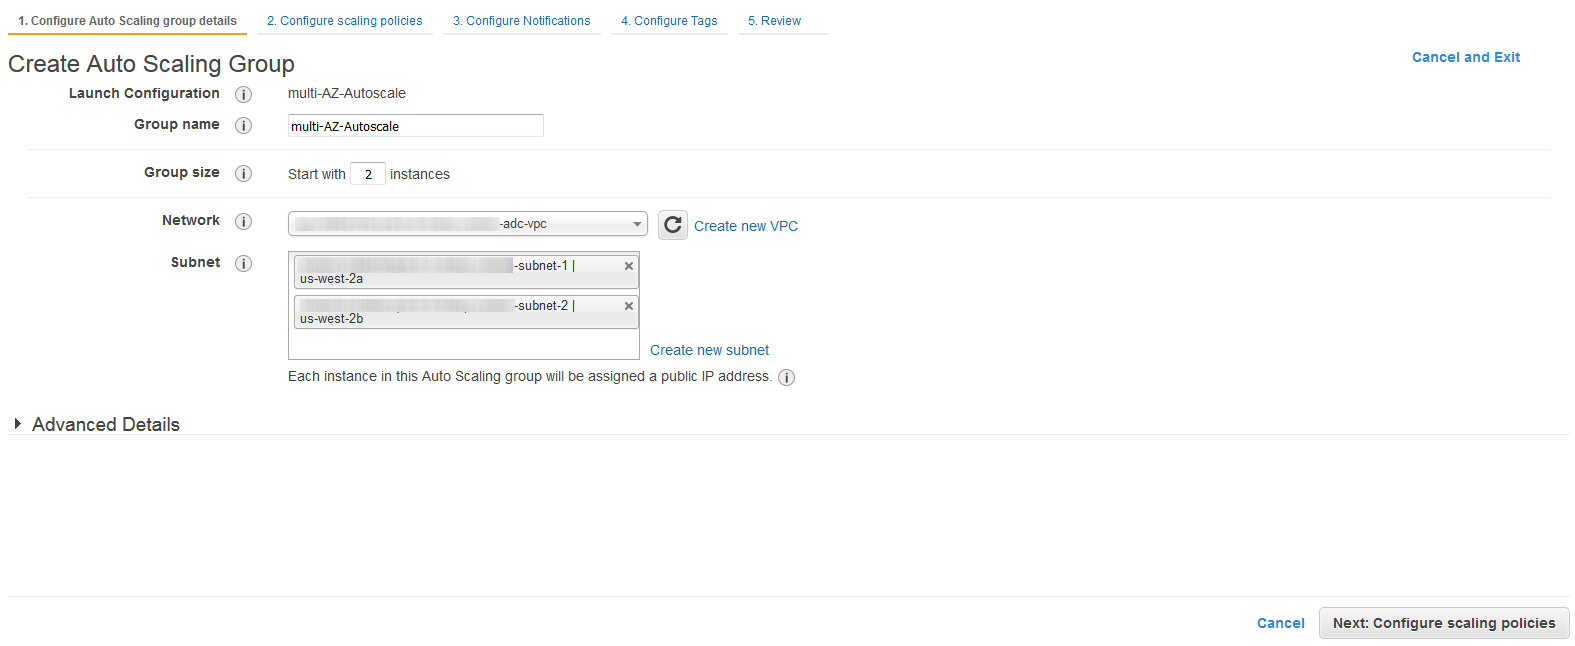
- On the 1. Configure Auto Scaling group details page, specify values for the following:
- Group name: Enter a name for the auto scale group.
- Group size: Enter the number of instances you want to add in the auto scale group.
- Network: Select the VPC created by you.
- Subnet: Select the subnets created for the VPC.
- Click Next: Configure scaling policies.
- Group name: Enter a name for the auto scale group.
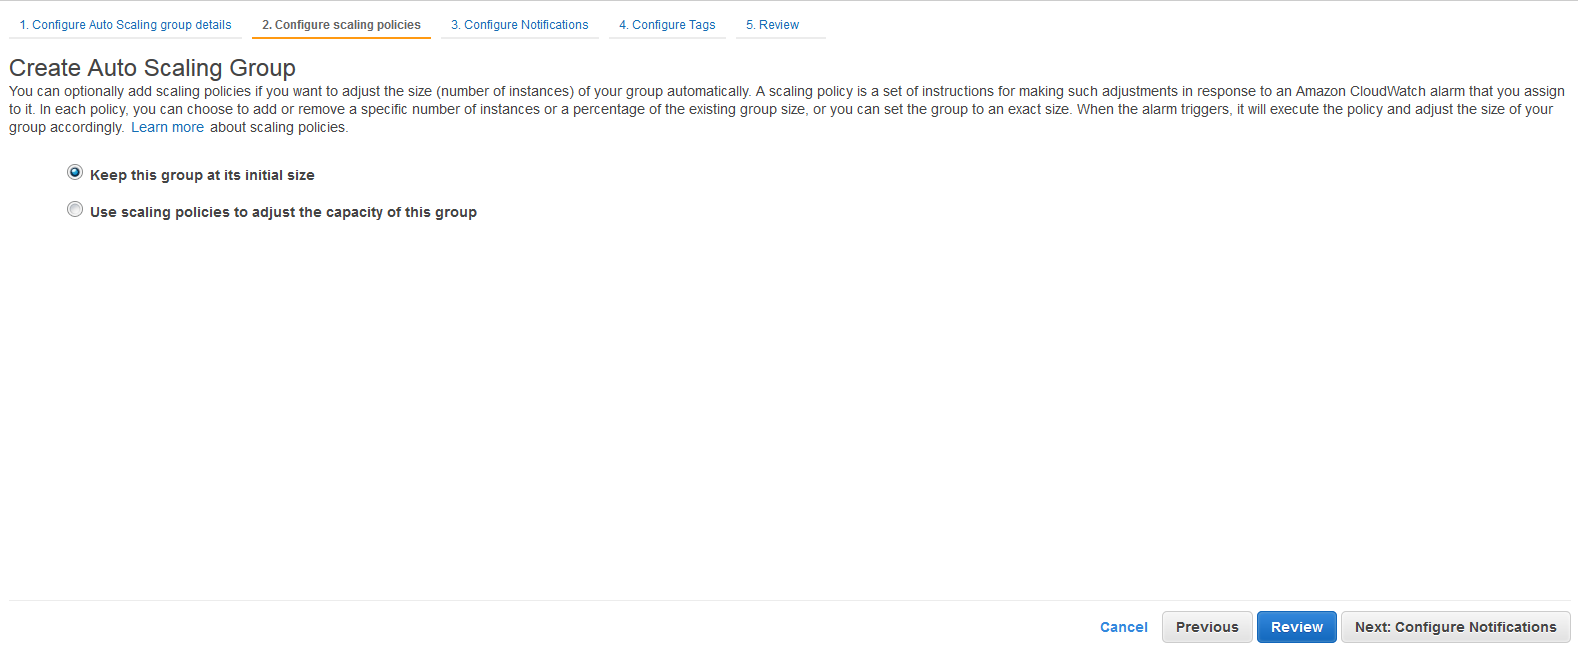
- On the 2. Configure scaling policies page, select Keep this group at its initial size or select Use scaling policies to adjust the capacity of the group to configure as per your requirement.
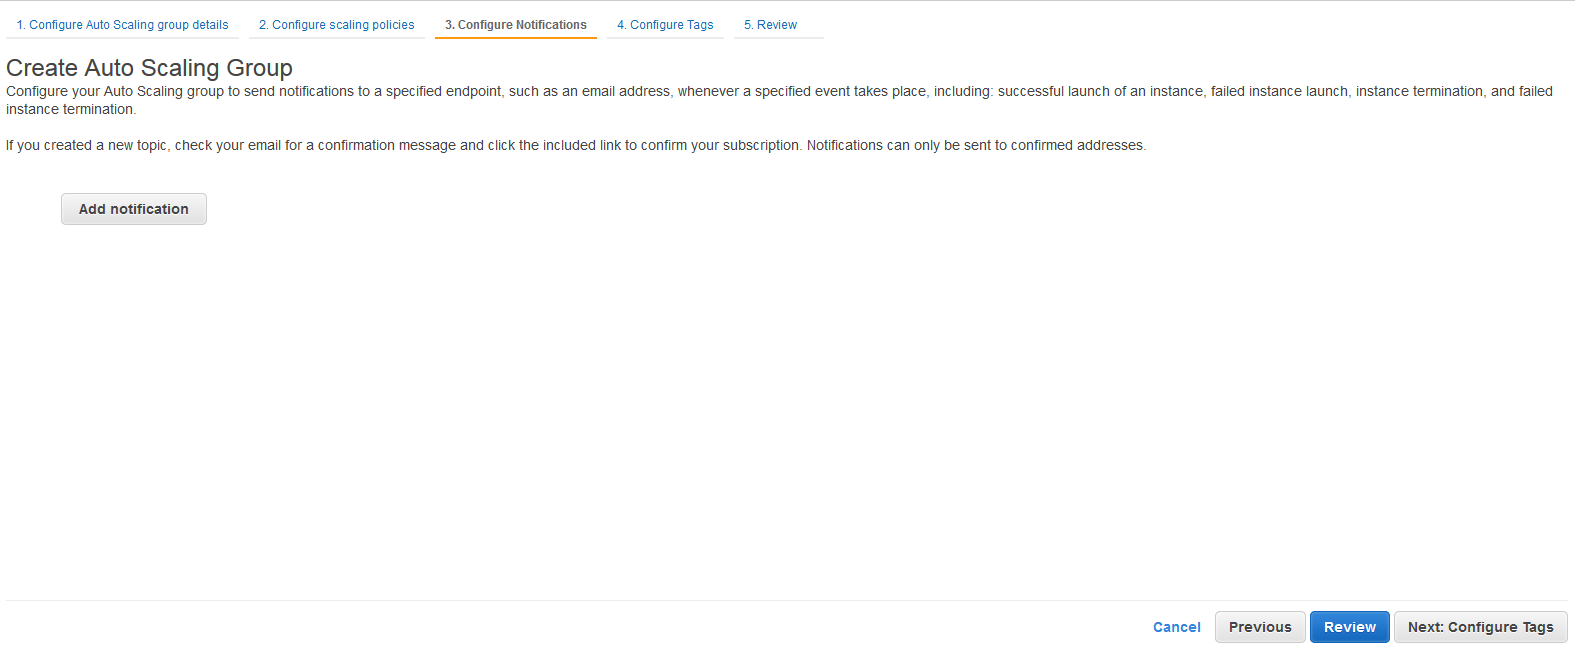
- On the 3. Configure Notifications page, click Add notification to configure notification settings (if required).
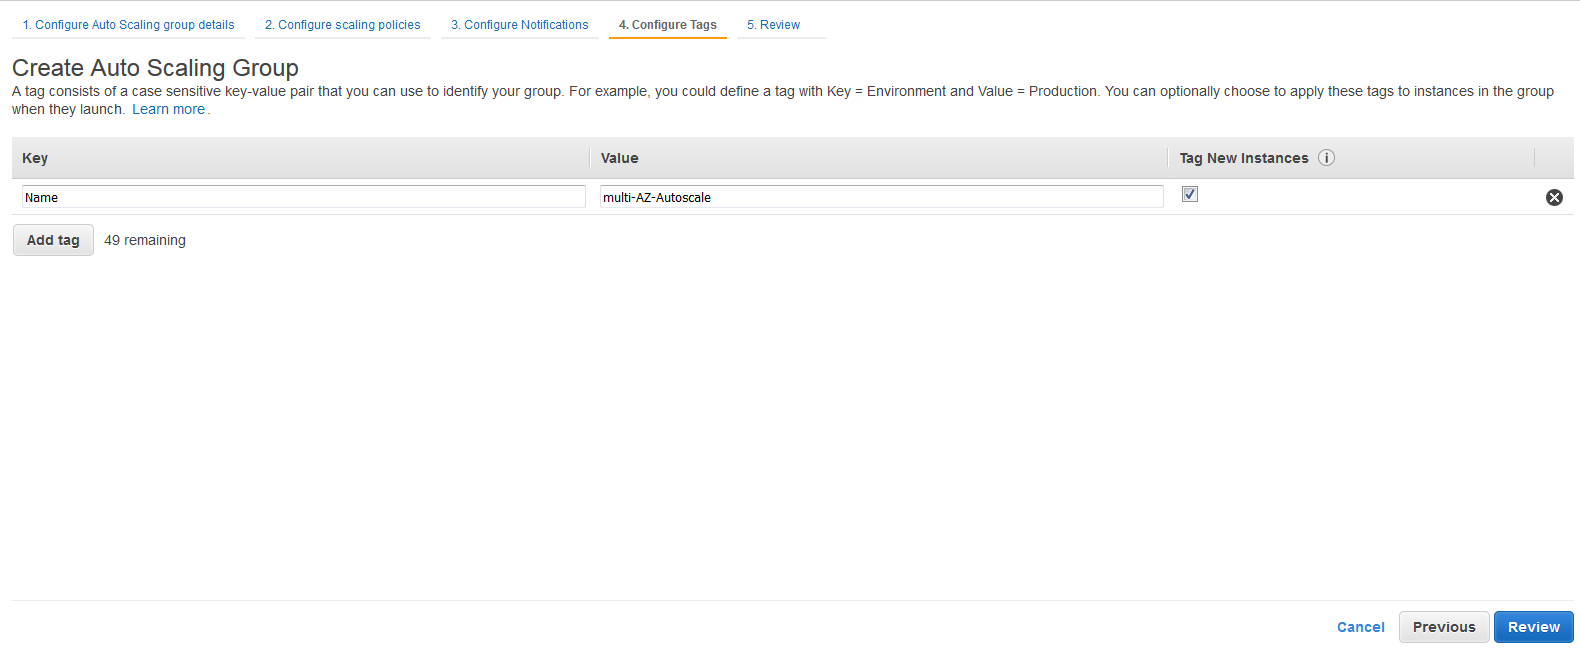
- On the 4: Configure Tags page, add/remove the tags for the instance (if required) and click Review.
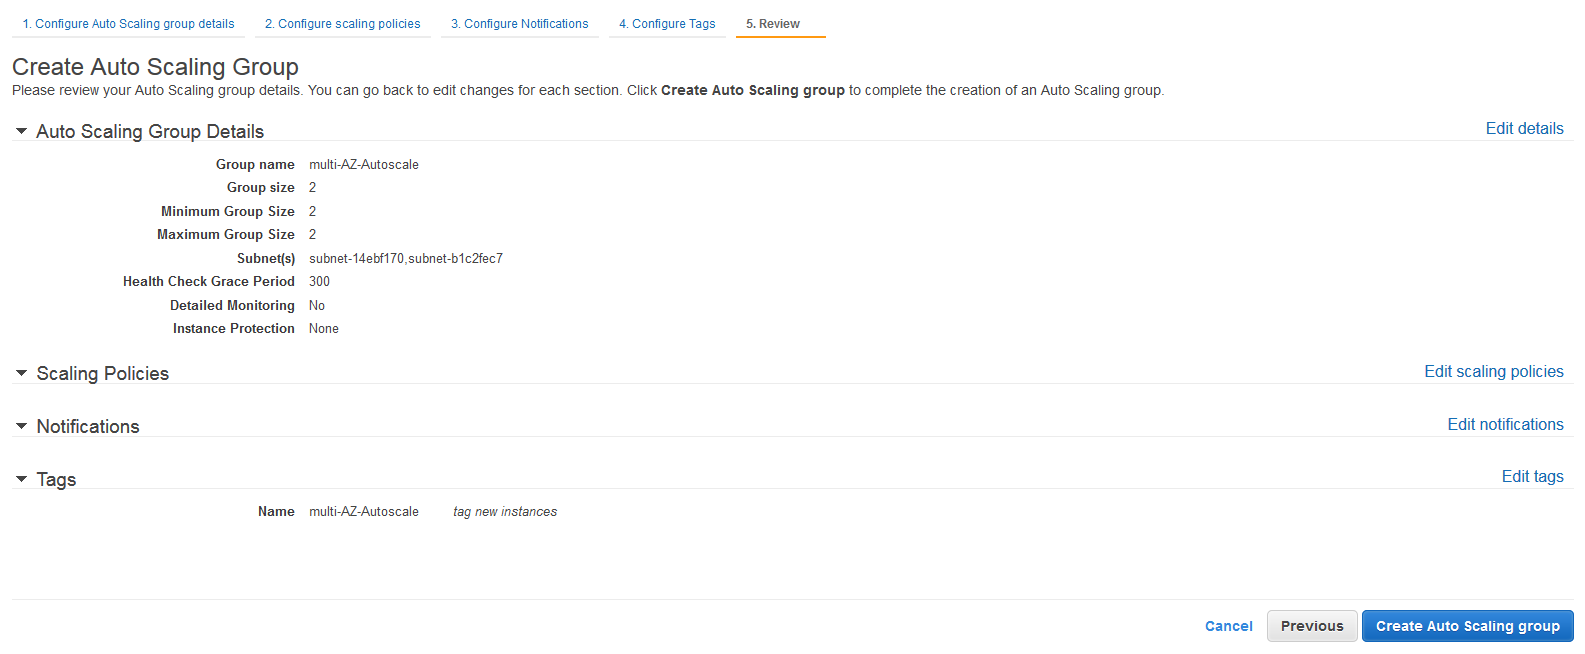
- On the 5: Review page, review your settings before creating the auto scaling group, and click Create Auto Scaling group.

- The created auto scale group gets displayed in the auto scale group list.

To configure auto scale group as your servers, use the Barracuda Load Balancer ADC web interface. Refer to Clustering the Barracuda Load Balancer ADC Instances in Different Availability Zones.
Next Step
Continue with Clustering the Barracuda Load Balancer ADC Instances in the Same Availability Zone or Clustering the Barracuda Load Balancer ADC Instances in Different Availability Zones.