

This article refers to the Barracuda Message Archiver firmware version 5.1.1 or higher.
Assign a PST File
Use the following steps to assign a PST file to an LDAP user and make the contents searchable from within the web interface:
- Log in to the web interface, go to the BASIC > Search page, and click the PSTs & Tags tab.
- Expand PSTs, and then expand the Unassigned PSTs folder.
- Right-click on a PST file, and click Assign PST.
- In the Assign PST dialog box, enter the first few characters of either the username or the email address of the user to which to assign the PST file:
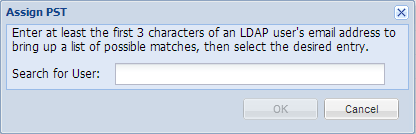
As you type in the user field, matching users display in a drop-down list. Select the user to which to assign the PST file, and click OK.
- The PST file now displays in the Assigned PSTs folder under the selected user name.
Unassign a PST File
To unassign a PST file, complete either of the following actions:
- Right-click the PST file and click Unassign PST; the PST displays in the Unassigned PSTs folder
- Click and drag the PST file to the Unassigned PSTs folder