

This article refers to Barracuda Message Archiver Legacy Release firmware or higher, and a Microsoft Exchange Server 2007 and 2010.
Register Each Exchange Server as a Trusted SMTP Server
To ensure that journaled message archiving begins as soon as your Exchange Servers are configured to send them, register each Exchange Server as a Trusted SMTP Server with the Barracuda Message Archiver (on the Mail Sources > SMTP page) prior to configuring your Exchange Servers. Also see Understanding SMTP Forwarding and Trusted Servers.
Once the Barracuda Message Archiver is configured to receive SMTP traffic, you must complete the following from the Exchange Management Console (EMC) of each Exchange Server that will be journaling directly into the Barracuda Message Archiver:
- From Recipient Configuration – Create a Mail Contact that is to act as the recipient of all journaled messages.
- From Organization Configuration > Hub Transport – Create the following items:
- a (non-routable) Remote Domain, to act as the recipient domain for journaled traffic
- a Send Connector, for routing journaled messages
- a Journaling Rule to actually enable journaling on your Exchange Server
Configure the Barracuda Message Archiver
On the Barracuda Message Archiver, use the the following steps to enable SMTP forwarding:
- Go to the Mail Sources > SMTP page.
- In the Trusted SMTP Servers section, enter the IP address of each Exchange Server that is to journal directly to the Barracuda Message Archiver.
Create a Remote Domain
The Remote Domain must be a non-existent or externally non-routable and unresolvable domain, from either inside or outside your organization, and must match the Mail Contact that is the recipient of journaled messages as it is used by the Exchange Server for routing all SMTP Journal traffic. Use the following steps to create a remote domain:
- Open the EMC, expand Organization Configuration, select Hub Transport, and click the Remote Domains tab in the center pane.
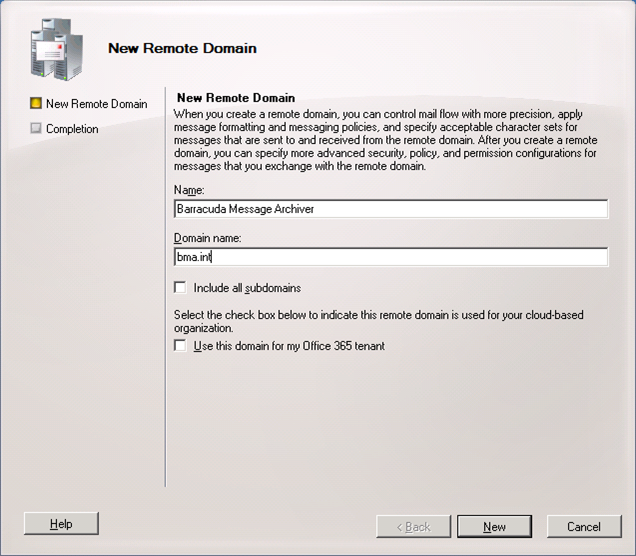
- In the Actions panel in the right pane, click New Remote Domain. The New Remote Domain dialog displays.
- Enter a Name to describe the domain, and the actual Domain name you want to use. In this example, bma.int is the "fake" domain name that is used. You will use this domain name later when creating the Mail Contact:
- Click New to verify the domain settings, and click Finish to save your settings. The newly created domain displays in the Remote Domains list.
- Double-click on the newly created domain to open the Properties dialog for the newly created domain, and:
- In Exchange 2007, select Format of original message sent as attachment to the journal report.
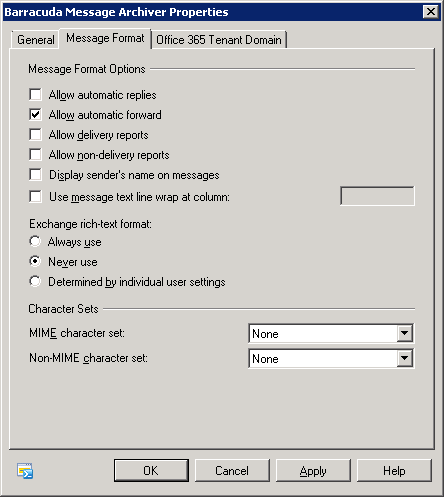
- In Exchange 2010, select the Message Format tab in the Properties dialog box.
- Select the following options to ensure journal messages sent to this domain are MIME Plain Text format (rather than the unsupported Exchange Rich Text format):
- In the Message Format Options section, turn on Allow automatic forward.
In the Exchange rich-text format section, select Never Use:
- Click Apply to save your settings, and click OK to close the Properties dialog.
Create a Mail Contact
The Mail Contact is the account that is to act as a "holding location" for journaled messages. The email address associated with this account is the designated recipient, and should be associated with a non-routable "dummy" domain name. Use the following steps to create a Mail Contact:
- In the EMC, expand Recipient Configuration, select Mail Contact, and in the Actions panel, click New Mail Contact:
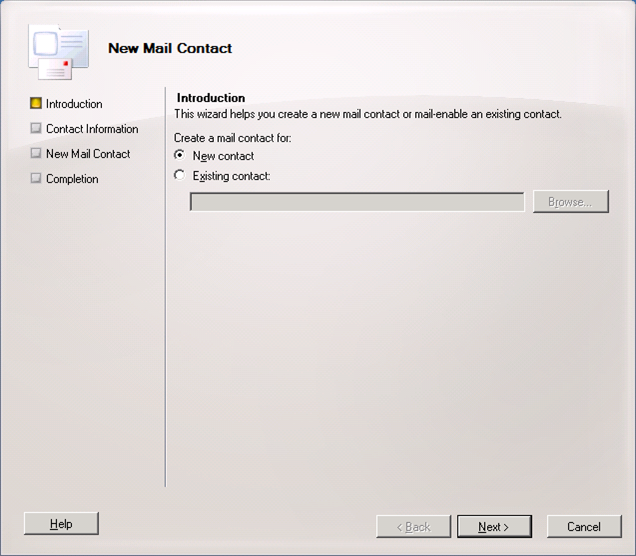
- In the dialog, select New Contact, and click Next.
- Enter a First name and Last name; the Name field automatically populates based on the entered values. Enter an Alias:
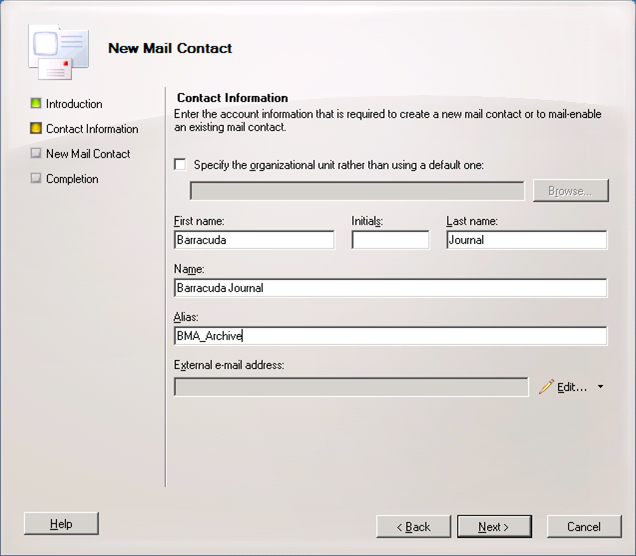
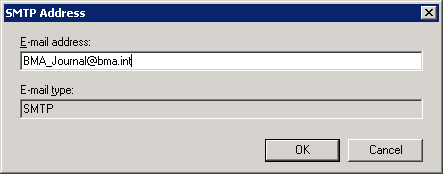
Click Edit to the right of the External e-mail address field, and in the SMTP Address dialog, enter the delivery email address, for example, BMA_Journal@bma.int:
- Click OK to close the dialog box. In the Wizard, click Next to verify the information:
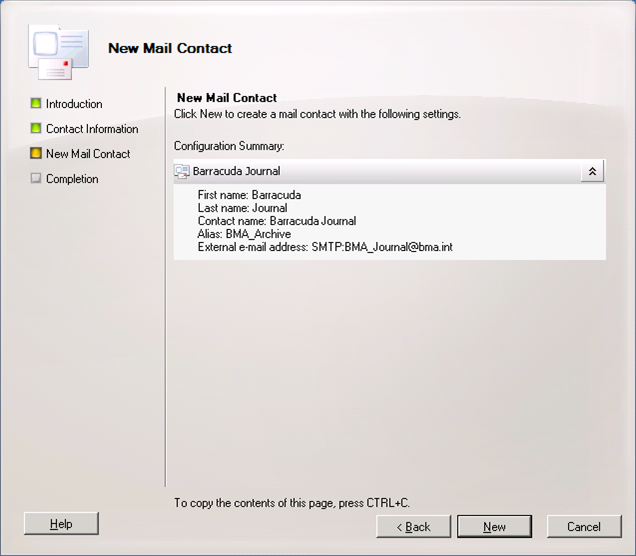
- Click New to create the Mail Contact. The newly-created contact appears in the Mail Contact list. Click Finish to close the Wizard.
Create a Send Connector
- In the EMC, expand Organization Configuration, select Hub Transport, and select the Send Connector tab. In the Actions panel, and click New Send Connector. The New Send Connector dialog displays. Enter a Name to identify this send connector, e.g., Barracuda Message Archiver:
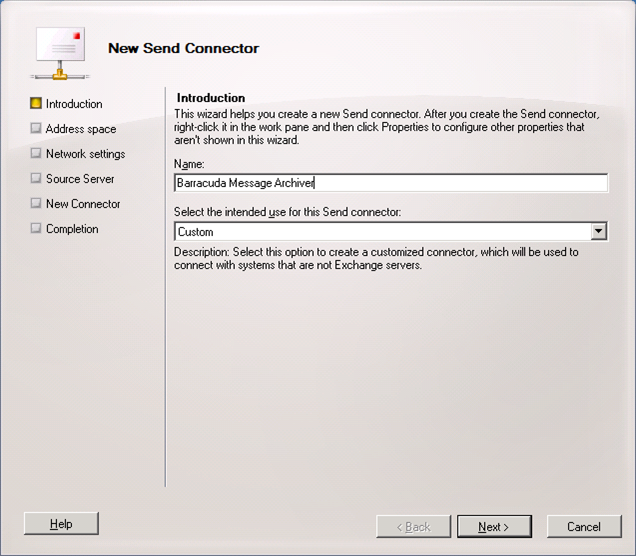
- From the Select the intended use for this Send connector menu, select Custom, and click Next.
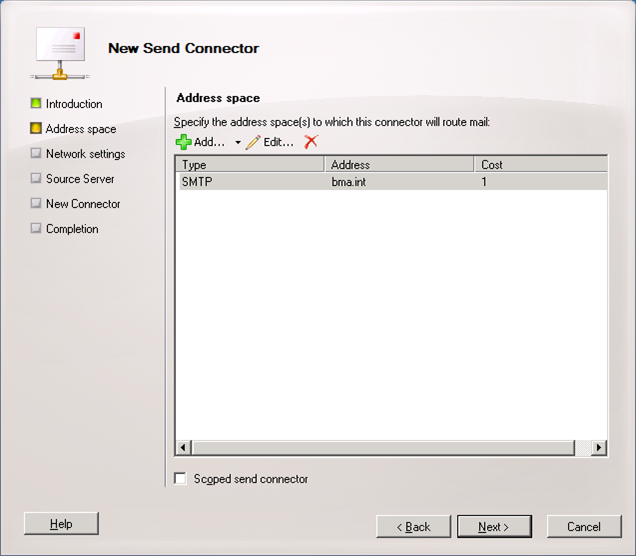
- In the Address Space section, click Add; the SMTP Address Space dialog box displays:

- In the Address space field, enter the domain created earlier, e.g., bma.int, and click OK. The SMTP connector is added:
- Click Next. Select Route mail through the following smart host:
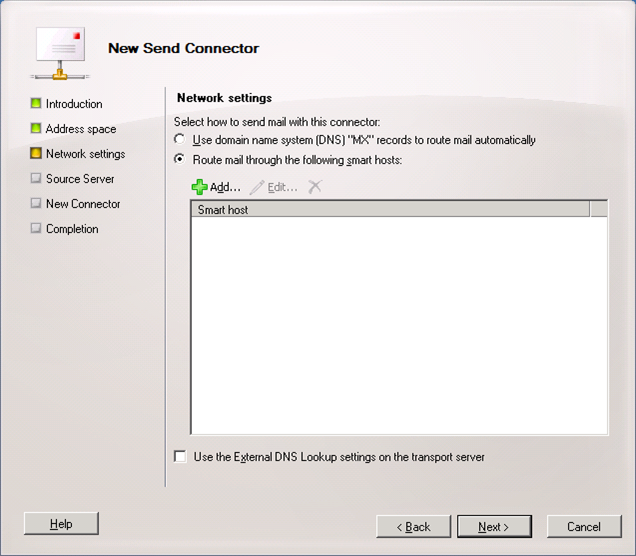
- Click Add. In the Add smart host dialog box, select IP address, and enter the IP address of your Barracuda Message Archiver:
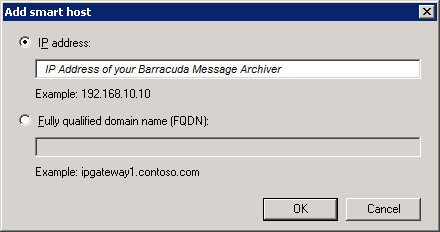
- Click OK to add the IP address. Click Next, then click Next again.
- In the Source Server page, if your Exchange server is not already listed, click Add to search for and add the server to this list. Click Next to verify your configuration, and click New to create the Send Connector. Click Finish to return to the Send Connectors tab; the newly-created Send Connector displays in the list.
- Right-click on the new Send Connector, and click Properties.
- In the Properties dialog box, clear Maximum message size (KB):
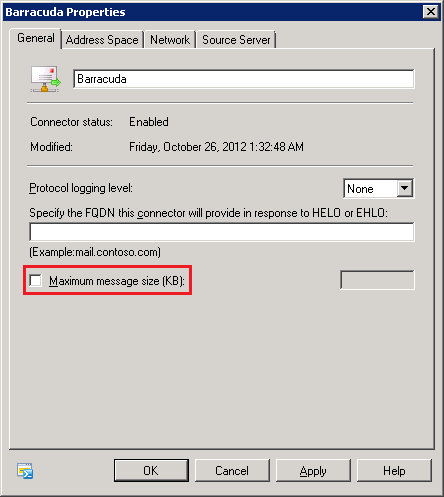
- Click Apply, and then click OK to save your changes and close the dialog box.
Create a Journaling Rule
Both the Standard and Enterprise versions of Microsoft Exchange Server 2007 and 2010 support Standard and Premium Journaling. Open the EMC, and complete the following steps to add a journaling rule:
- In the EMC, expand Organization Configuration, select Hub Transport, and select the Journal Rules tab.
- In the Actions panel, click New Journal Rule; the New Journal Rule dialog displays.
- Enter a Rule name, and for the Send Journal reports to e-mail address, click Browse and navigate to and select the mail contact created in the section Create a Mail Contact; for example, BMA_Journal@bma.int:
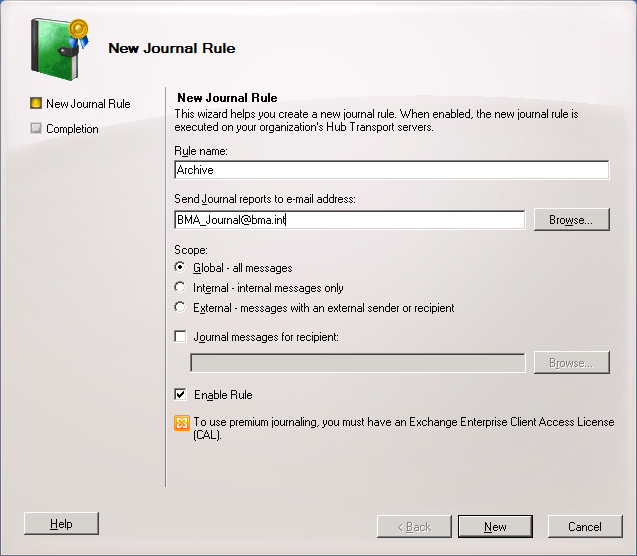
- Select the Scope for archiving; the recommended setting is Global - all messages for the most complete coverage.
- Turn on Enable Rule, click New to create the Journaling rule, and click Finish to return to the Journal Rules tab where the newly-created rule displays in the list.