This article refers to Barracuda Message Archiver Legacy Release firmware or higher.
This article applies to Barracuda Message Archiver Vx and VMware 5.5 with the VMware license which includes access to the vSphere Data Recovery API.
Use the OVF file ending in -5x.ovf for this hypervisor.
- Go to https://barracuda.com, and select Message Archiver from the Products drop-down menu.
- Click Models/Editions, and select Virtual from the Deployment options drop-down menu.
- Click Free Eval Unit or Purchase, fill out the form, and submit your request.
- An email is sent to the specified email address.
- Follow the instructions in the email to download and extract the Barracuda Message Archiver Vx .zip archive to a location that can be accessed from a machine running vSphere.
- Launch vShpere Client, and from the File menu, click Deploy OVF Template:
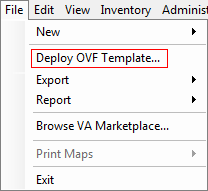
- The vSphere Client launches the Deploy OVF Template wizard.
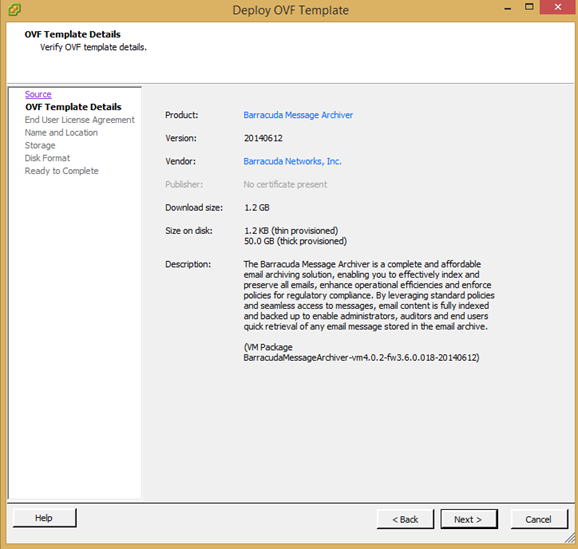
- Click Browse and navigate to the extracted folder and locate the Barracuda Message Archiver Vx .ovf file, for example, BarracudaMessageArchiver-vm4.0.2-fw3.6.0.018-20140612-5x.ovf. Click Next:
- In the wizard, complete the following:
- Review appliance information
- Accept the Barracuda End User License Agreement
- Name the appliance and define a location where the VM is to be created
- Select the datastore where the VMDK file is to be stored
- Select the disk format as thick provisioned
- Map the appliance to a network
- Review your settings, and then click Finish to deploy the appliance.
After deployment is complete, locate the appliance within the appropriate VM and resource pool.
Allocate Space for the Virtual Machine
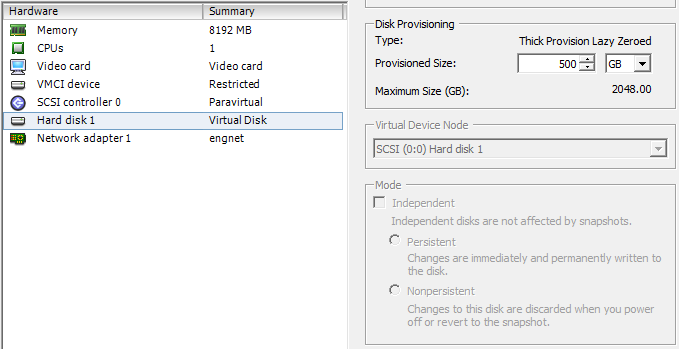
- With the VM powered off, select the appliance.
- Edit the appliance settings, and under Hard disk 1, specify the Provisioned Size:
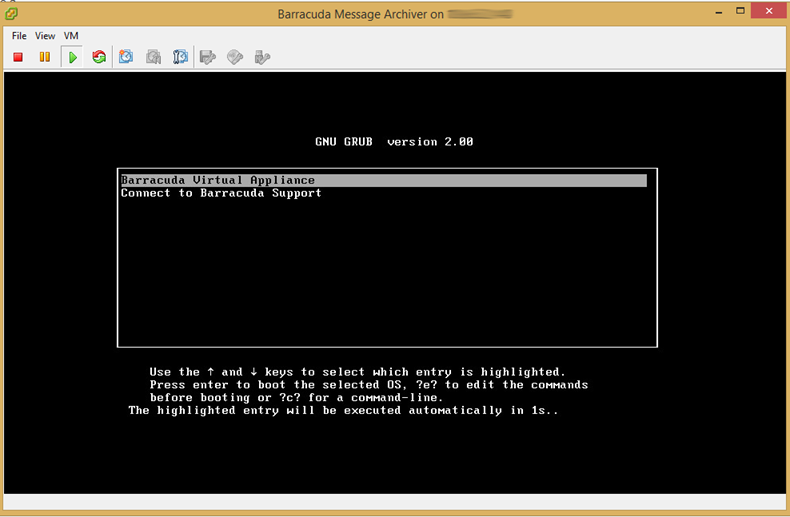
- Once defined, boot the virtual appliance by clicking the green arrow.
- The Barracuda Message Archiver Vx expands its partition space:
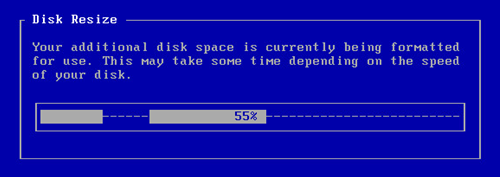
- After resizing a disk on the virtual machine (VM), click Yes during the reboot process to complete disk expansion:
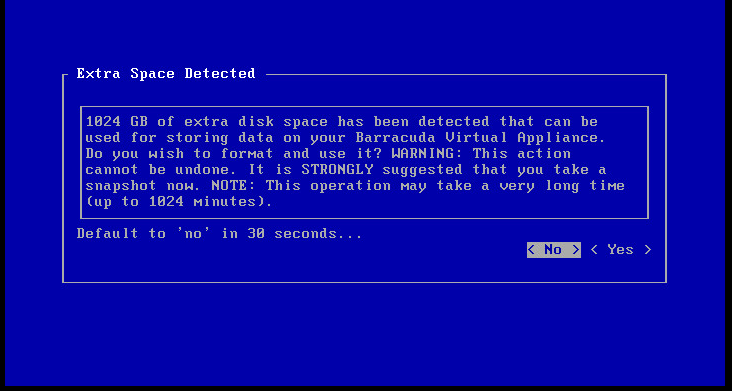
- The virtual appliance displays: