

Virtual machines (VMs) deployed from Amazon Marketplace prior to April 28, 2015 do not support Disk Expansion. If you deployed prior to this date and want to expand the disk, you must re-deploy using the latest VM AMI available in the Amazon Marketplace.
Perform the steps in this article to expand the deployed Barracuda Message Archiver disk on Amazon Web Services.
Step 1: Note the disk size of the Barracuda Message Archiver and stop the instance
- Log into the AWS EC2 Management Console.
- From the EC2 dashboard, select Instance under INSTANCES.
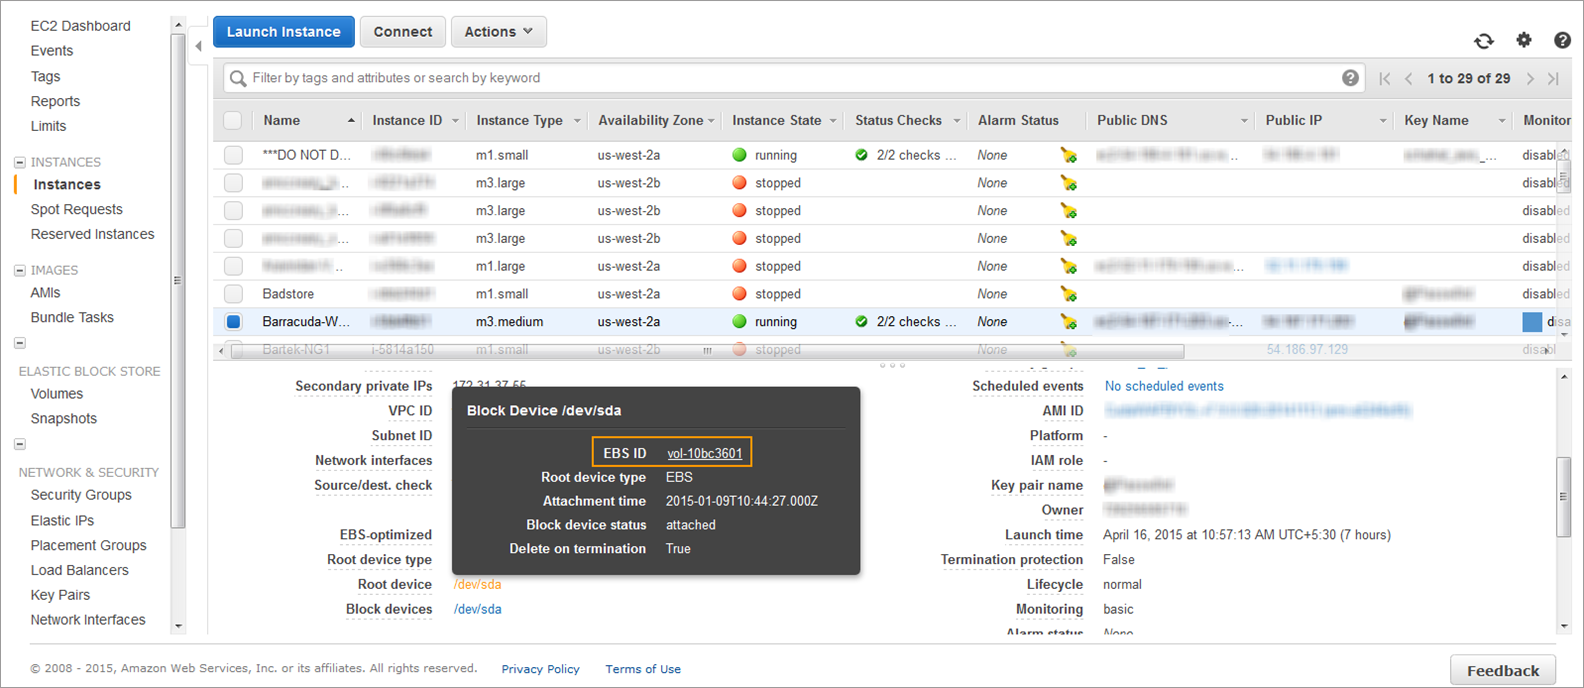
- In the Instances table, select the Barracuda Message Archiver for which you want to increase the disk size and note the following:
- Instance ID
- Availability Zone
- EBS ID by clicking on the Root device value.
- If the instance is running, ensure you shut down the instance by following the steps below:
- Right click on the instance, select Instance Settings and then select Change Shutdown Behavior.
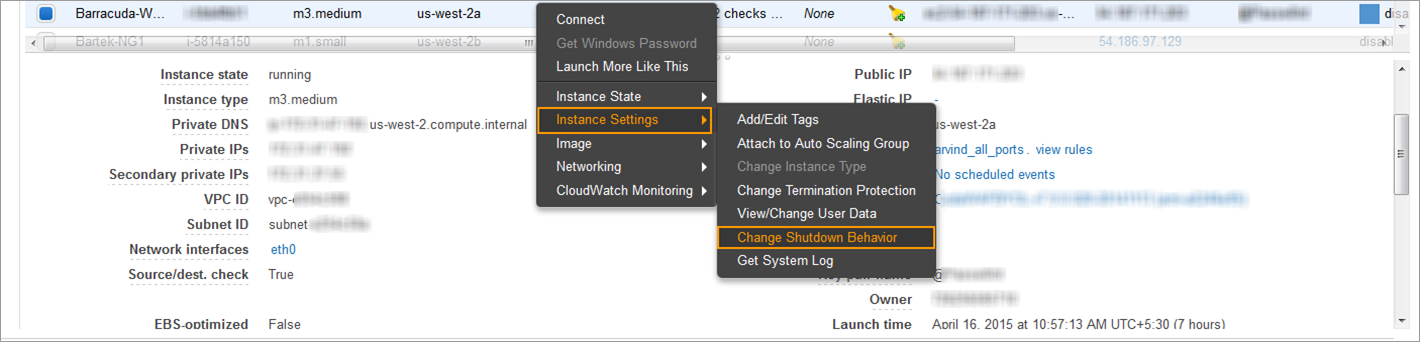
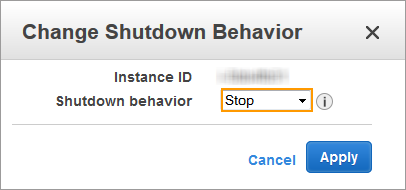
- In the Change Shutdown Behavior window, select Stop from the Shutdown behavior list and click Apply.
- Right click on the instance, select Instance Settings and then select Change Shutdown Behavior.
- If the Shutdown behavior is already set to Stop, then choose Cancel.
Step 2: Create a Snapshot of the Volume
- From the EC2 dashboard, select Volumes under ELASTIC BLOCK STORE.
- In the search filter, enter the EBS ID noted in step 3.c under Step.1: Note the disk size of the Barracuda Message Archiver and stop the instance.
- Right click on the volume, and select Create Snapshot.
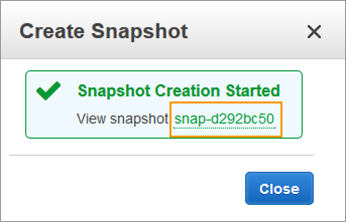
- In the Create Snapshot window, enter a name and description, and click Create.
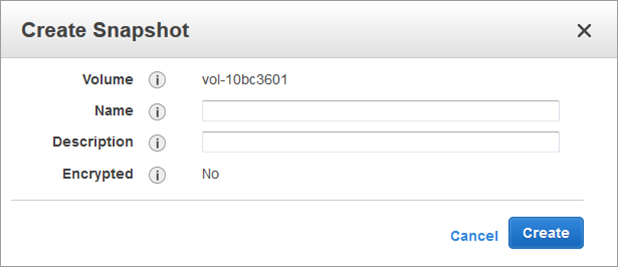
- Note the snapshot ID.
Step 3: Create a New Volume for the Snapshot
- From the EC2 dashboard, select Snapshots under ELASTIC BLOCK STORE.
- In the search filter, enter the snapshot ID noted in step 5 under Step.2: Create a Snapshot of the Volume.
- Right click on the snapshot when Status displays completed, and click Create Volume.
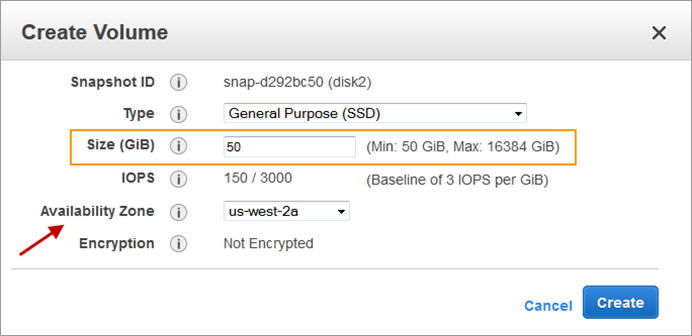
- In the Create Volume window, do the following:
- Select the desired volume type and enter a new volume size.
- Ensure the Availability Zone matches the instance Availability Zone noted in step 3.b under Step.1: Note the disk size of the Barracuda Message Archiver and stop the instance.
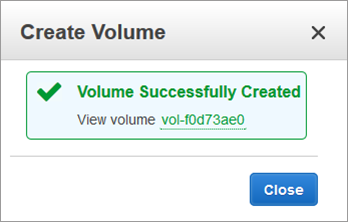
- Click Create.
- Note the volume ID.
Step 4: Detach the Old Volume from the Instance
- From the EC2 dashboard, select Volumes under ELASTIC BLOCK STORE.
- In the search filter, enter the EBS ID noted in step 3.c under Step.1: Note the disk size of the Barracuda Message Archiver and stop the instance.
- Right click on the volume, and select Detach Volume.
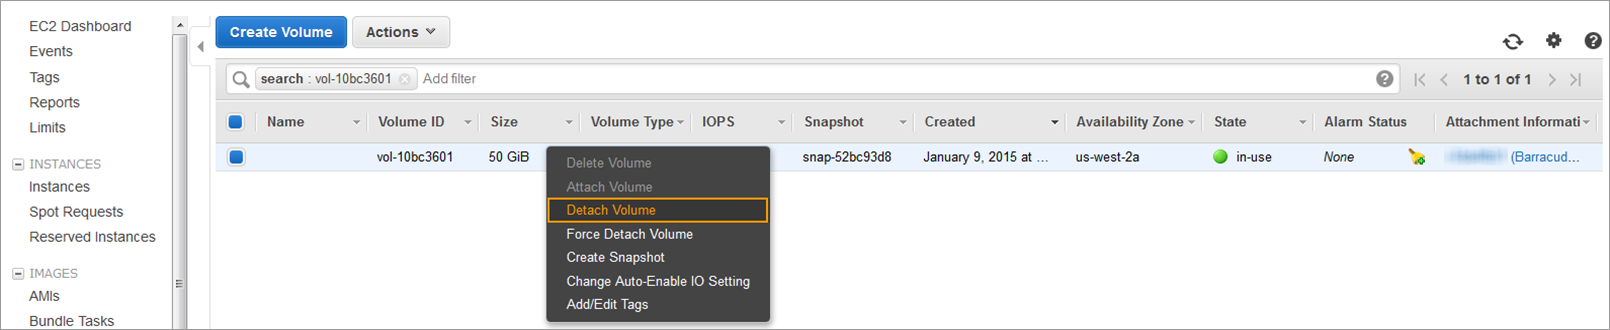
- In the Detach Volume window, click Yes, Detach to confirm.
Step 5: Attach the New Volume to the Instance
- From the EC2 dashboard, select Volumes under ELASTIC BLOCK STORE.
- In the search filter, enter the volume ID noted in step 5 under Step.3: Create a New Volume for the Snapshot.
- Right click on the volume, and select Attach Volume.
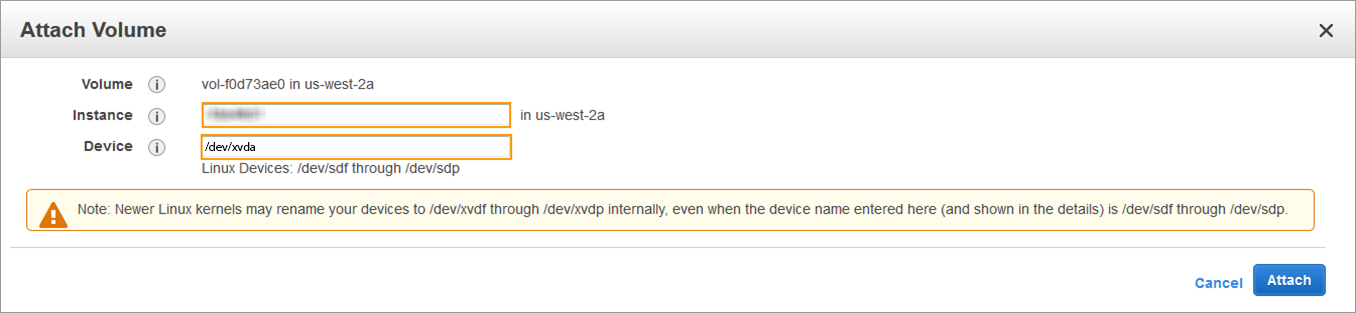
- In the Attach Volume window, do the following:
- Enter the name or instance ID in the Instance field, and select the instance noted in step 3.a under Step.1: Note the disk size of the Barracuda Message Archiver and stop the instance.
- Ensure the device name is /dev/xvda.
- Click Attach.
Step 6: Restart the Instance to Apply the New Volume
- From the EC2 dashboard, select Instance under INSTANCES.
- In the Instances table, select the Barracuda Message Archiver instance to which the new volume was attached in step 4 under Step.5: Attach the New Volume to the Instance.
- Right click on the instance, select Instance State and then select Start.
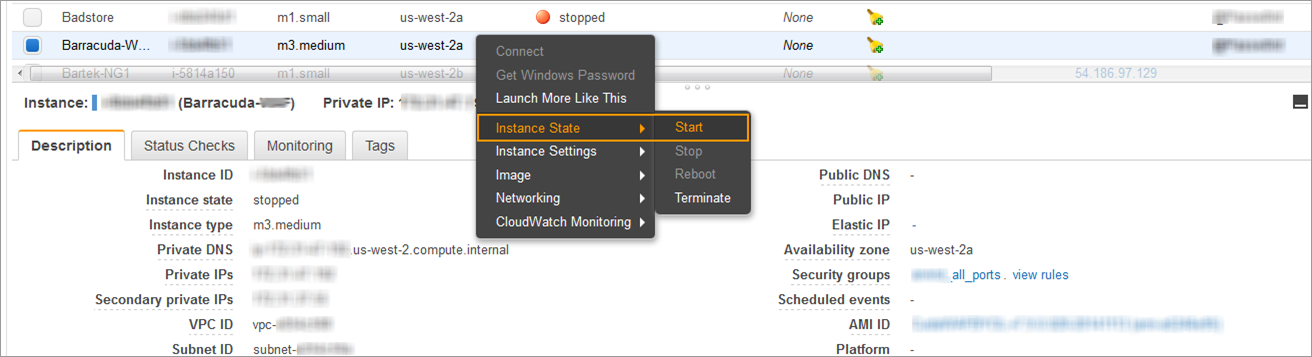
- In the Start Instances window, choose Yes, Start. If the instance fails to start, and the volume being expanded is a root volume, verify that you attached the expanded volume using the same device name as the original volume, that is, /dev/xvda.