

This article refers to the Barracuda Message Archiver Legacy Release firmware or newer, and Barracuda Backup Legacy Release firmware or newer.
Back up archives using Barracuda Backup via SMB access to the Barracuda Message Archiver's data partition.
Step 1. Barracuda Message Archiver
- Log in to the Barracuda Message Archiver as the administrator, and go to the Advanced > Backups page.
- In the Backup of Archives section, set Back Up Archives via SMB to Yes to allow access to the message store as an SMB share.
- Set a workgroup name and password to connect to the SMB share; note that the SMB share username is always smb:
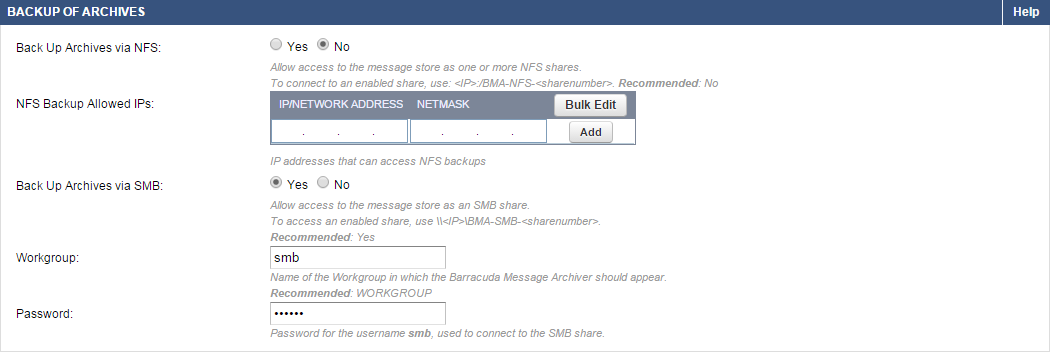
- Click Save to save your settings.
Step 2. Barracuda Backup
- Log in to Barracuda Backup as the Administrator, and go to the Backup > Sources page.
- Click Add a Computer. In the Add a Computer page, enter a Computer description and enter the IP address or fully qualified domain name in the Computer Name field.
- From the Computer Type drop-down menu, select Microsoft Windows:
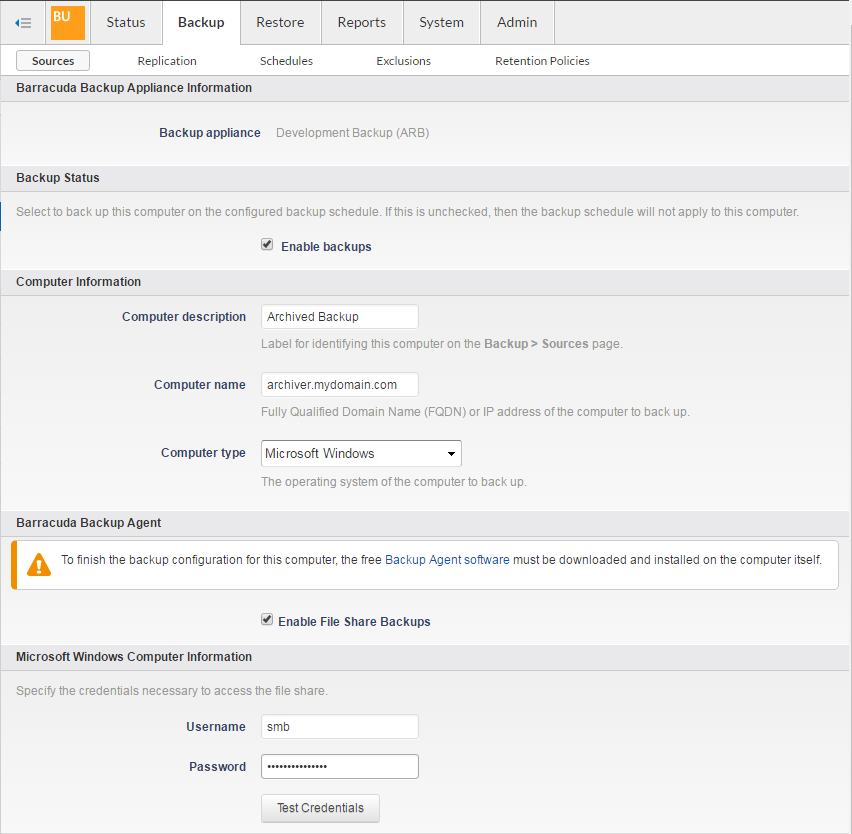
- Set Enable File Share Backups to On; enter smb as the Username.
- Enter the password you set up on the Advanced > Backups page in the Barracuda Message Archiver web interface, and then click Test Credentials to verify access to the file share.
- Click Save at the top of the page.
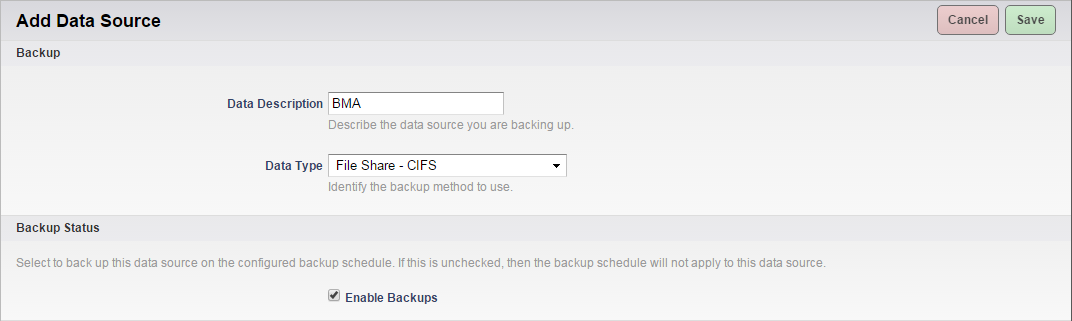
- In the Add Data Source page, from the Data Type drop-down menu, select File Share - CIFS, and verify Enable Backups is selected:
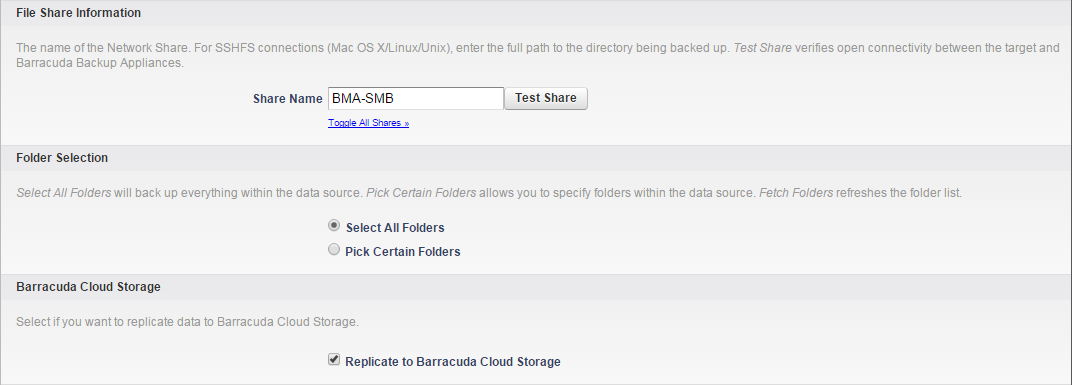
- In the File Share Information section, enter BMA-SMB as the Share Name, and click Test Share.
- In the Folder Selection section, specify which folders you want to back up.
- To replicate to the cloud, turn on Replicate to Barracuda Cloud Storage:
- Select the backup schedule for the SMB share.
- Click Save at the top of the page to save your configuration and add the data source.