

This article refers to the Barracuda Message Archiver firmware version 5.2 or higher.
For manual configuration steps, see Configure Manually.
- From a web browser, enter http:// followed by the IP address of the Barracuda Message Archiver, followed by the default Web Interface HTTP Port (8000). For example, type:
http://192.168.200.200:8000 - Log into the administration interface using admin for the username. For the password:
If your appliance serial number is higher than 1311431, then the default administrator password is the numeric portion of the serial number. If your serial number is 1311431 or lower, then the default administrator password is admin. For help finding the serial number of your appliance, see Serial Number for Hardware and Virtual Appliances. For security purposes, you must change the default password of the administrator account. Set a new administrator password and click Update Password. Note that the new password cannot be admin or the serial number.
- Go to the BASIC > Administration page, and click Launch Setup Wizard:

- The Welcome page displays:
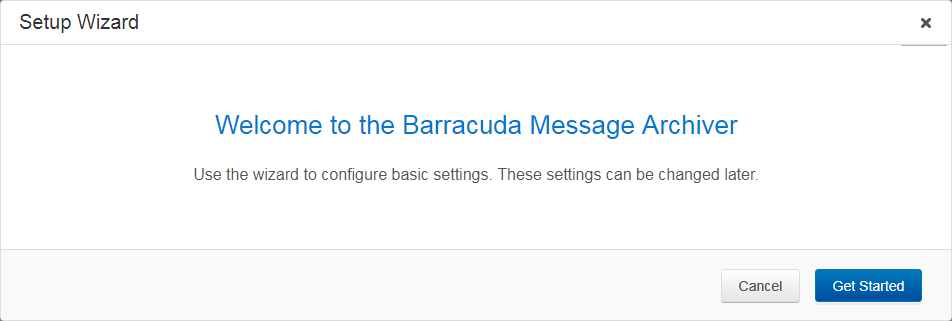
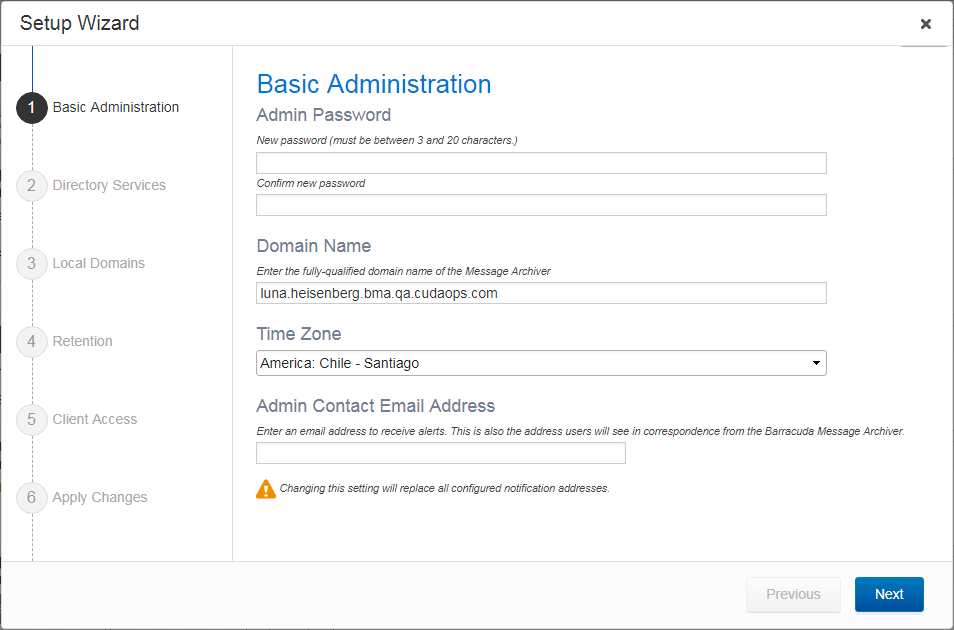
- On the Welcome page, click Get Started to launch the wizard. The Basic Administration page displays:
- In the Admin Password section, enter a new system password and confirm the new password. Your password must be between 3 and 20 characters. There are no special character requirements.
- In the Domain Name section, enter your Barracuda Message Archiver fully qualified domain name (FQDN).
- Verify the Time Zone setting. To change the time zone, click the drop-down menu and select a new time zone. This setting determines message delivery times. Note that the system reboots when the Time Zone setting is changed.
- In the Admin Contact Email Address field, enter the default admin contact email address. Enter one or more administrator email addresses to receive system alerts, notifications, and other urgent communications from Barracuda Networks.
Click Next. The Directory Services page displays. Use this page to set up LDAP authentication to store and administer Barracuda Message Archiver user accounts via your organization's LDAP servers.
Configure the Barracuda Message Archiver to use your LDAP server for authentication:
- Server Domain Name – Server Name/IP address
- Service Account Distinguished Name – The Bind DN (Username).
- Service Account Password – Bind password.
- Users Login with – UID Attribute (mail = Email and sAMAccountName = Username).
- Verify LDAP Certificate – Verify the LDAP server certificate prior to sending a bind request. Select Yes (recommended).
Click Advanced if you want to configure LDAP Search Base.
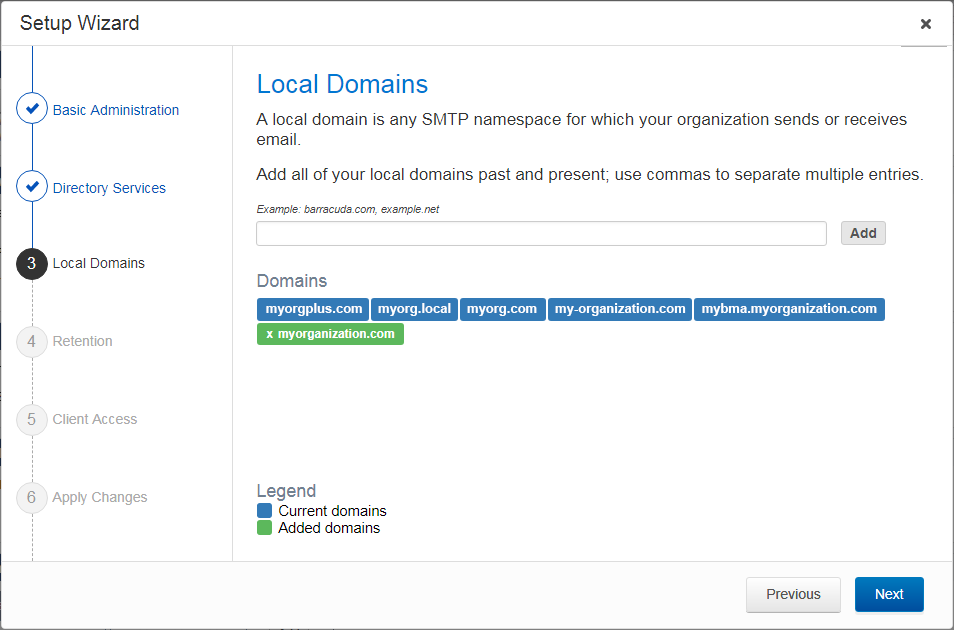
- Click Next. The Local Domains page displays. The wizard automatically populates the page with your local domains. To add additional domains, enter one or more local domains separated by commas, and click Add:
- The Retention page displays. Use this page to specify how long you want email archived. By default, archived messages are retained forever. To customize retention, click to toggle Automatic message deletion is enabled:
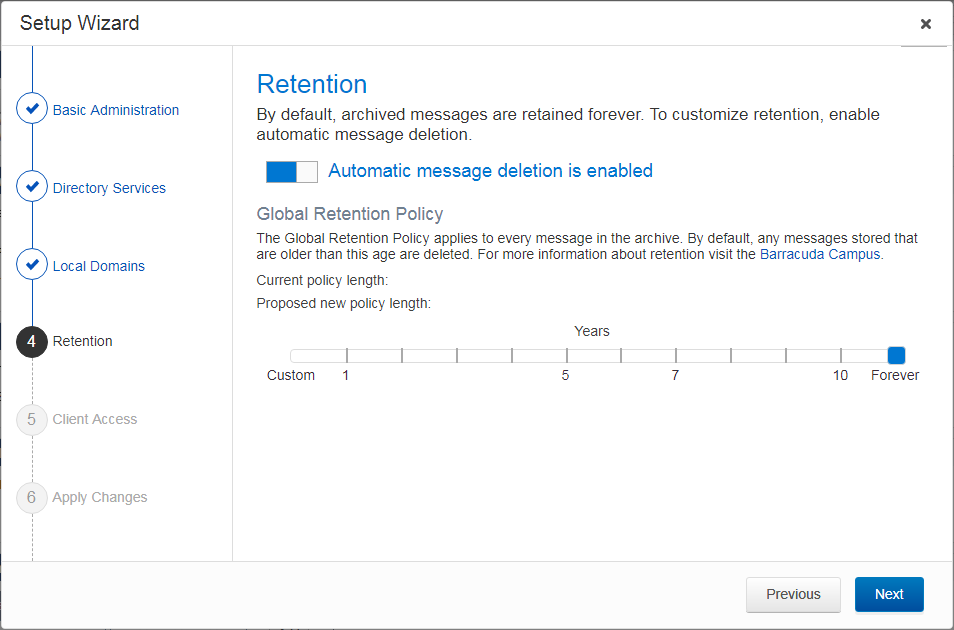
- When enabled, drag the Blue bar to set the Global Retention Policy; this applies to every archived message. When retention policies are run against the archived messages, any messages stored on the Barracuda Message Archiver older than this age are deleted unless they match an existing Saved Search policy.
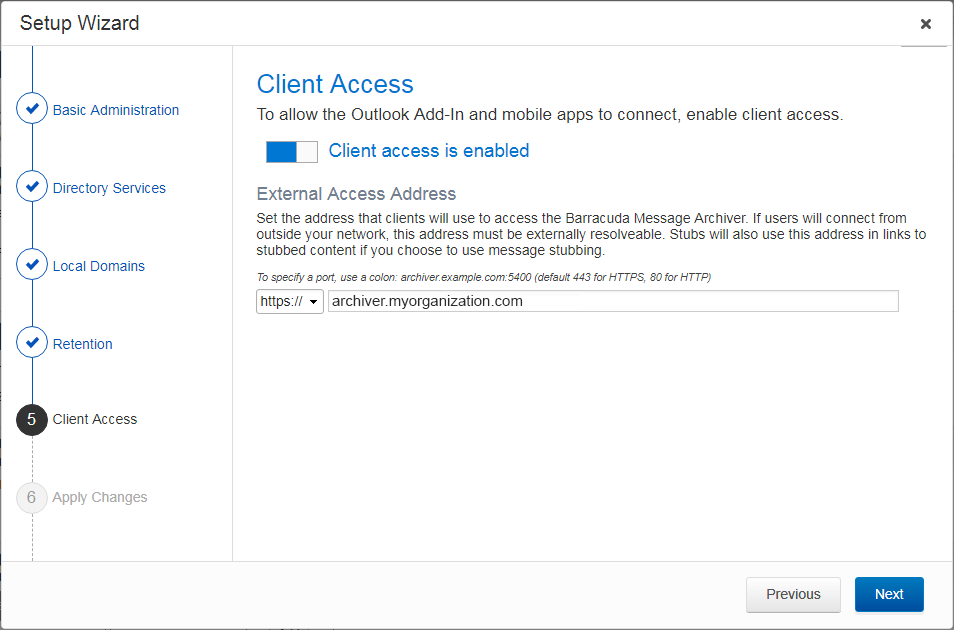
- Once you are satisfied with the retention settings, click Next. The Client Access page displays.
- On the Client Access page, toggle Client access is enabled to allow users to connect via the Archive Search for Outlook.
- In the External Access Address field, enter the address for user access to the Barracuda Message Archiver. If users will connect from outside your network, this address must be externally resolvable. If you select to use message stubbing, stubs will use this address in links to stubbed content:
- Click Next. The Apply Changes page displays:
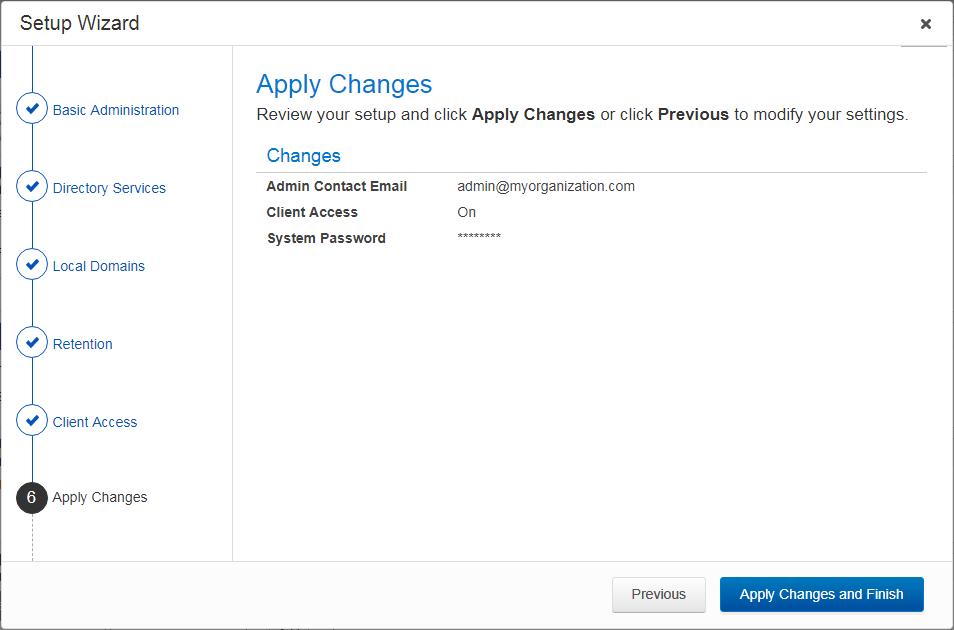
- Confirm your settings. Click Previous if you want to go back and modify settings. Once you are satisfied, click Apply Changes and Finish.
- The Finished page displays once your changes are applied. The wizard is now complete.
Continue with Step 4 - Choose Journaling Deployment.