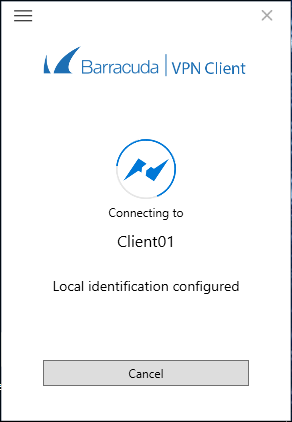
After installing and configuring the Barracuda VPN Client, you can initiate a VPN connection with the settings from a configured VPN profile. If you have Single Sign-On enabled, you can also establish the VPN connection prior to domain login.
Before You Begin
- Configure the Barracuda VPN Client settings. For more information, see How to Configure the Barracuda VPN Client for Windows.
- Create a VPN profile as described in How to Create VPN Profiles.
Initiate a VPN Connection
- Start the Barracuda VPN Client.
- Select a VPN profile from the VPN Profiles list.
- Right-click the profile and select Connect. (You can also click Connect after left-clicking the icon in the system tray.)
- Depending on the profile settings, enter the authentication credentials for server, license, or proxy:
- If the profile is configured for public key authentication, enter your Server Password and License Password credentials.
- If the profile is configured for simple username and password authentication, enter your Username and Password credentials.
If a server password is required, enter your Server Password credentials.
Click Connect.
To monitor the progress of your VPN connection, watch the status messages in the client window.

You can close the Barracuda VPN Client window but keep established VPN connections running in the background by clicking Close. You can establish and terminate VPN connections from the Barracuda VPN Client icon in the system tray. For more information, see How to Configure the Barracuda VPN Client for Windows.
Terminate a VPN Connection
To terminate an established VPN connection, select Disconnect in the client window. You can then establish a new VPN connection with a different VPN profile. The Barracuda VPN Client forks a background process that keeps running even if you exit the main client. When you terminate an established VPN connection, this background process is also terminated.
