

Install the Barracuda Network Access Client for Windows. This setup contains the Barracuda VPN Client, the Barracuda Personal Firewall, and the Barracuda Health Agent. Installation requires local administrator rights.
Requirements
- License – (depending on authentication type):
- Barracuda personal license
- X.509 certificate
Before You Begin
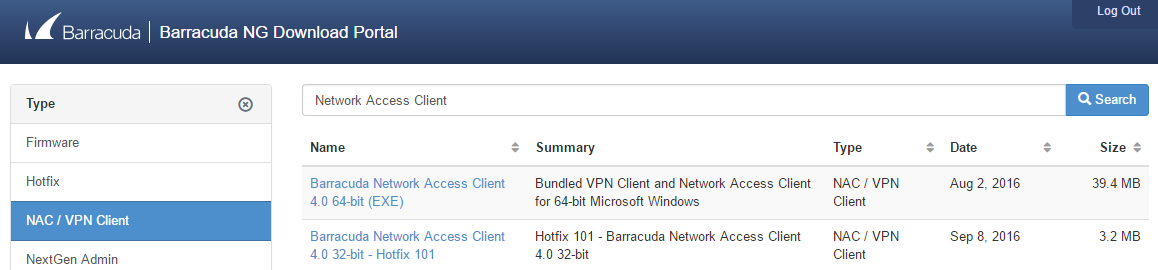
Download the 32- or 64-bit Network Access/VPN Client for Windows from the Barracuda Download Portal.
Install the Barracuda Network Access Client
Install the Barracuda Network Access Client on a dedicated Windows workstation.
- Double-click the setup.exe file for the Barracuda Network Access Client. The InstallShield Wizard then starts to prepare the installation files.
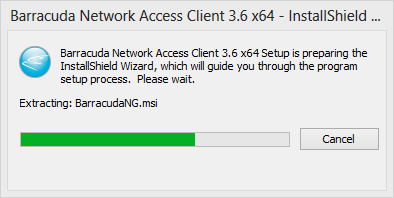
- After the installation files are prepared, the InstallShield Wizard starts the setup process. When a pop-up window opens and advises you to close all running programs, close the programs.
- Click Next to continue.
- Accept the License Agreement, and click Next.
- Enter your User Name and Organization. You can also choose to install the Barracuda Network Access Client for either Anyone who uses this computer (all users) or Only for me.
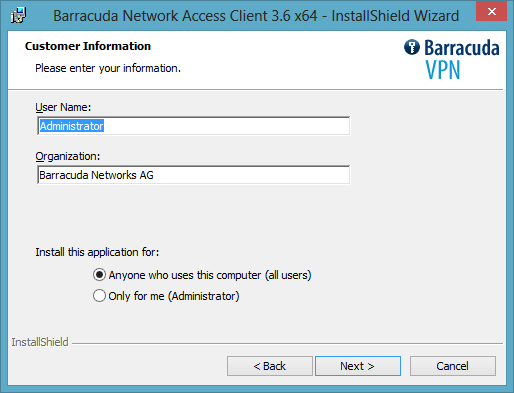
- Click Next to continue.
- Chose to install the Barracuda Network Access Client at the default location, or click Change and select another target directory.
- Click Next.
- Select Barracuda VPN and NAC Client to initiate a complete installation.
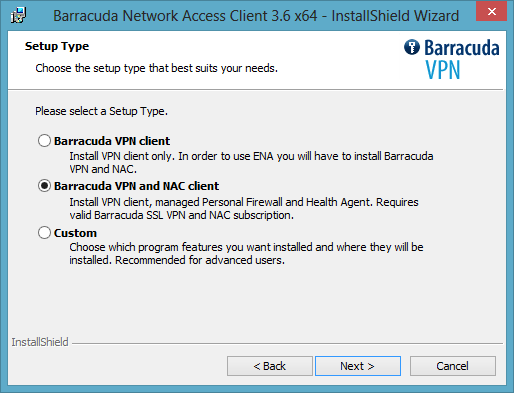
- Click Next.
- Configure the basic settings (you can also configure these settings later):
- VPN Server IP(s) – Enter one or more IP addresses for VPN servers. These will be used in the default VPN profile. Separate multiple entries with a semicolon (;).
- Network Access Control IP – If applicable, enter the IP address of the Access Control Service.
- Terminate Password – The master password that must be entered in the Barracuda Network Access Client by users before they can terminate the client or modify advanced settings. This is to prevent users from simply shutting down the client or modifying certain settings in order to bypass its security functions. Leave the field empty to disable the master password. The password set here can be changed later only via the Access Control Service in Barracuda Firewall Admin by navigating to Access Control Service Trustzone > Settings > Client Shutdown Passphrase.

- Click Next, and install the Barracuda Network Access Client.
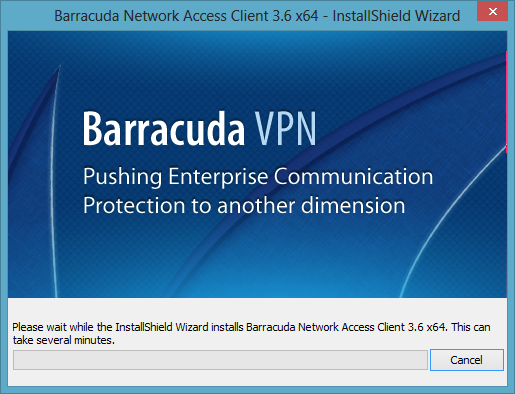
- Wait until the progress bar reaches 100%, indicating that the installation is complete. During this subprocess, the system's network connectivity will drop out for a few moments. When a pop-up window opens and advises you to restart your computer, click Yes.
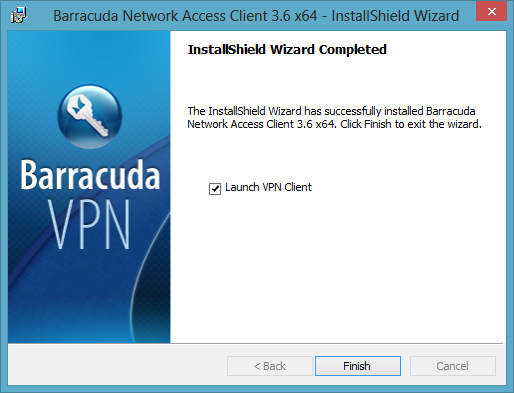
- The wizard tells you when the installation has been completed.
- To start the VPN Client when you click Finish, select the Launch VPN Client check box.
You can now connect and configure the settings. Continue with Getting Started.