

You can import VPN profiles and Barracuda Personal Licenses to the Barracuda Network Access Client and the Barracuda VPN Client using configuration files with the suffix *.vpn that can be configured and created within Barracuda Firewall Admin (for the importing process, see How to Import a *.vpn File into the VPN Client). Follow the instructions on this page to learn how to export a VPN profile from Barracuda Firewall Admin.
Creating a *.vpn File from a Barracuda Personal License
In Barracuda Firewall Admin, navigate to CONFIGURATION > Configuration Tree > Box > Assigned Services > VPN-Service > Client to Site.
Click Lock.
In the Pool Licenses tab, attach the VPN profile template to a Barracuda Personal License :
Open a previously prepared Barracuda Personal License by double-clicking it.
Select the configuration template to be used from the Template list, as shown in the figure below.
If required, edit the template by clicking the Template button.
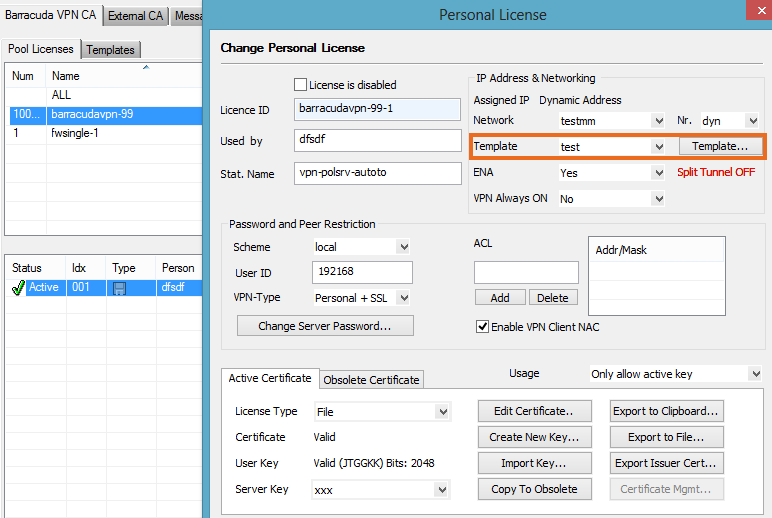
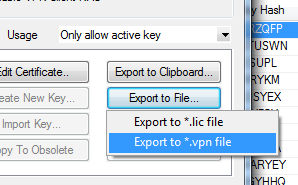
Click Export to File and select Export to *.vpn file to export the VPN profile containing your license.
On the Export VPN Profile page, enter a meaningful name for the profile into the Description field and adjust the other parameters as necessary.
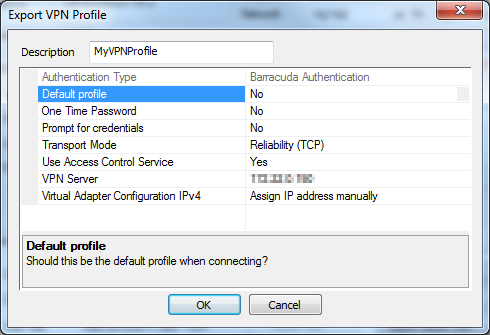
Click OK.
A dialog appears asking you to set a license password. You can either type in a password and click OK, or skip the password configuration by clicking No Password.
Choose a location to save the file, enter a name for the file, and click Save.
Creating a Group Policy-based *.vpn File
In Barracuda Firewall Admin, navigate to CONFIGURATION > Configuration Tree > Box > Assigned Services > VPN-Service > Client to Site.
Click Lock.
Navigate to Group Policy in the External CA tab.
Double-click a group policy in the list. The Edit Group Policy window opens.
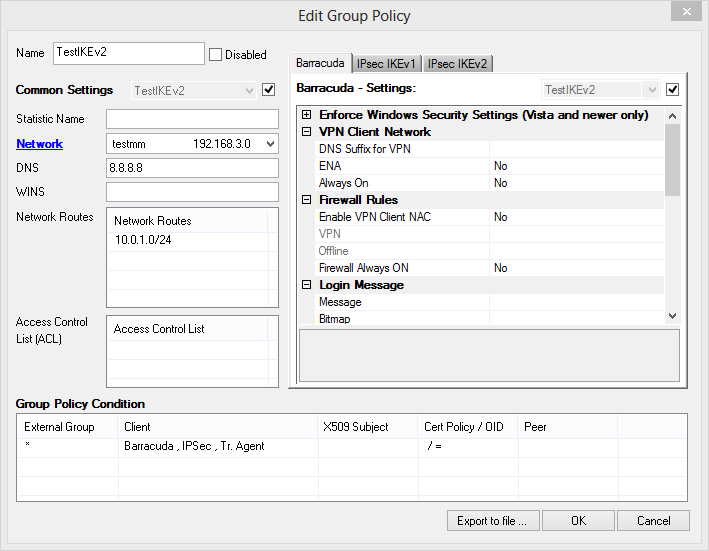
If necessary, modify the profile settings as needed.
Click Export to File in the bottom of the window.
On the Export VPN Profile page, enter a name for the profile into the Description field.
Adjust the other parameters as necessary.
Click OK.
A dialog follows asking you to set a password for the license. You can either type in a password and click OK, or skip the password configuration by clicking No Password.
Choose a location to save the file, enter a name for the file, and click Save.