

After installing the Barracuda VPN Client for macOS, configure your VPN connection settings. In the Barracuda VPN Client, your VPN connection settings are saved in a VPN profile. You can create a new VPN profile or edit an existing profile. The Barracuda VPN client offers support for numerous authentication methods (username/password, X.509 certificate, Barracuda Personal License, and SAML). For information on how to configure authentication schemes on the CloudGen Firewall, see Authentication in the Barracuda CloudGen Firewall documentation.
Before You Begin
For special characters in user credentials to work, the codepage must be configured to support UTF-8 on the Barracuda CloudGen Firewall. For more information, see Step 1 in How to Configure Offline Firewall Authentication in the CloudGen Firewall documentation.
Configure the VPN Client
In the Barracuda VPN Configuration window, you can specify the settings for a new VPN profile or edit the settings for an existing VPN profile. You can also delete or rename a selected profile on this page.
Launch the Barracuda VPN Client. You can access it through the Finder and the Launchpad. It resides in the Applications folder. (If the client has been downloaded from the Barracuda Download Portal, it must first be moved from the Downloads folder to the Applications folder.)
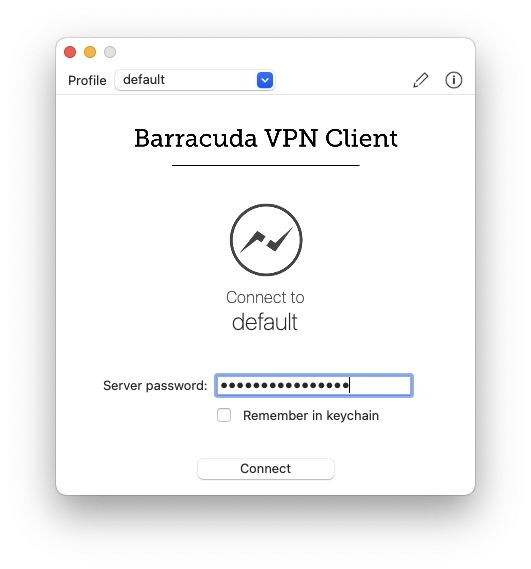
Click the pen icon next to the Profile drop-down list. The Barracuda VPN configuration window opens.
To edit an existing VPN profile, select the profile from the list. To add a new profile, click the + sign at the bottom of the profile list. To delete a selected profile, click the - sign. Clicking Cancel during the configuration process discards any changes.
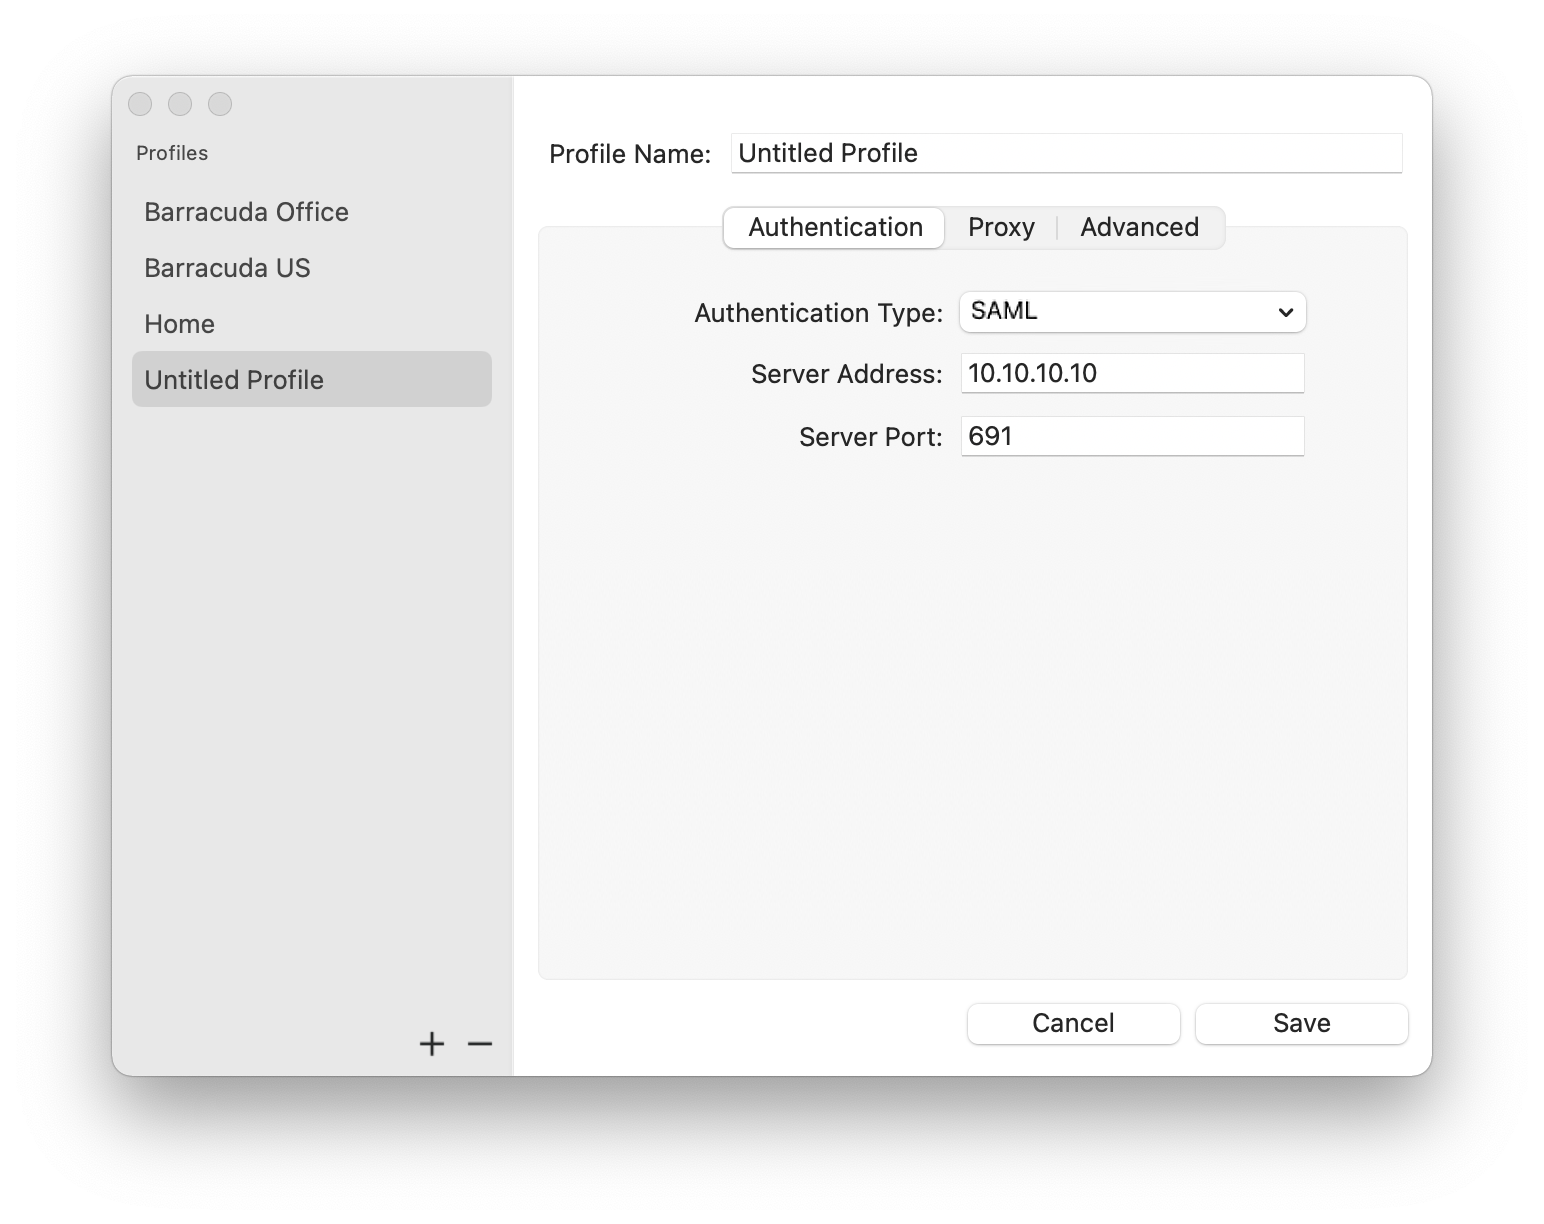
Click the Authentication tab and specify the following settings:
Select the Authentication Type from the drop-down list.
Server Address – Enter the IP address or host name of the VPN server. You can also enter a comma-delimited list of VPN servers.
Server Port – Enter the VPN server port.
If a proxy is required, click the Proxy tab and configure the following settings:
- Proxy Type – Select one of the following types:
- No Proxy
- HTTP (disables all tunnel modes except TCP)
- Socks4 (disables all tunnel modes except TCP)
- Socks5
- Proxy Server – The IP address or host name of the proxy server.
- Proxy Port – The proxy server port. Examples for common port numbers are 3128 or 8080. Your network administrator can provide you with the correct port number.
Proxy User – The username to authenticate at the proxy server.
- Proxy Type – Select one of the following types:
Click the Authentication tab.
In the License Settings section, import your licenses and certificates.
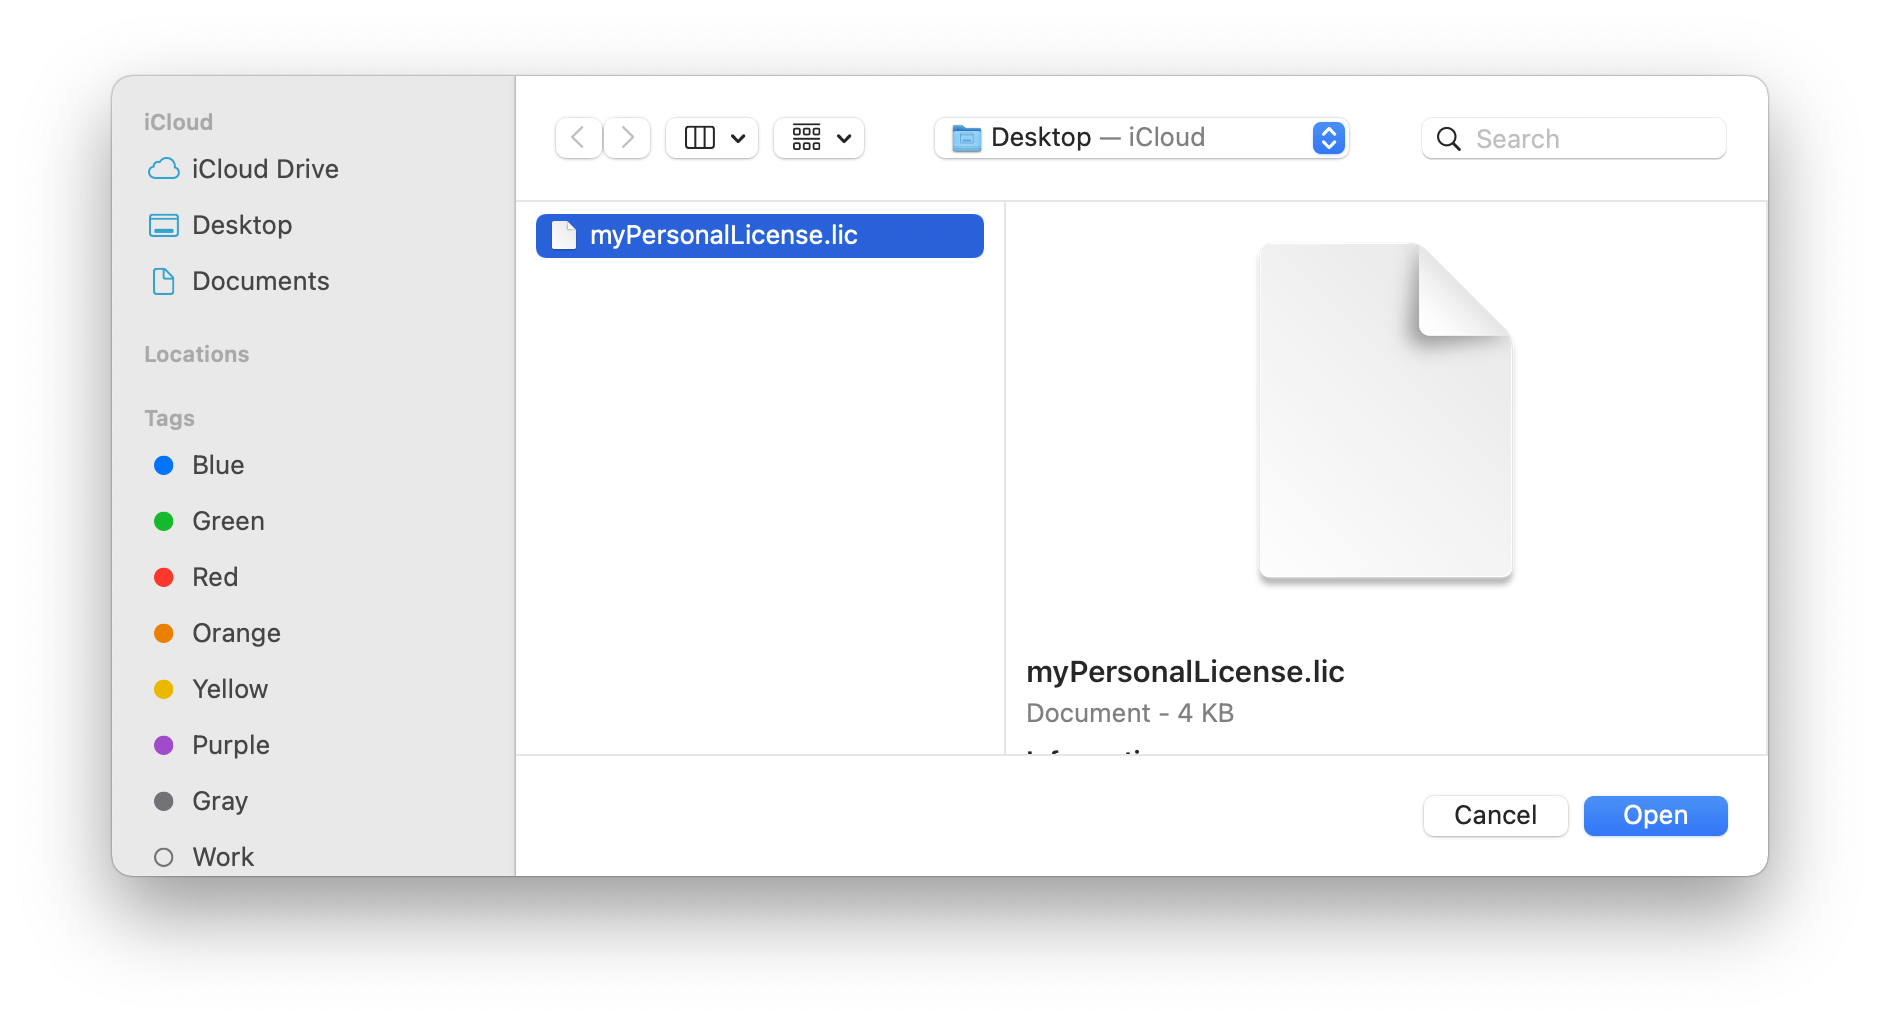
- To import a license, click Select local file and choose a license.
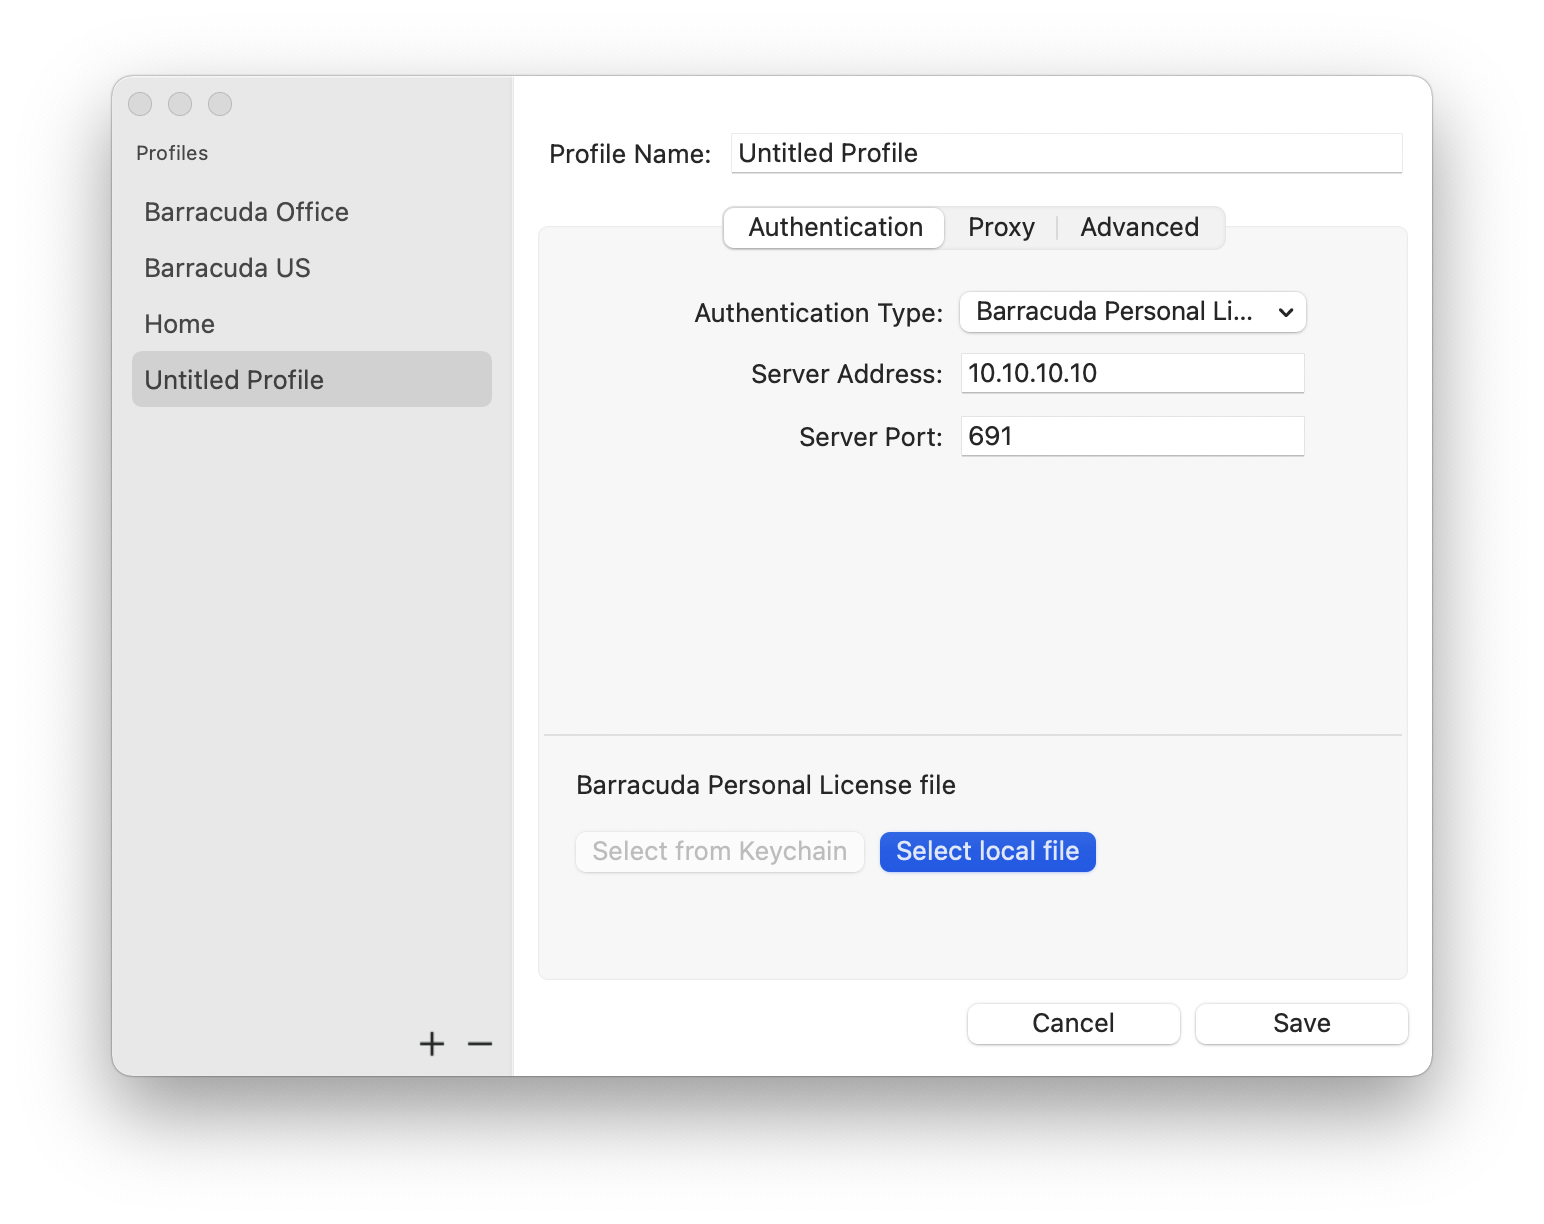
- To import a locally saved certificate, click Select local file and choose a certificate. Otherwise, click Select from keychain if your certificate has already been imported to Apple’s keychain.
Click Save.
Your VPN profile configuration is saved to a plain text ASCII file: /Users/username/Library/Group\ Containers/group.com.barracuda.Barracuda-VPN-Client/.barracudavpn/barracudavpn.conf
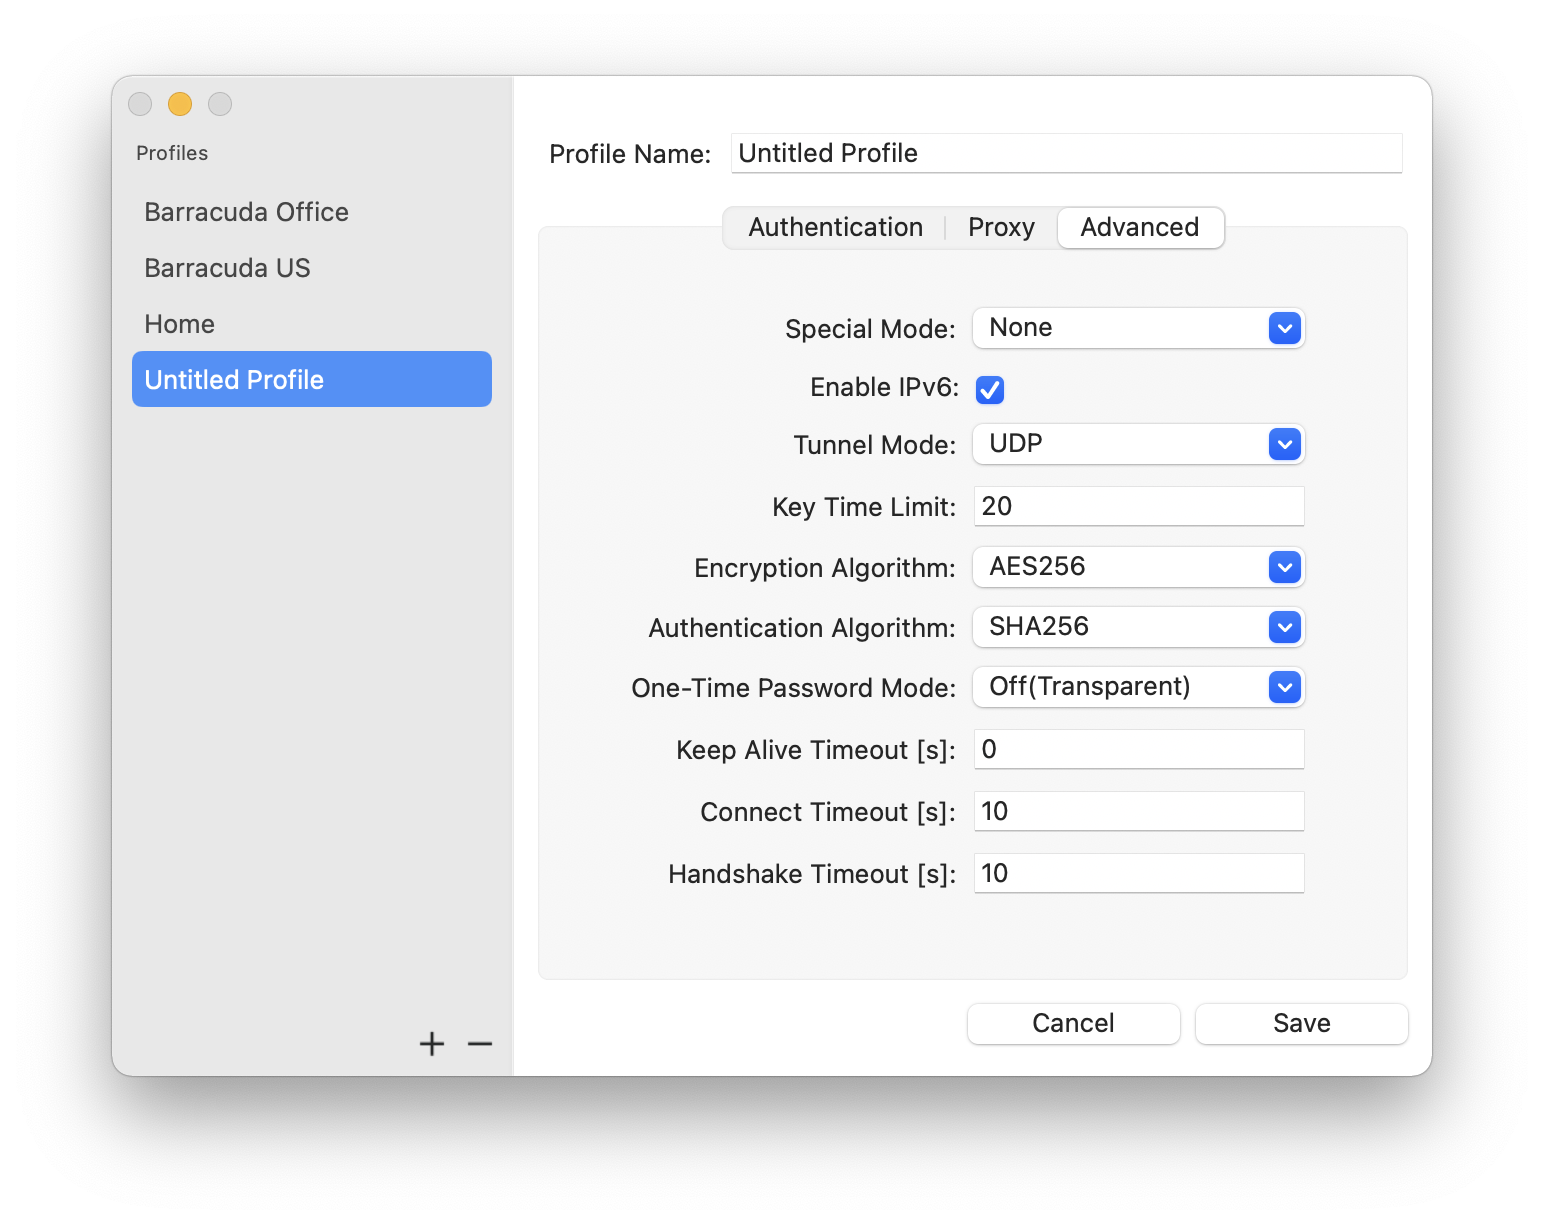
Configure Advanced Settings
In the Advanced section, you can specify more detailed settings for the Barracuda VPN Client. In this section, not all settings are mandatory. Some settings depend on the proxy type for the VPN profile. To access the advanced settings, click the Advanced tab.
In this section, you can specify the following settings:
- Special Mode – To deactivate tunnel probing, select Silent. For normal operation, select None.
This setting is dependent on the VPN server. - Source IP – The IP address that is assigned to the client for the TAP device.
This setting is dependent on the VPN server. Enable IPv6 – Select to enable IPv6 traffic.
- Tunnel Mode – The protocol to be used for tunnel traffic. The available options depend on the chosen proxy type.
- TCP – Uses TCP for tunneling. This setting is required if the gateway is configured to expect the client connection on port 443, or if the connection should be established via HTTP proxy.
- UDP – (default) Uses UDP for tunneling for increased performance.
Hybrid – Uses a combination of UDP and TCP. TCP traffic is tunneled via UDP and UDP user traffic is tunneled via TCP.
Optimized – Uses a performance-optimized combination of UDP and TCP. All user traffic is tunneled as UDP (as in UDP mode) and VPN session information is sent through TCP for increased reliability.
Encryption Algorithm – The tunnel encryption method. You can select AES128, AES256, CAST, BlowFish, 3DES, DES, AESCTR125, or AESCTR256.
The selected option must be supported by the VPN server.- Authentication Algorithm – The hash algorithm to be used. You can select MD5, SHA1, SHA256, SHA512, or GCM.
The selected option must be supported by the VPN server. - One-Time Password Mode – Enables / disables One-Time Password (OTP) extensions.
- On (Static) – If selected, the user can enter the OTP in advance, before connecting. This mode supports multiple credentials. The additional password input field maps to the Secondary Authentication Scheme as specified in Firewall Admin. For more information, see How to Configure Multi-Factor Authentication Using Time-based One-time Password (TOTP).
- Off (Transparent) – Select this option for OTP environments that are fully transparent to VPN, such as Azure MFA with Approve/Decline, SMS Passcode, etc.
- Keep Alive Timeout [s] – The interval in seconds to send keepalive signals.
- Connect Timeout [s] – Adjust this value to give users enough time to complete the process.
- Handshake Timeout [s] – Time in seconds until a handshake request times out.
After configuring your VPN profiles, you can start using your VPN connections. Continue with How to Establish a VPN Connection Using Barracuda VPN Client for macOS.