

The following diagram depicts the overall process of using Security Awareness Training to help your users learn to keep your organization safe.
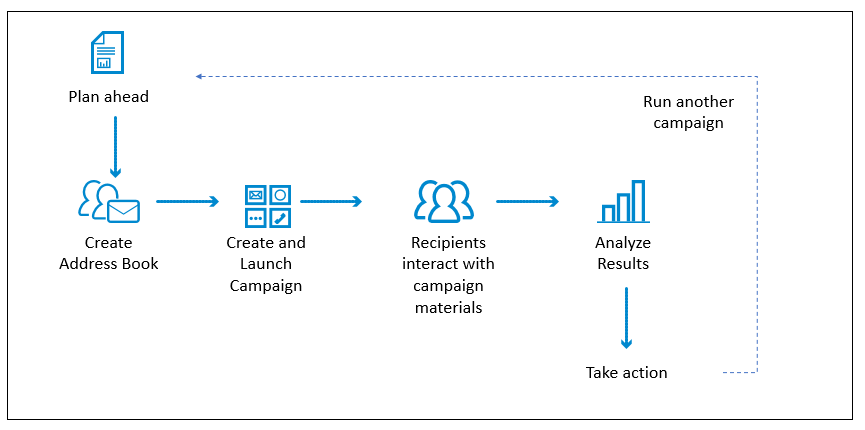
Click each phase of the process to learn more.
Determine which users will be targeted by each campaign.
To set up an Address Book
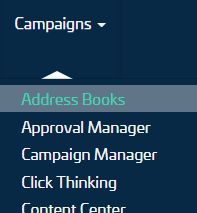
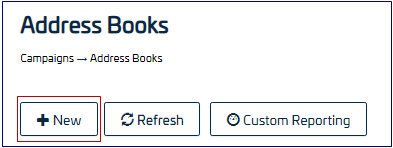
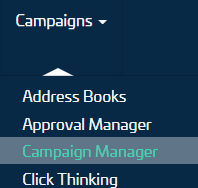
Navigate to Campaigns > Address Books, then click New.
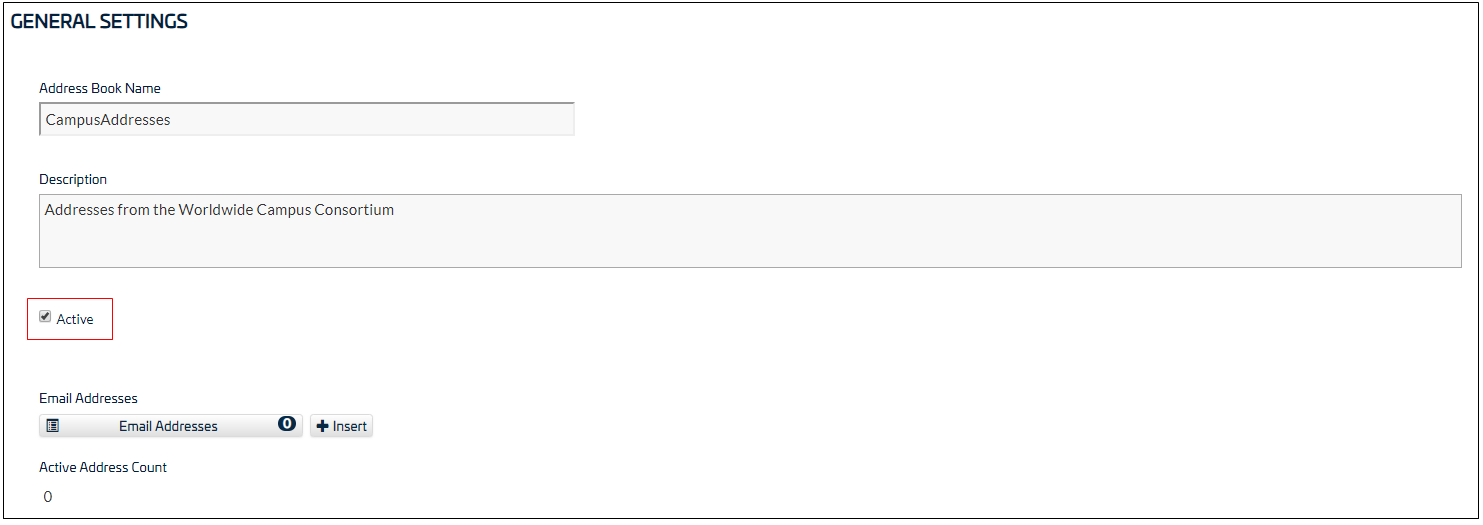
Enter a Name and optional Description for the Address Book. In the Upload an Import File section, select an address book file from your local machine. Click Save.
On the new page, scroll to the General Settings section. Ensure that the Active check box is selected.
Scroll to the Import Processing section. Use the pull-down menus to map the columns (fields) in the Security Awareness Training address book to the corresponding columns in your data file.
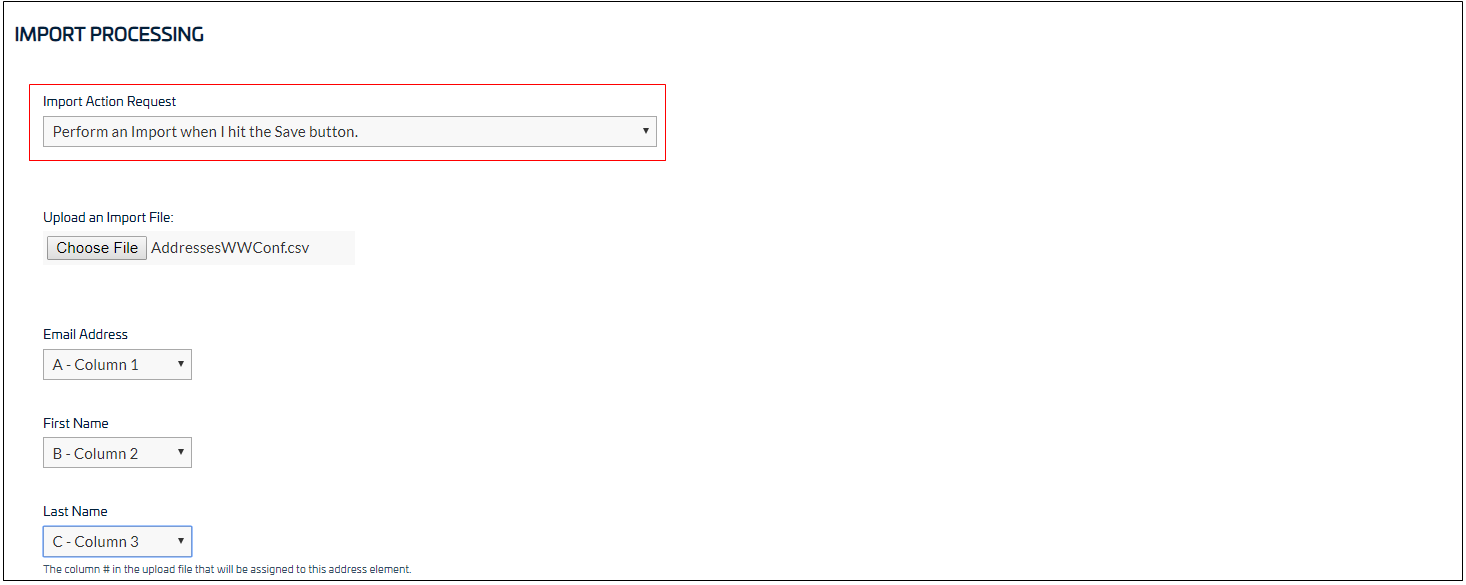
For Import Action Request, select Perform an import when I hit the Save Button.
Click Save.
For more information, refer to Address Books.
To design a Campaign
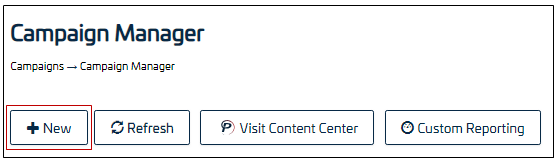
Navigate to Campaigns > Campaign Manager, then click New.
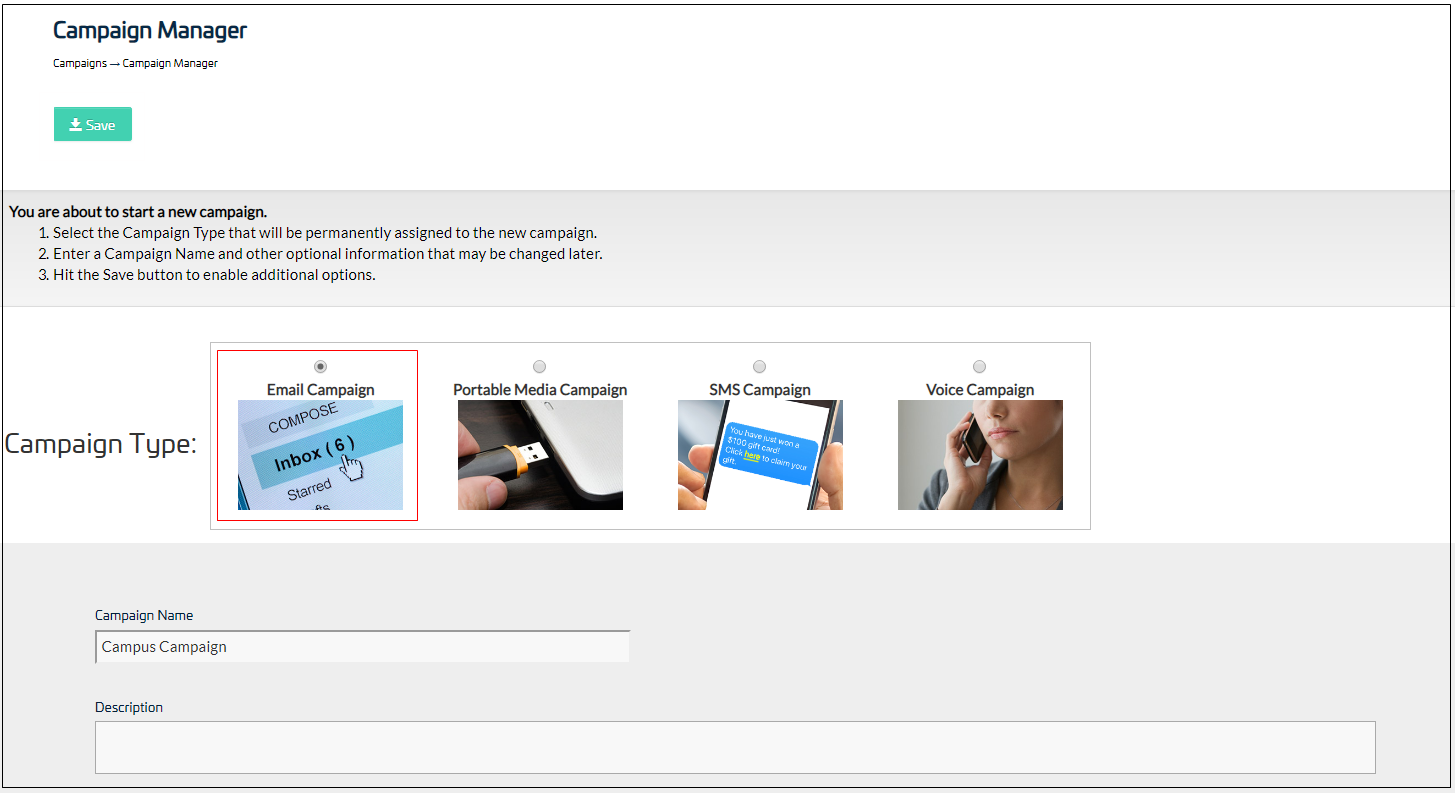
For the Campaign Type, select Email Campaign, enter a Campaign Name, then click Save.
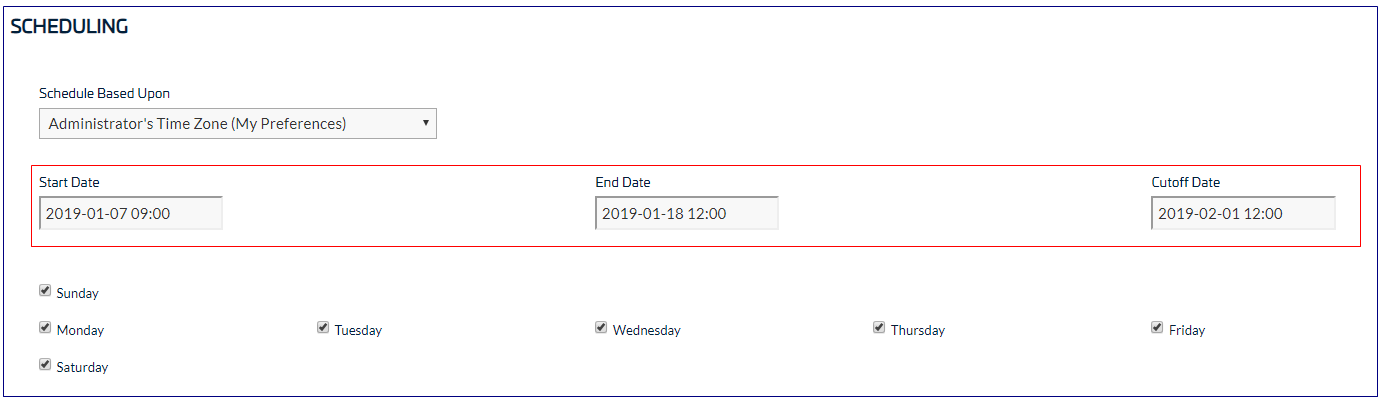
On the new page, scroll down to the Scheduling section. Specify the Start Date, End Date and Cutoff Date.
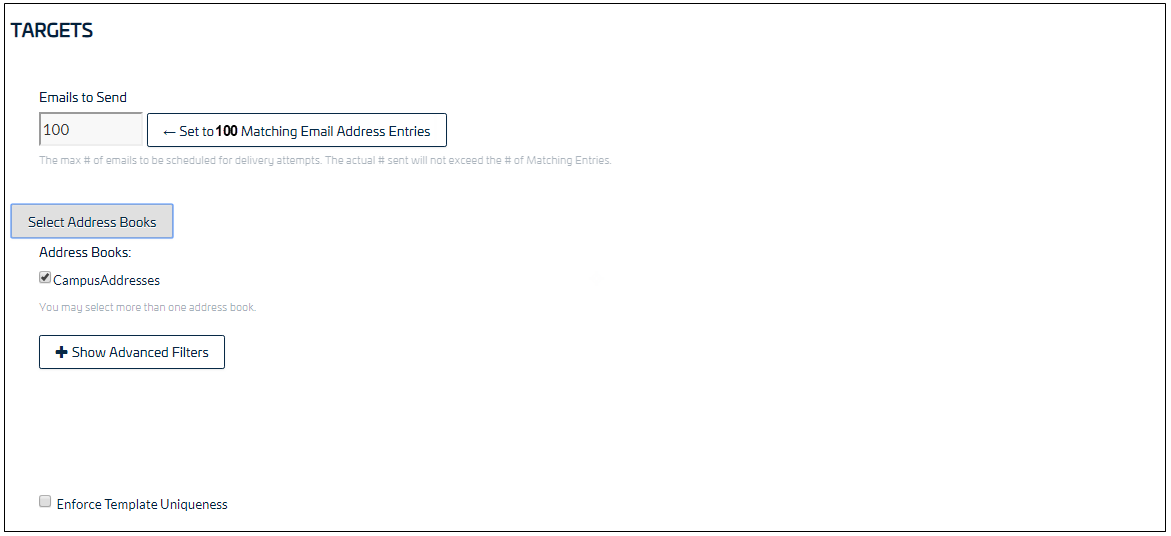
In the Targets section, select the address book you previously uploaded and specify the number of emails to send.
In the Content section, select at least one Email Template, Landing Page, Email Address for Sender and Web Server.
Note: When asked if you want to save the current campaign, then select the content, select Yes.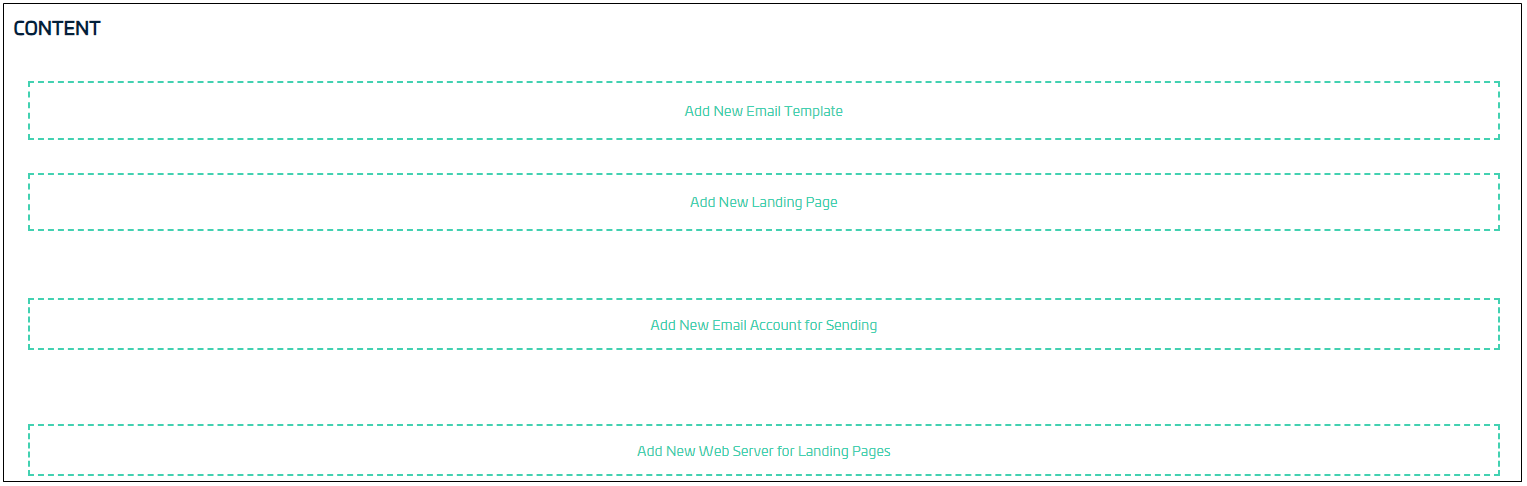
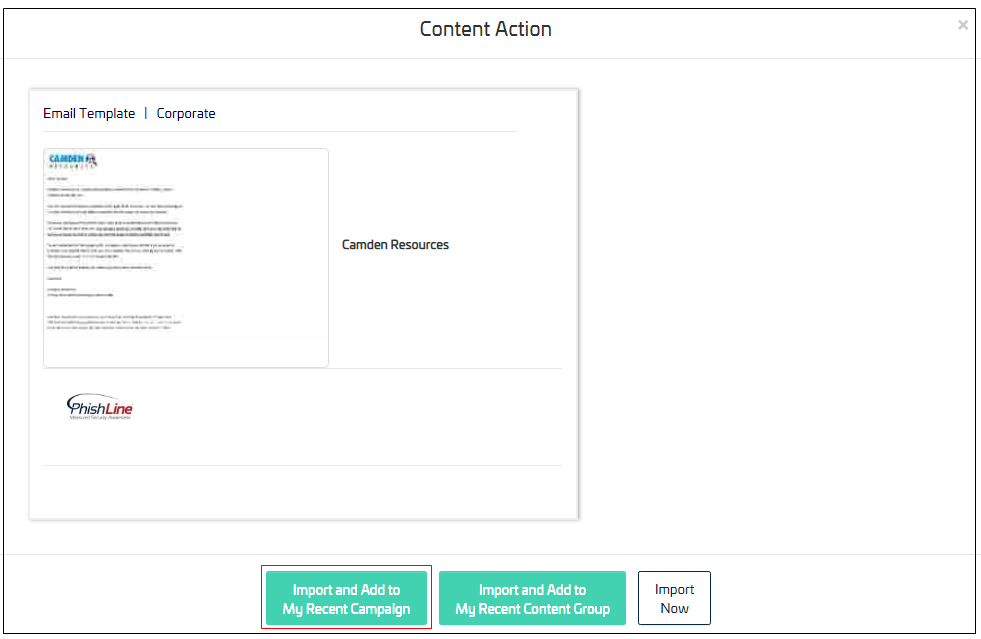
For an Email Template: Click Add New Email Template. In the Content Center, click the template you want to use.
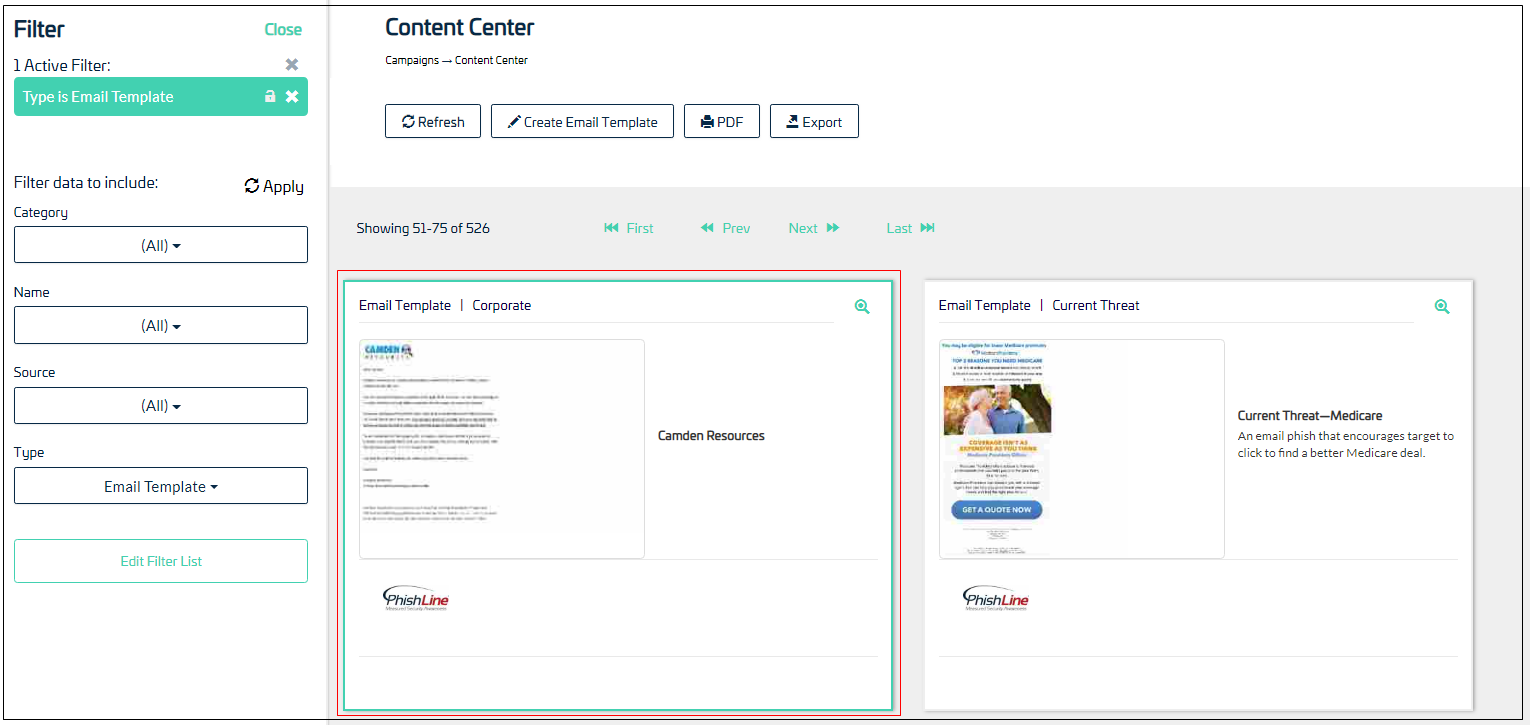
When prompted for action, select Import and Add to My Recent Campaign.
Click Go to My Recent Campaign.

Repeat these steps for Landing Page, Email Address for Sender and Web Server.Click Save.
For more information, refer to Campaigns.