

This article refers to the Barracuda PST Enterprise version 5.1 or higher.
PST files that are found connected to an Outlook account are added and display in the Assigned PSTs tab. PST files found on the local file system if the owner can be determined, and you have selected the Automatically Assign Owner, also display in the Assigned PSTs tab. Otherwise, these PSTs are added to the Unassigned PSTs tab.
If you are processing PST files found on the local file system and an owner is not automatically assigned, you must manually assign each PST file in the Unassigned PSTs tab:
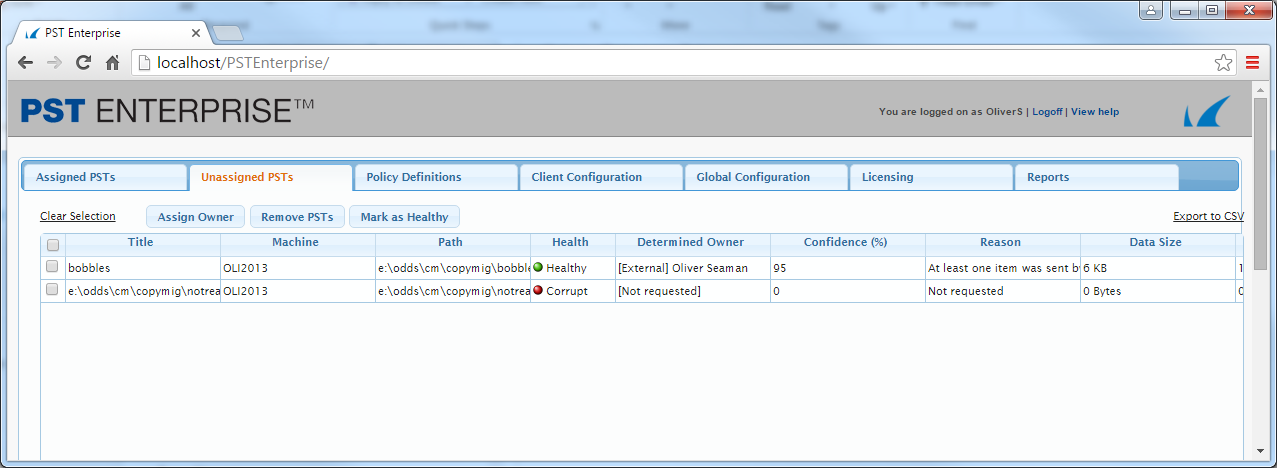
PST Health
The Health column indicates the health of a PST. If there were problems opening and searching the PST (such as if the access caused a crash in the PST Processor) the PST will be marked as 'Corrupt' in this column, in which case PST Enterprise will not open or process it. You should examine the PST, and make any steps necessary to repair it, such as using ScanPST.exe supplied with Outlook. If you have repaired the PST you can select it and click the 'Mark as Healthy' button to cause the PST Processor to retry processing it.
Assign PST File to Determine the Owner
To assign an owner to a PST file, as determined by the PST Enterprise Client:
- Click PSTs without a Determined Owner at the bottom of the screen.
- Select the relevant PST files.
- Click Assign Owner at the top of the screen; the Assign Owner dialog box displays:
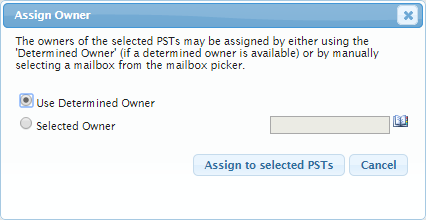
- Click Assign to selected PSTs to assign the owner to the selected PSTs based on the associated Determined Owner field in the table.
Assign PST File Manually
To assign an owner to PST files whose owner could not be determined or to override the determined owner:
- Click PSTs without a Determined Owner at the bottom of the screen.
- Select the relevant PST files.
- Click Assign Owner; the Assign Owner dialog box displays.
- Click Selected Owner:

- Click the Search for a user (
 ) icon.
 - In the Mailbox Picker, use the search tools to locate and select the desired user, and then click Ok.
- In the Assign Owner dialog box, click Assign to selected PSTs.
Display All PSTs
To display all unassigned PST files, click All PSTs.
Display Only PSTs with an External Owner
To display only PST files with an external determined owner, click PSTs with an External Owner at the bottom of the screen.
Define Custom Views
To define a custom view based on your own criteria,
- Click the Find records (
 ) icon at the bottom left of the screen.
 - The Search dialog box displays:
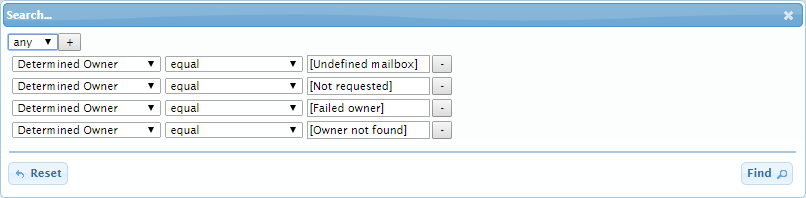
- Define your search criteria, click Find, and then close the Search dialog box.
- Click Save Current View; the Save View dialog box displays:
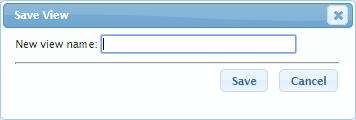
- Enter a name for the view, and then click Save.
- Click OK in the confirmation dialog box; the view is added to the Custom Views drop-down menu.
- To delete a custom view, click Delete a View.
- The Delete View dialog box displays. Select the view you want to delete from the drop-down menu, and then click Delete.
- Click OK in the confirmation dialog box; the view is removed from the Custom Views drop-down menu.
Remove PST Files
To remove PST files from the Unassigned PSTs table,
- Select the relevant PST files.
- Click Remove PSTs.
Data about the selected PST files is removed.The next time PST Enterprise Client runs and rediscovers them they are re-added.
Export CSV File
Click Export to CSV to generate a file containing the unassigned PSTs matching the current filter criteria.
- Click Export to CSV at the top right of the screen.
Save the .csv file, and then open the file in an editor, for example, Microsoft Excel.