

This article refers to the Barracuda PST Enterprise version 5.1 or higher. Before installing Barracuda PST Enterprise, complete Barracuda PST Enterprise v5.1 Pre-Installation Package.
This article describes how to install the website, client software, and the Copy Agent server installation package (if required, to facilitate copying PST files from client machines to a central server). Run the installation on the server designated to host the PST Enterprise website. If you receive an alert that a prerequisite is not installed, go back and install the prerequisite. By default, the Self Service website is installed during installation. This website allows users to manage their PST files, however, you can select not to install this component.
Download the Barracuda PST Enterprise Installation Package to your server.
To run the installation process,
- On the server where you ran the Pre-Installation package, right-click PSTEnterpriseSetup.exe, and click Run as administrator:

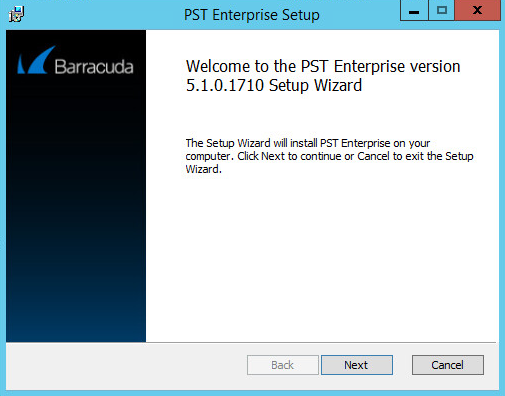
- The installation wizard displays:
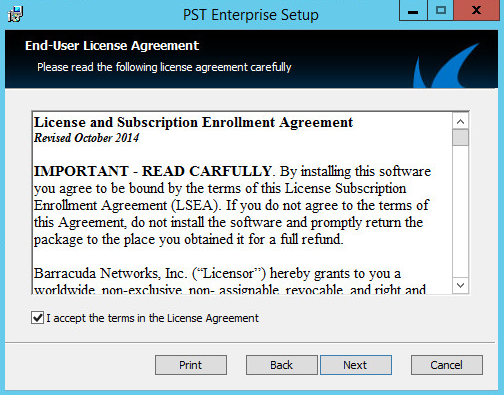
- Click Next. The License Agreement page displays. Read the license, and then click I accept the terms in the License Agreement:
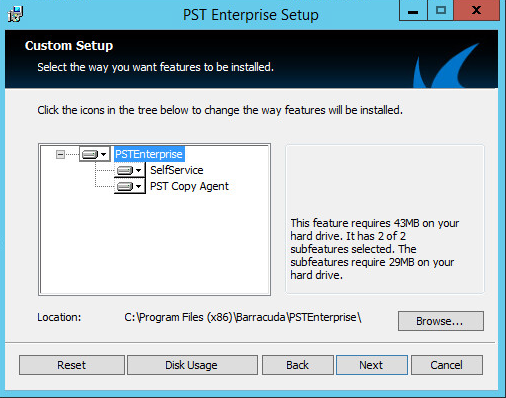
- Click Next. Use the Custom Setup page to specify the components you want to install. All components are selected by default:
PSTEnterprise – Core Barracuda PST Enterprise component; this component is mandatory.
SelfService – Installs the Self Service website that allows end users to manage their own PST files.
PST Copy Agent – Creates the installation package for the PST Copy Agent.
- By default, the installation directory is set to C:\Program Files (x86)\Barracuda\PSTEnterprise. To modify the installation directory, click Change, and then navigate to and select the installation directory.
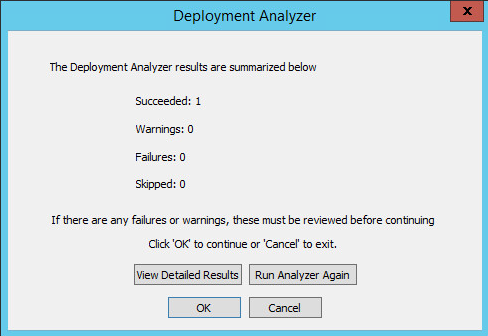
Click Next. The Deployment Analyzer will run to identify common issues and display its findings (this step only appears on Barracuda PST Enterprise version 5.0 or higher). If there are any warnings or failures, you must click View Detailed Results before you can continue.
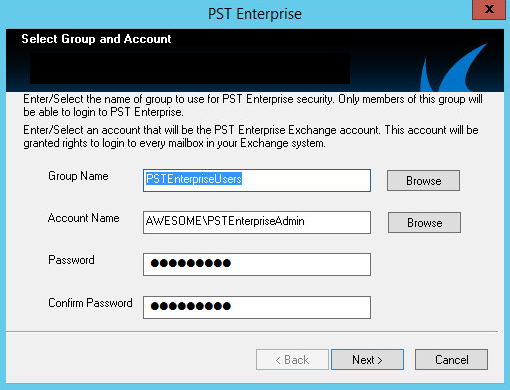
Click OK. In the Accounts page, enter the Group Name and Account Name and associated Password used when running the pre-installer:
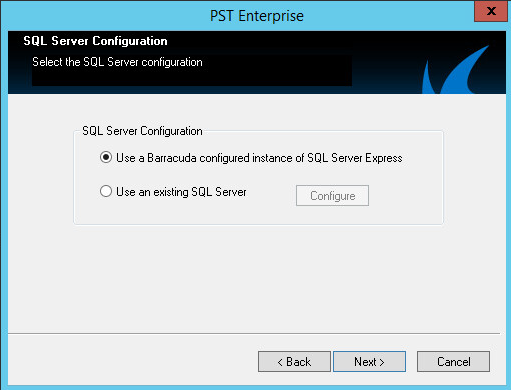
- Click Next. The SQL Server Configuration page displays. Select the SQL Server Configuration:
Use a Barracuda configured instance of SQL Server Express – Select this option if you used the pre-installer to install a local SQL server instance.
Use an existing SQL Server – Select this option to select a SQL Server instance on another server.
- Click Configure to the right of Use an existing SQL Server:
- Navigate to and select a SQL Server instance on another server to which to connect.
- In the SQL Server Instance field, enter the SQL Server instance in the form SERVER\INSTANCE, or click the drop-down menu to navigate to the instance.
- In the SQL Login field, click Browse to navigate to and select the Windows domain user account with sufficient SQL privileges for the specified instance.
- In the password fields, enter the password for the specified AD account:
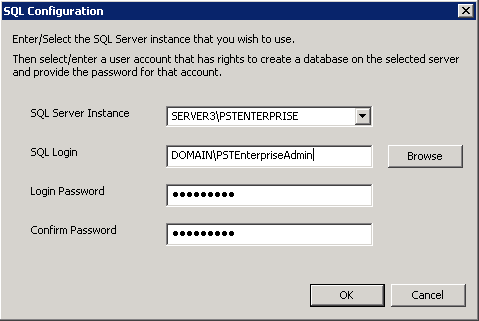
- Click OK to save your configuration settings.
- Click Configure to the right of Use an existing SQL Server:
- Click Next in the SQL Server Configuration page.
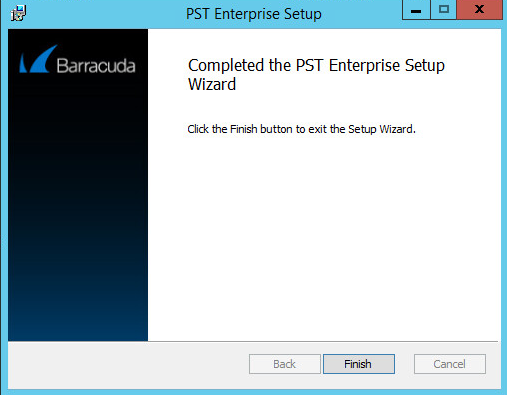
- Allow the installation to run. When the installation is complete, click Finish.
To launch the PST Enterprise website, go to Start > All Programs > PST Enterprise.
Office 365 (Exchange Online-Only or Hybrid Deployments)
If you intend to use Barracuda PST Enterprise with Office 365, you must complete the following steps in addition to the previous section.
- Log in to a server where PowerShell v2 is installed with an account authorized to use PowerShell.
- On the Server, go to Start > All Programs > Accessories > Windows PowerShell > Windows PowerShell.
- Run the following command:
Set-ExecutionPolicy Unrestricted - Click Y to confirm the change, and then run the following command:
$Credential = Get-Credential - When prompted, enter the username and password for the Exchange Online administrator account, and then run the following command:
$Session = New-PSSession -ConfigurationName Microsoft.Exchange -ConnectionUri https://outlook.office365.com/powershell-liveid/ -Credential $UserCredential -Authentication Basic –AllowRedirection - Warnings display; this is expected. Run the following command:
Import-PSSession $PSSession Warnings display; this is expected. Run the following command:
Get-Mailbox | Add-MailboxPermission –User PSTEnterpriseAdmin -AccessRights FullAccess –AutoMapping $falseThe PST Enterprise Administrative account will now have full access to the mailboxes hosted online. This is required in order to obtain mailbox data using Exchange Autodiscover.