

The Barracuda SecureEdge Manager allows you to configure IPsec IKEv2 DNS resolution settings. All DNS requests to a DNS server behind the IKEv2 tunnel will come from the SecureEdge appliance you have configured this tunnel on with the IP defined in the field name DNS Routed IP as the source IP. This IP must be allowed in any ACL of the DNS server, and the setup behind the IKEv2 tunnel must be configured to route this IP back over the IKEv2 tunnel.
Configuration With a DNS Routed IP

Note the following when using IKEv2 DNS resolution settings:
This setting allows you to use DNS servers located behind a static IKEv2 VPN tunnel to resolve DNS requests.
For them to work, you must update your SecureEdge appliances to firmware version 10.0.0 or higher.
By default, they have no values for your new or existing IPsec tunnels.
The IKEv2 DNS resolution IP address can be defined from either a public or private range. You must specify the DNS-routed IP as a single valid IPv4 address.
Each IPsec VPN tunnel must use a distinct DNS-routed IP.
They are configurable on your Sites and Edge services.
When you edit an existing static IPsec tunnel with BGP enabled, the existing DNS-routed IP address will be automatically removed and ignored.
Requirements and Limitations
When creating general settings for an IPsec tunnel on your SecureEdge appliance, you must disable the Initiates field for your connected Barracuda-hosted Edge Service or Edge Service for vWAN. However, you can enable the Initiates field for your connected Site or Private Edge Service.
As of firmware version 10.0.0, configuring the DNS-routed IP is mandatory. This IP serves as the source for DNS traffic exiting the tunnel to the third-party IKE gateway.
Configure IKEv2 DNS Resolution Settings on SecureEdge
Go to https://se.barracudanetworks.com and log in with your existing Barracuda Cloud Control account.
The chosen Tenant/Workspace is displayed in the top menu bar.
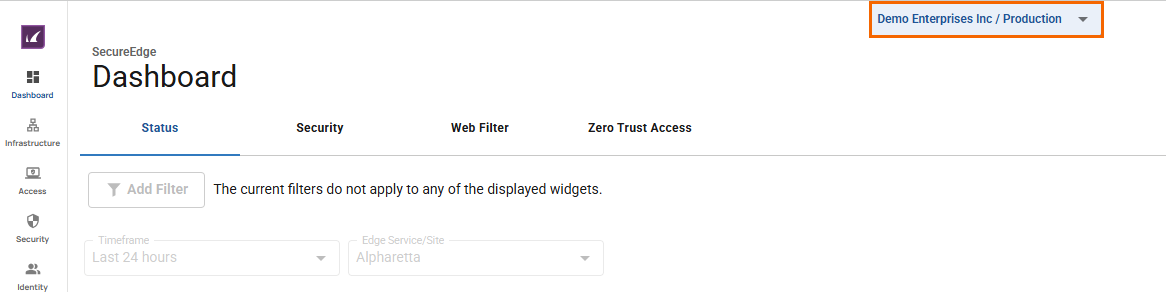
Click the expandable drop-down menu and select the workspace you want to configure the IPsec IKEv2 tunnel for.
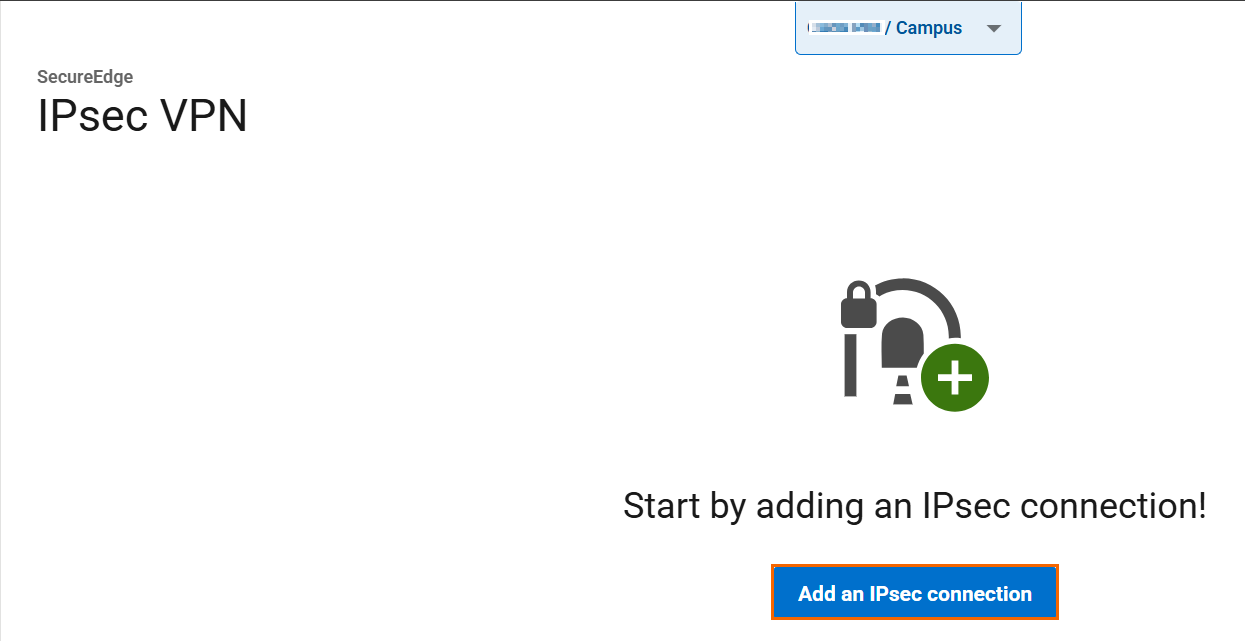
Go to Integration > IPsec VPN.
The IPsec VPN page opens. To add a tunnel, click Add an IPsec Connection.
The Create IPsec Tunnel window opens. In the General tab, specify values for the following:
Enable – Click to enable.
Initiates – Click to disable. Note: When enabled, this indicates that your SecureEdge device will initiate the IPsec tunnel.
In the GENERAL INFORMATION section, specify values for the following:
Name – Enter a unique tunnel name.
Description – Enter a brief description.
In the AUTHENTICATION section, specify values for the following:
Authentication – Select the authentication method from the drop-down menu.
Shared Secret – Enter the shared secret to use a shared passphrase to authenticate.
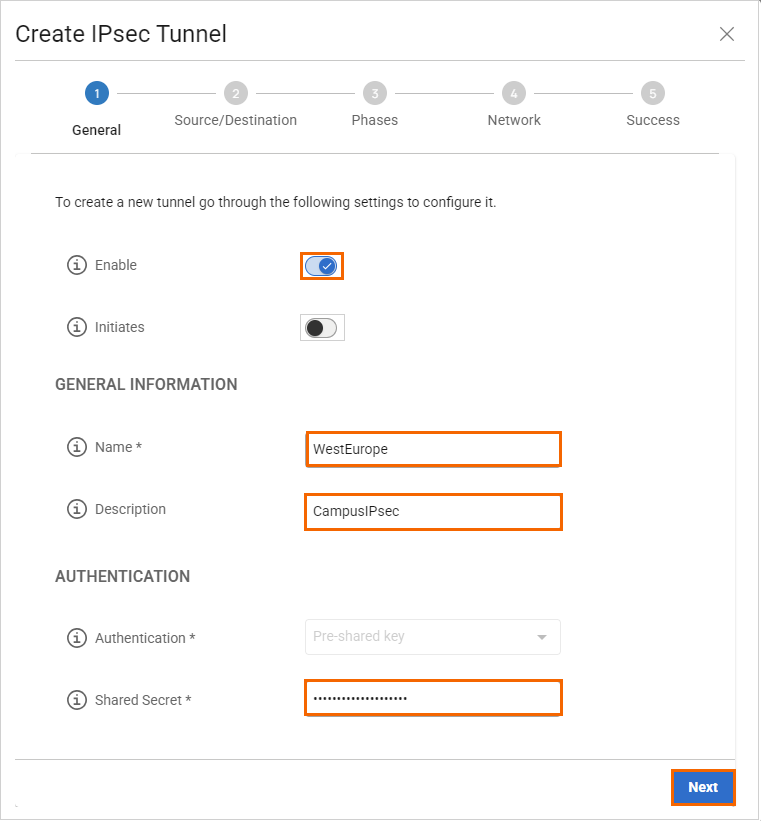
Click Next.
In the Source/Destination tab, specify values for the following:
Enable BGP – Click to disable.
In the SOURCE section, specify values for the following:
Type – Select the type from the drop-down list. You can choose either Edge Service or Site. For example, in this case, select Edge Service.
Peer – Select the peer from the drop-down list. E.g., Campus, an Edge Service.
Local ID – Enter the local ID. E.g.,
West-Europe-WAN1.DNS Routed IP – Enter the DNS-routed IP of the local side of the tunnel. For example, in this case, the DNS-routed IP
192.168.1.20is used as the source IP when traffic traverses the tunnel. Note: Ensure this DNS-routed IP is added to the Remote Networks list in the IKEv2 configuration of the third-party device.Network Addresses – Add the IP address of the local network, and click +. E.g.,
192.168.1.0/24.Note: You must enter a valid network address in CIDR format.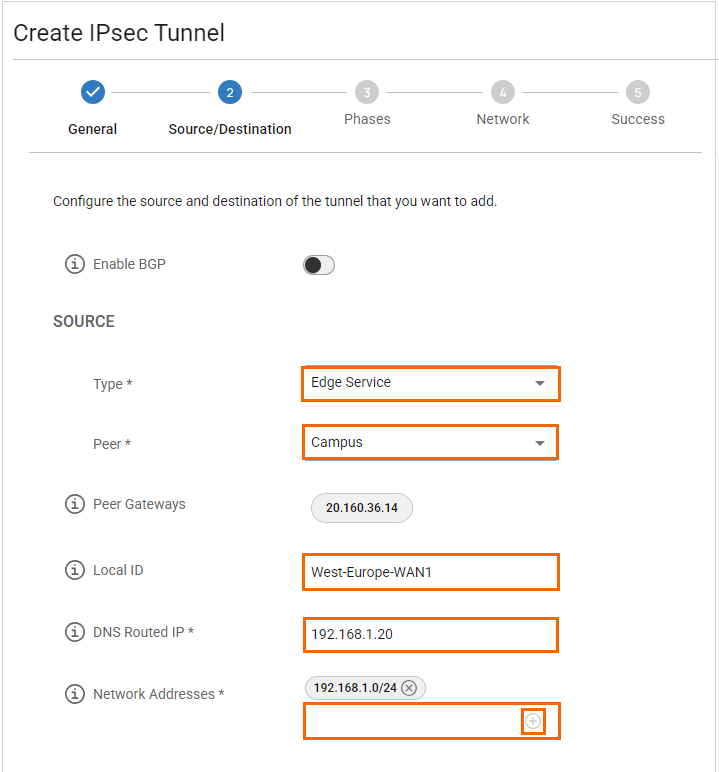
In the DESTINATION section, specify values for the following:
Remote Gateway – Enter a remote gateway.
Remote ID – Enter a unique ID. VPN tunnels without remote ID will not establish successfully.
Network Address – Add the IP address of the remote network, and click +. E.g.,
10.14.40.0/24.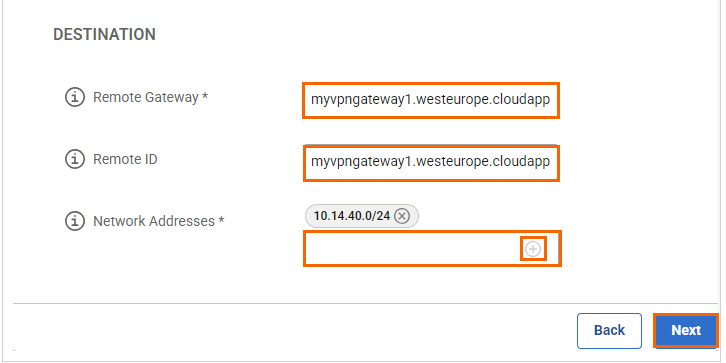
Click Next.
In the Phases tab, enter the Phase1 and Phase2 encryption settings:
PHASE 1
Encryption – Select AES256.
Hash – Select SHA256.
DH-Group – Select Group 2.
Proposal Handling – Select Strict.
Lifetime – Enter
28800
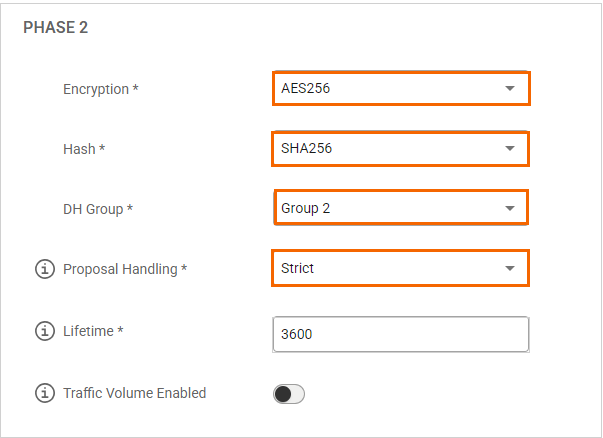
PHASE 2
Encryption – Select AES256.
Hash – Select SHA256.
DH-Group – Select Group 2.
Proposal Handling – Select Strict.
Lifetime – Enter
3600Traffic Volume Enabled – Click to disable.
Click Next.
In the Network tab, specify the values for the following:
In the NETWORK SETTINGS section, specify the values for the following:One VPN Tunnel Per Subnet Pair – Click to enable.
Universal Traffic Selectors – Click to enable.
Force UDP Encapsulation – Click to enable.
IKE Reauthentication – Click to disable.
In the DEAD PEER DETECTION section, specify the values for the following:
Action When Detected – Select Restart.
Delay – Enter
180.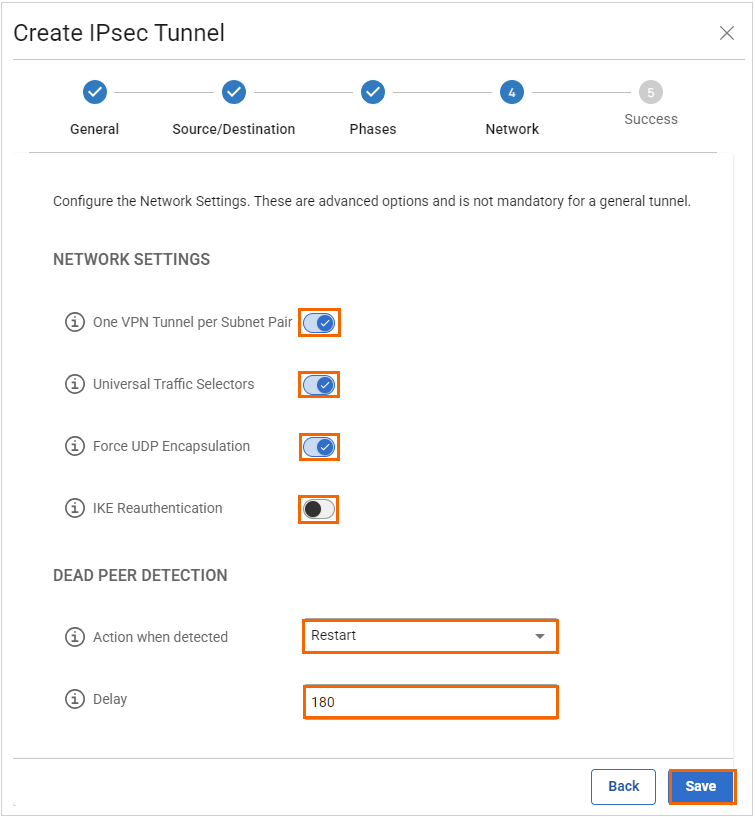
Click Save.
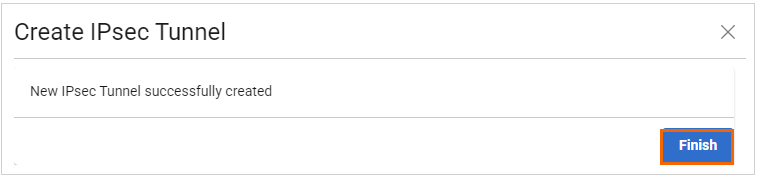
Verify that your IPsec tunnel configuration has been created successfully and click Finish.
After the configuration is complete, you can see a new IPsec tunnel is shown on the IPsec VPN page, and the status of the field name (e.g., Enabled) can be verified.
