

This article covers the group enrollment process for SecureEdge Access. Group enrollment invitations can be created via the SecureEdge Enrollment page.
Before You Begin
Create a Barracuda Cloud Control account. For more information, see Create a Barracuda Cloud Control Account.
Subscribe to Barracuda Networks for SecureEdge Access. Barracuda Networks offers a scalable, fully managed Software as a Service (SaaS) solution for SecureEdge Access, and provides globally distributed Points of Presence (PoPs) in various locations. For more information, see Understanding Points of Presence (PoPs) and Points of Entry (PoEs). You can enroll users, groups, or devices based on your chosen SecureEdge Access plan. The available plans include DNS Access, Internet Access, Private Access, and Premium Access.
To use the users or groups from user directories (such as Microsoft Entra ID, LDAP, Google Workspace, Okta, SCIM, and Barracuda Cloud Control) for SecureEdge Access, you must first connect your SecureEdge Identity Management in order to synchronize users and groups. For more information, see Identity Management. Note: To select users or groups from user directories such as BCC-linked Microsoft Entra ID or the BCC-linked LDAP directory in SecureEdge Access, you must first connect your directory with Barracuda Cloud Control in order to synchronize users and groups. For more information, see LDAP Active Directory and Microsoft Entra ID and How to Connect Microsoft Entra ID with Barracuda Cloud Control.
Step 1. Create a Group Enrollment Invitation
Go to https://se.barracudanetworks.com/ and log in with your existing Barracuda Cloud Control account.
The chosen Tenant/Workspace is displayed in the top menu bar.
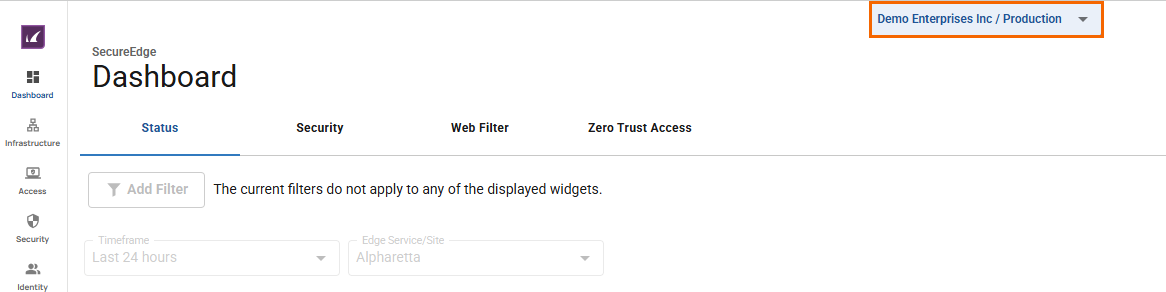
From the drop-down menu, select the workspace you want to enroll in.
In the left menu, click Access and select Enrollments.
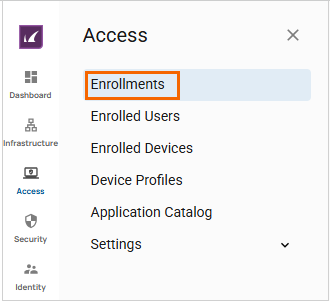
The Enrollments page opens. Note: You must first verify the availability of seats for your SecureEdge Access account at the top-right corner of the Enrollments page and then add groups accordingly.
To enroll a new group, click New Enrollment. You can choose between Users, Group, and Devices.
From the drop-down menu, select Group.

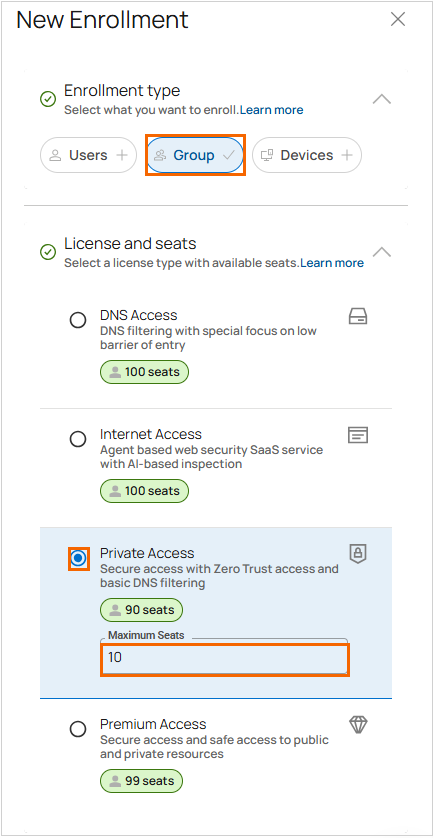
The New Enrollment window opens. Specify values for the following:
Enrollment type – Enrollment type selected as Group.
License and seats – Select the license type with available seats. You can choose between the following: DNS Access, Internet Access, Private Access, or Premium Access.
For a Group enrollments, specify the Maximum Seats, which implies the user. For example, in this case, the Maximum Seats is 10.
Premium Access – Secure access to public and private resources.
Enrollment profile – Select the security level for enrolled devices. You can choose between the following: Managed, Unmanaged, and 3rd Party. Note: The IT administrator manages and customizes all these profile types as needed. Managed is the most restrictive, Unmanaged offers some flexibility, and 3rd Party is the least restrictive for BYOD scenarios.
Enrollment invitation – Select Group from the drop-down menu to invite for enrollment. You can add multiple groups, with each group appearing in a separate row.
Invitation and enrollment settings – Select how to invite a group. Specify values for the following:
Use group name as enrollment name – Click to enable/disable.
Send email to the users – Click to enable/disable.
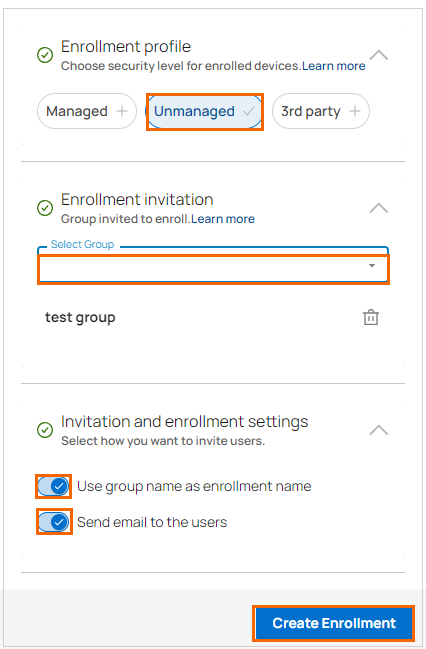
Click Create Enrollment.
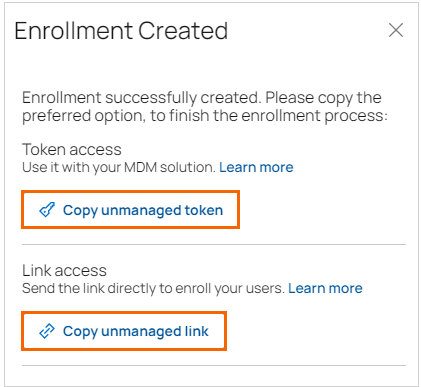
The Enrollment Created window opens.
You can choose a preferred option:
Copy <unmanaged> link – Send this link directly to enroll your users.
Copy <unmanaged> token – Use this token for access with your MDM solution.
Paste the enrollment link or token in a text file. Note: You will require this link in Step 2.
Click Close.
After creating the group enrollment invitation, the group appears in the Enrollments table, thereby enabling the end user to enroll. The Enrollments page displays the unmanaged group invitations created by the IT administrator to allow enrollment. Enrolled users appear on the Enrolled Users and Enrolled Devices pages.

After completing the group enrollment invitation for SecureEdge Access, you are now ready to proceed with Step 2.
(Optional) Copy the Link or Copy the Token
To copy the enrollment link or token, proceed with the following steps:
On the Enrollments page, click the icon of three vertical dots to copy the enrollment link or token.
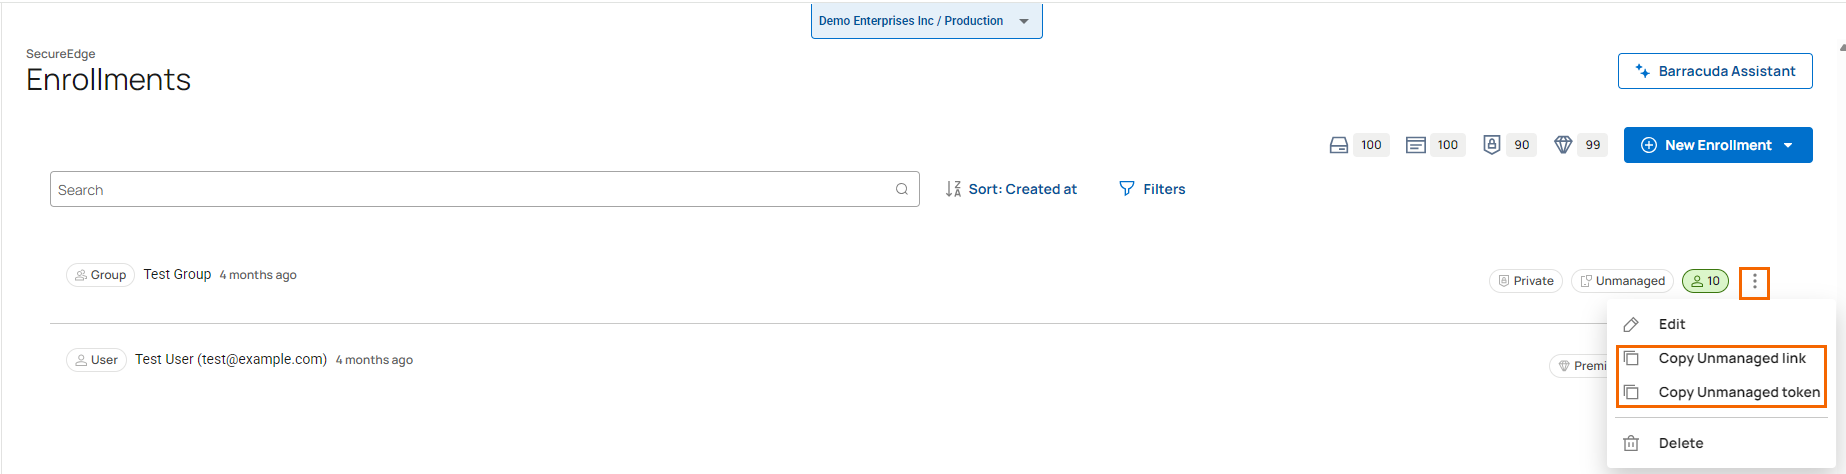
You have two options:
Copy <Unmanaged> link – To copy the enrollment link, select Copy <Unmanaged> link.
Copy <Unmanaged> token – To copy the token, select Copy <Unmanaged> token.
Step 2. Connect a Barracuda SecureEdge Access Agent
To download and install the Barracuda SecureEdge Access Agent, follow the steps mentioned in the section Step 3. Connect a Barracuda SecureEdge Access Agent of the article How to Enroll Users . After connecting to the SecureEdge Access Agent, verify the user entries on the Access > Enrolled Users page and the device entries on the Access > Enrolled Devices page in the SecureEdge Manager.
Edit a Group Enrollment Invitation
Select the workspace you want to edit a group for.
Go to Access > Enrollments.
The Enrollments page opens. All enrollment invitations for your selected workspace are displayed.
Click the icon of three vertical dots next to the group invitation you want to edit.
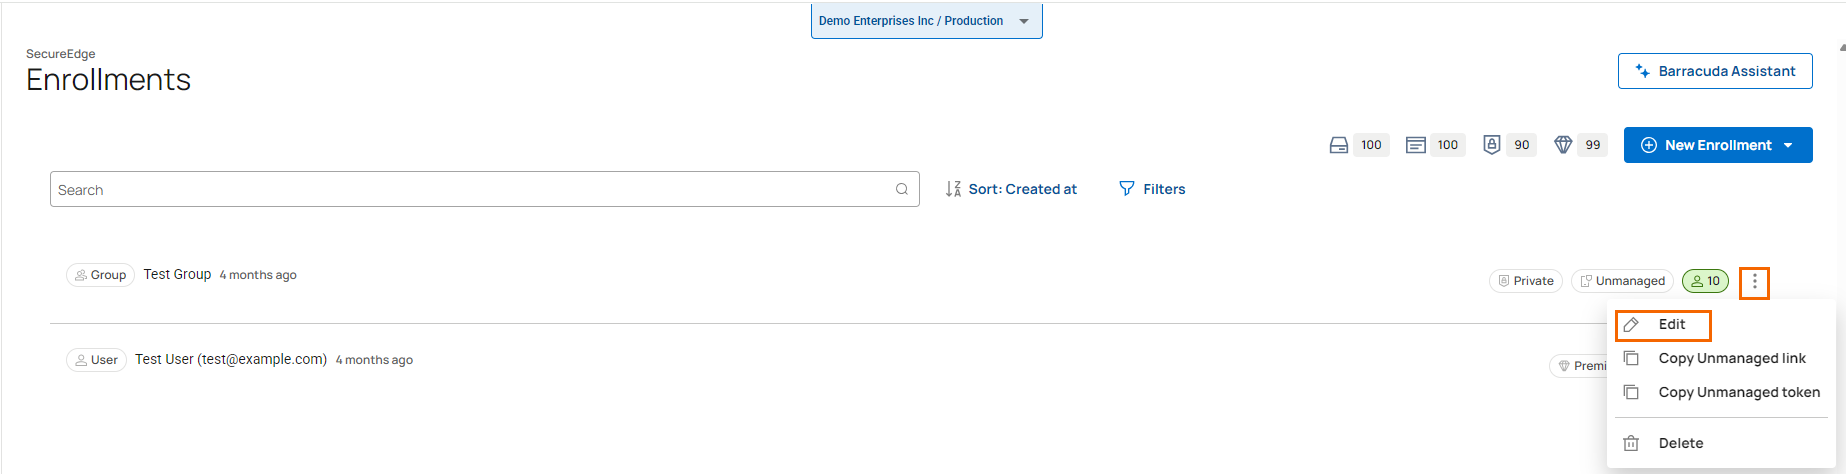
Click Edit.
The Edit Enrollment window opens. Edit the value you are interested in. For example, if you have used all 10 seats and want to add more, you can change the number of seats allocated for that enrollment.
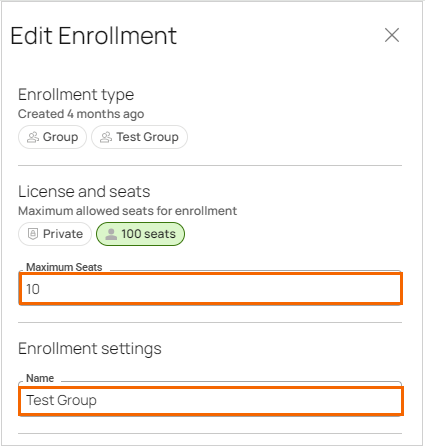
Click Save.
Remove a Group Enrollment Invitation
Select the workspace you want to remove a group for.
Go to Access > Enrollments.
The Enrollments page opens. All enrollment invitations for your selected workspace are displayed.
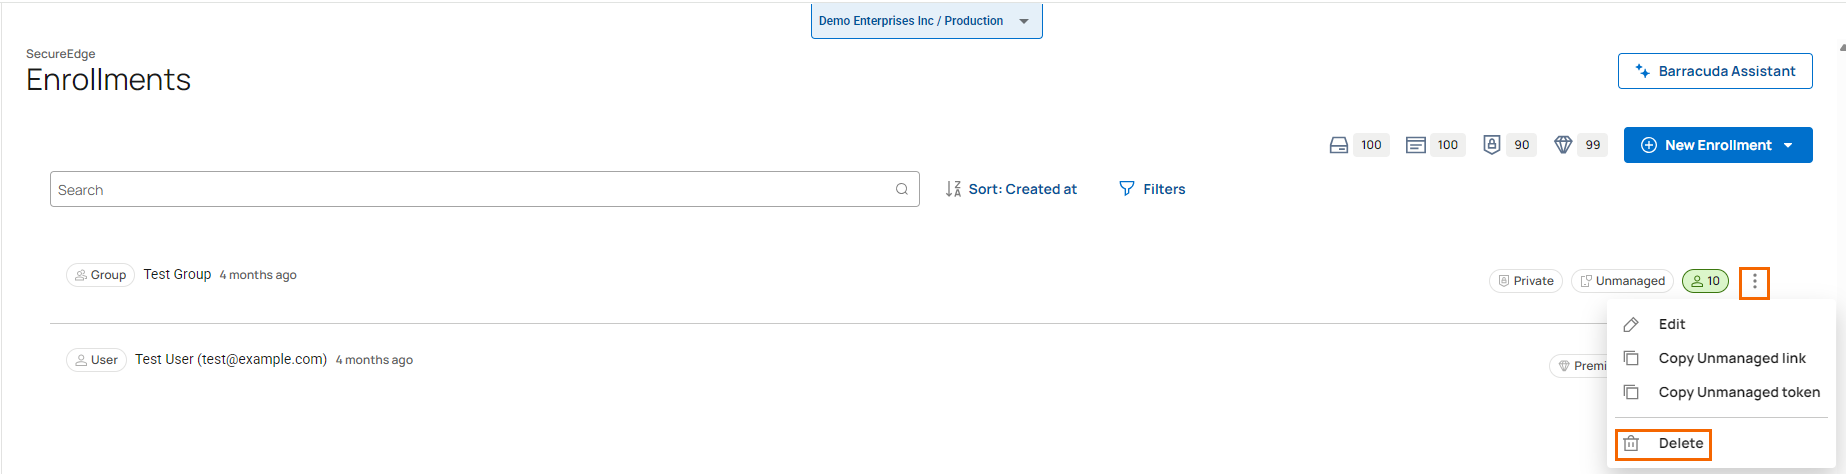
Click the icon of three vertical dots next to the group you want to remove the invitation for.
Click Delete.
The Delete Enrollment window opens.
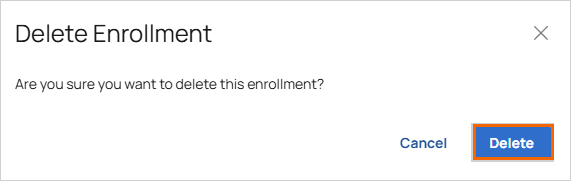
Click Delete.
(Optional) Filtering and Sorting Features
You can add filters to view specific users, groups, or devices on the page.
Click Filters.

The Filters window opens. Specify the values for the following:
Created timeframe – Select the desired time frame from the drop-down list. You can choose between Last 24 hours, 3 days, 7 days, Last 30 days, Last 3 months, Last 6 months, or Last year.
Select the criteria you wish to search for.

Click Apply.
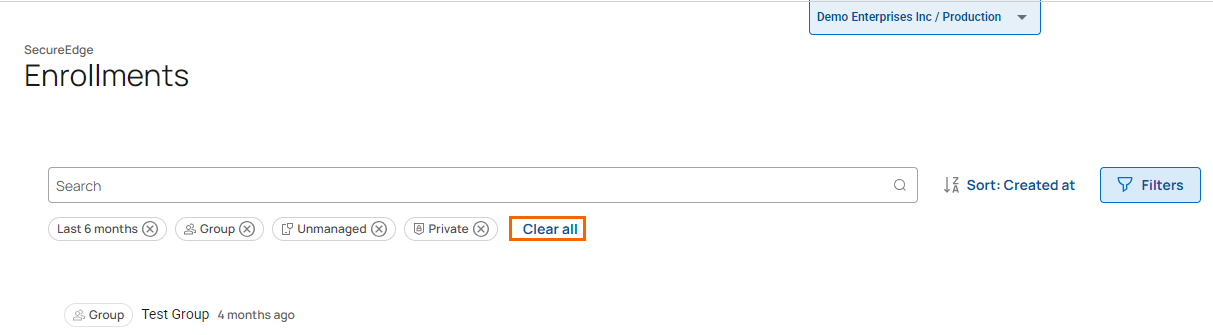
To reset the filter, click Clear all.
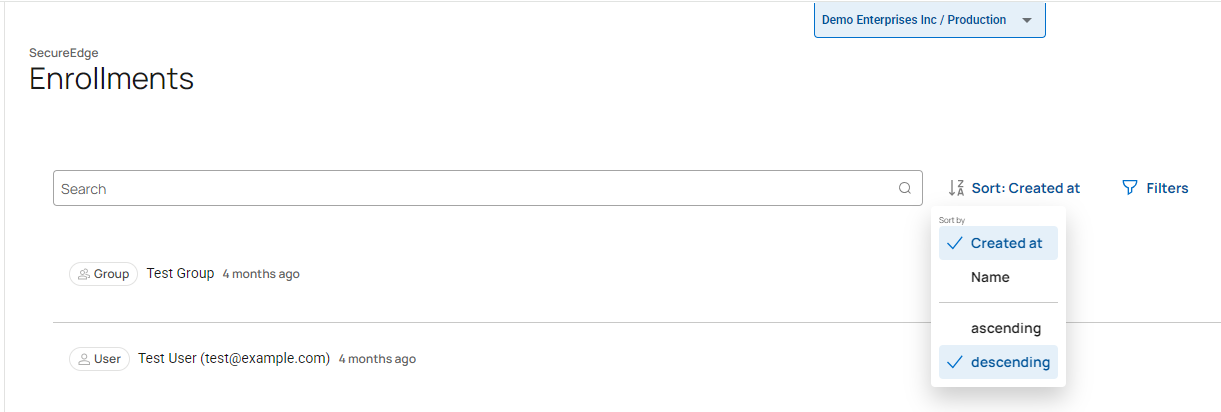
Sorting Features
Filter and sort to view specific users, groups, or devices on the Enrollments page. Select the criteria to sort by. The Enrollments table will sort according to your selection.
Next Steps
Set up the Zero Trust Access Policy that specifies the access requirements associated with the various resources that the Barracuda SecureEdge Access Agent can connect to.