

You can change the serial number of an existing Site Configuration of appliances configured as stand-alone units or as a High Availability cluster. Changing the serial number is necessary in case of a return merchandise authorization (RMA) when an appliance has been replaced.
Change Serial Number
Go to https://se.barracudanetworks.com and log in with your existing Barracuda Cloud Control account.
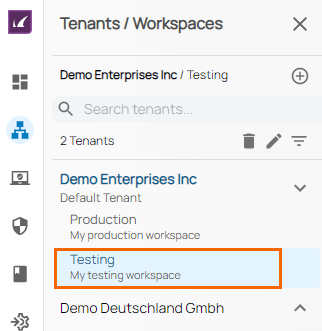
- In the left menu, click the Tenants/Workspaces icon.
- From the drop-down menu, select the workspace containing your site.
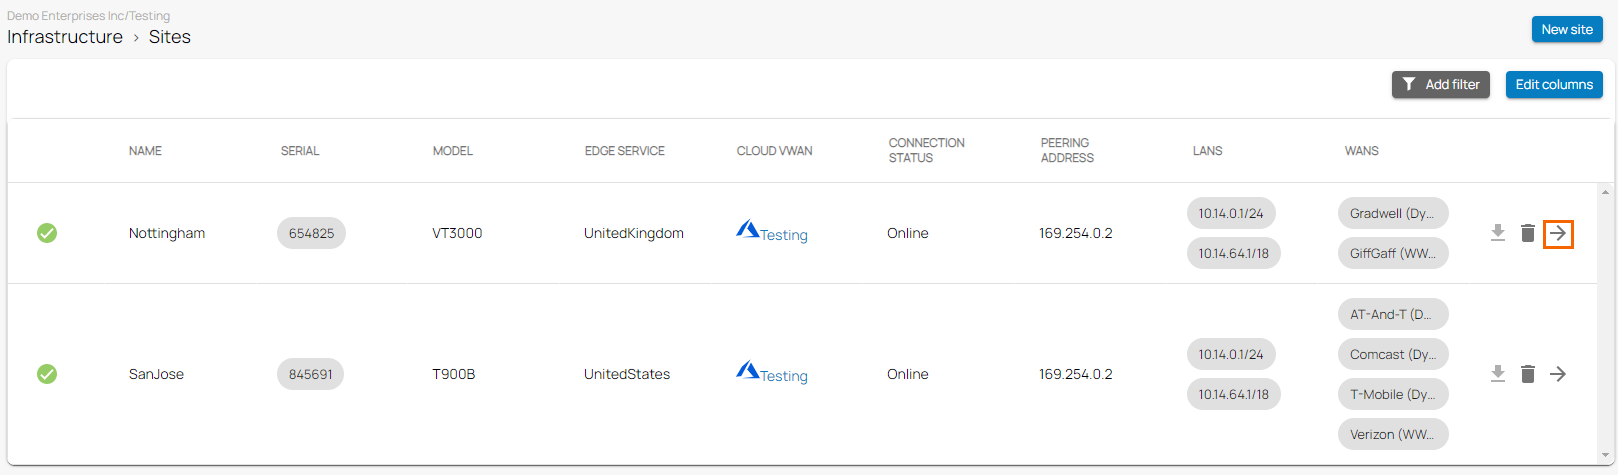
- In the left menu, click the Infrastructure icon, and then select Sites.
- Click on the arrow icon next to the site where you want to change the serial number.
The site menu opens. Click Settings. The BASIC INFORMATION tab opens.
Stand-alone Appliance High Availability Cluster 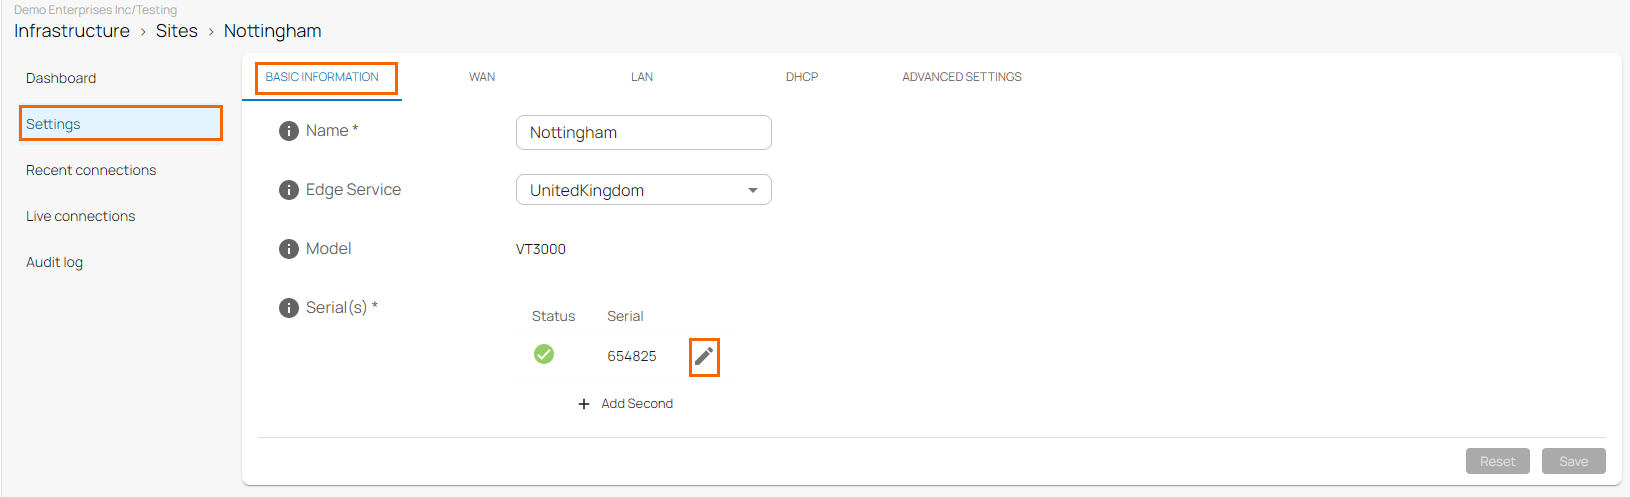

Click on the pencil icon next to the serial number you want to edit.
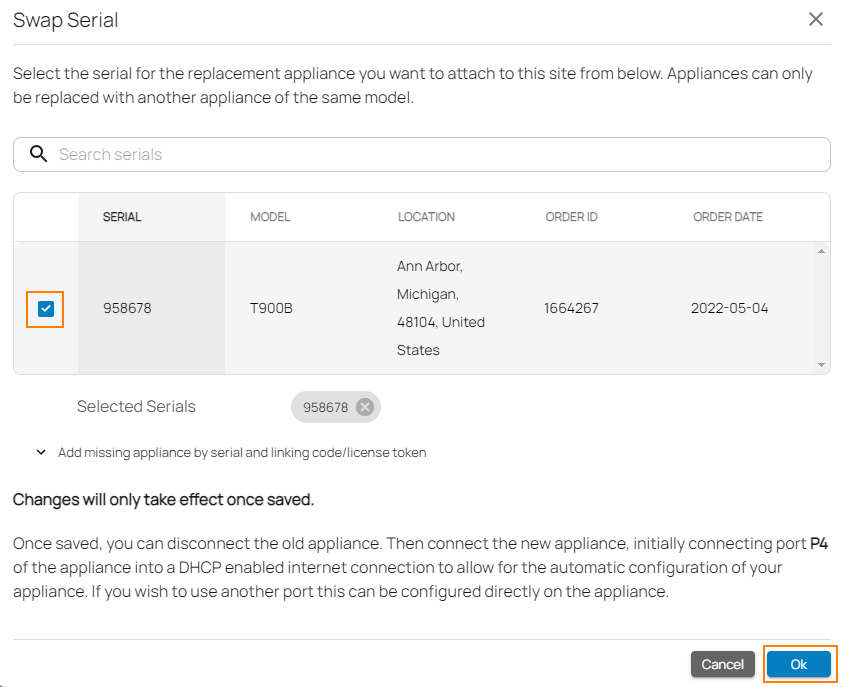
The Swap Serial window opens.
- From the list of appliances linked to your account, select the serial of the appliance you want to use instead of the current appliance. Note: If your appliance is not listed, see Step b.
- If your appliance is not listed, you can add it by using the serial number and the linking code found both on the back of the Quick Start Guide delivered with your appliance and in your Barracuda Networks confirmation email. Note: After ordering, it might take up to 3 hours before your device is listed.
- Click Add missing site appliance by serial and linking code/license token. Then, specify values for the following:
- Serial – Enter the serial number of your appliance.
- Code/Token – Enter the linking code (for your hardware appliance), or the token of your VTx appliance.
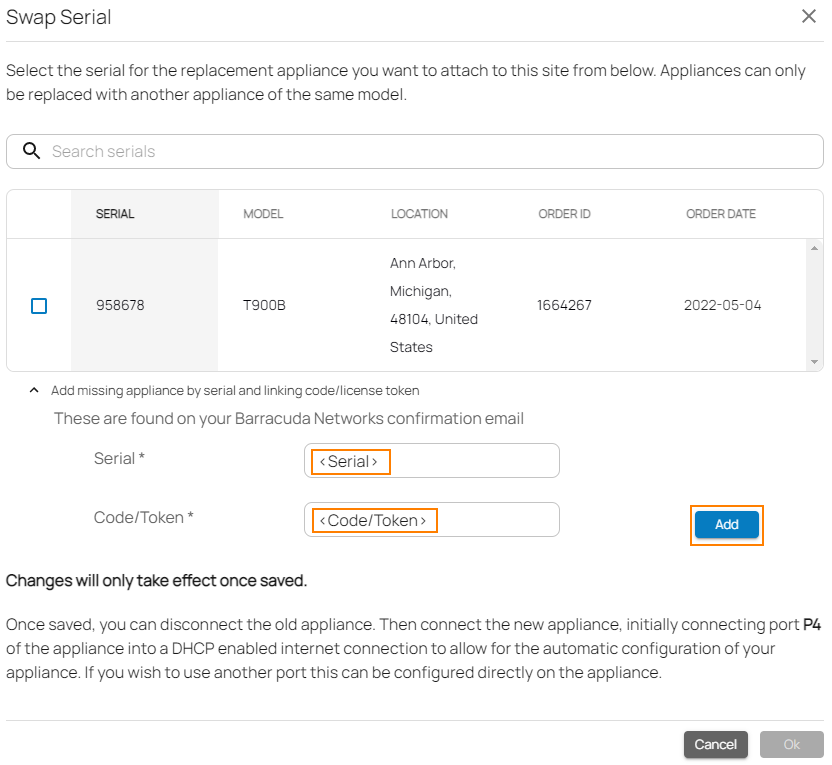
- Click Add.
- Click Add missing site appliance by serial and linking code/license token. Then, specify values for the following:
- Click OK.
- From the list of appliances linked to your account, select the serial of the appliance you want to use instead of the current appliance. Note: If your appliance is not listed, see Step b.
- The BASIC INFORMATION window opens.
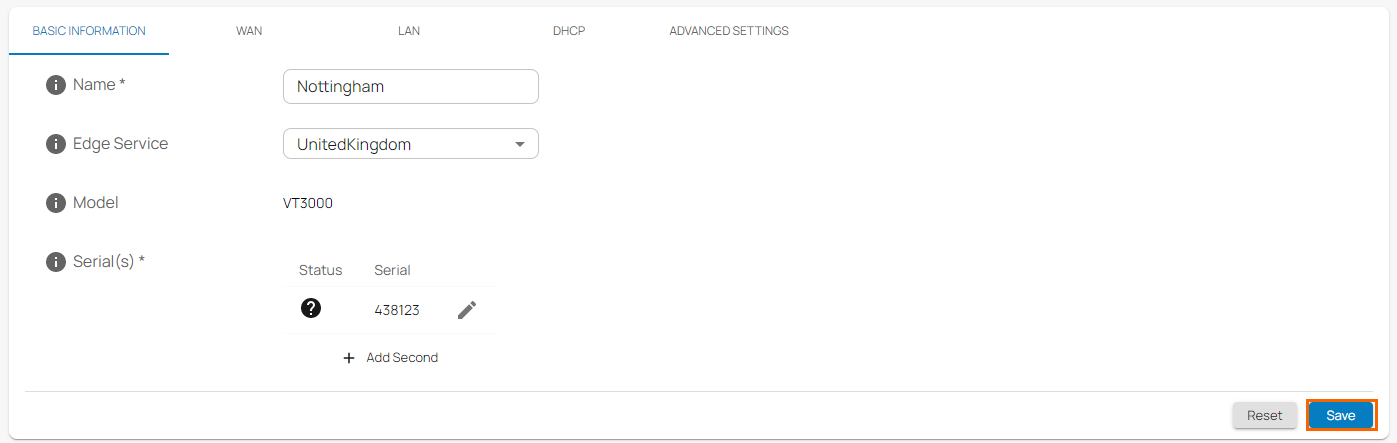
- Click Save.
- Once saved, you can disconnect the old appliance. Then, connect the new appliance by initially connecting port P4 of the appliance into a DHCP-enabled Internet connection to allow for the automatic configuration of your appliance.