

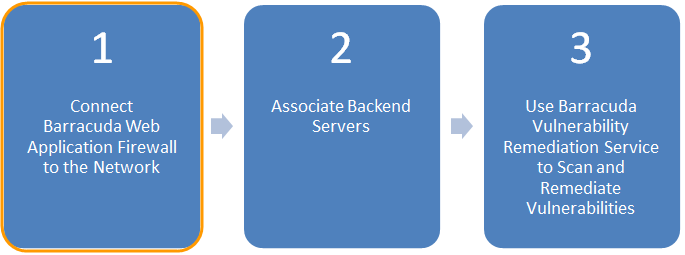
Step 1: Connect the Barracuda Web Application Firewall to the Network
In this step, assign the Barracuda Web Application Firewall an IP address for management, and verify it has access to the Internet as well as to the backend servers it protects.
Ensure it is running the latest firmware and has the latest security definition updates.
For detailed instructions on this step, consult the following Barracuda Campus articles:
| Deployment | Barracuda Campus Article |
|---|---|
| Hardware Appliances | Step 1: Installing the Barracuda Web Application Firewall |
| Virtual Appliances | Barracuda Web Application Firewall Vx Quick Start Guide |
| Amazon Web Services (AWS) Instances | Barracuda CloudGen WAF Deployment and Quick Start Guide for Amazon Web Services |
| Microsoft Azure Instances | Deploying and Provisioning the Barracuda CloudGen WAF for Azure |
Connect the Barracuda Web Application Firewall to Barracuda Cloud Control
After you connect the Barracuda Web Application Firewall to the network, connect it to Barracuda Cloud Control as well. Connecting it to Barracuda Cloud Control allows you to control your Barracuda Web Application Firewall from the cloud, and also allows Barracuda Vulnerability Remediation Service to apply policy changes to secure your applications. For detailed instructions, refer to How to Set Up Barracuda Cloud Control in Barracuda Campus.
Continue to Step 2: Associate Backend Servers