

When the Barracuda Web Application Firewall is configured in Proxy mode, it uses the LAN/WAN IP address to communicate with the backend server. For this reason, the backend server does not see the actual client IP address coming from clients. By default, the Barracuda Web Application Firewall forwards the client IP address as the header X-Forwarded-For.
To log the actual client IP address instead of the WAN IP address (in case of one-arm proxy), or LAN IP address (in case of two-arm proxy) of the Barracuda Web Application Firewall in the IIS logs, do the following:
- Download and install the Microsoft Advanced Logging extension on the IIS 7.5 server to log the client IP address in IIS 7.5. Alternatively, download the 64bit MSI Package.
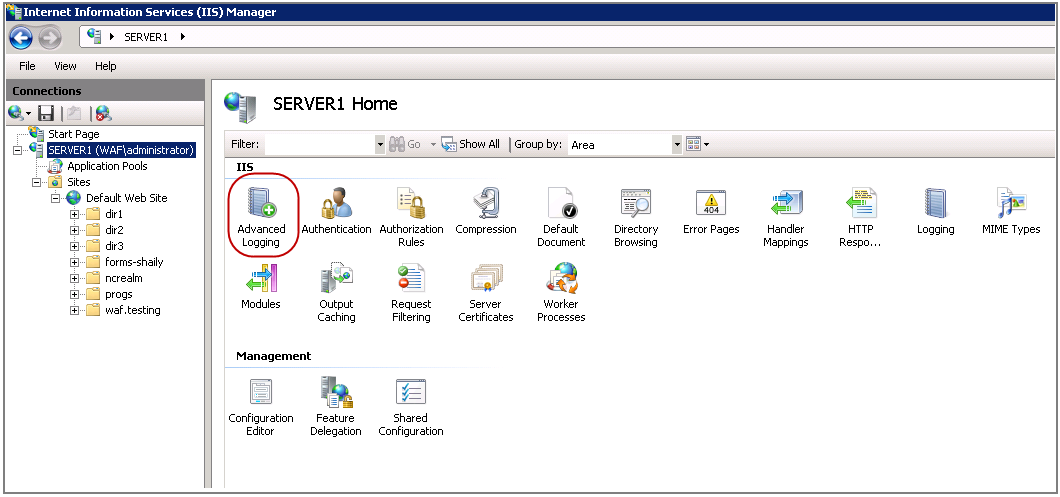
After installation, open IIS Manager, select the server root and then Advanced Logging.
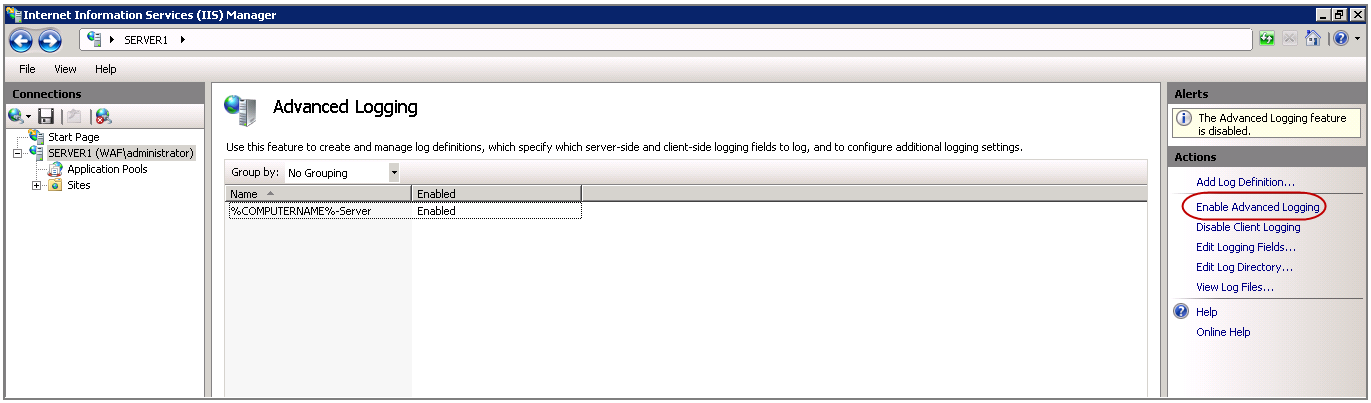
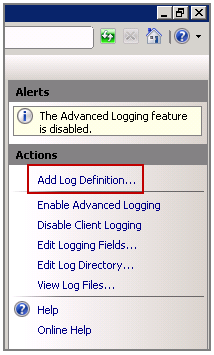
- Click Enable Advanced Logging under Actions.
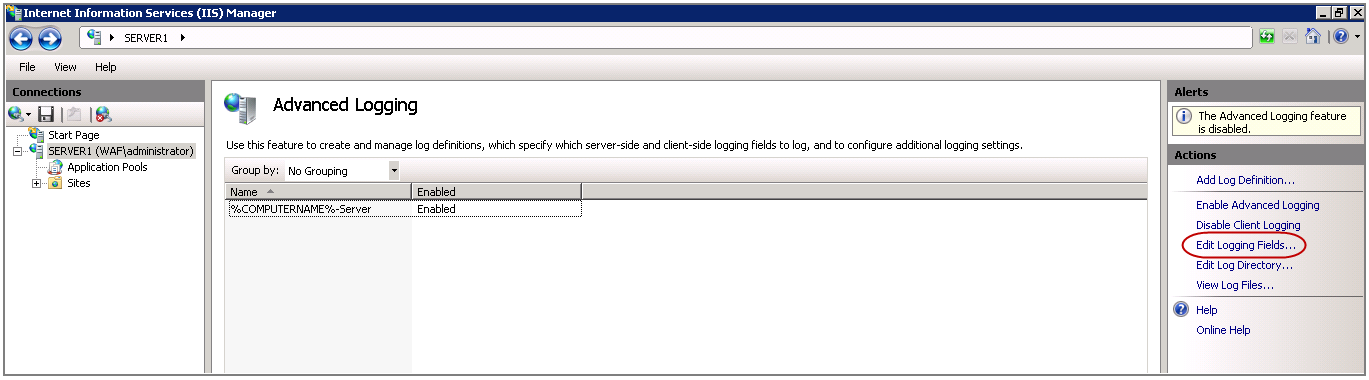
- Click Edit Logging Fields under Actions.
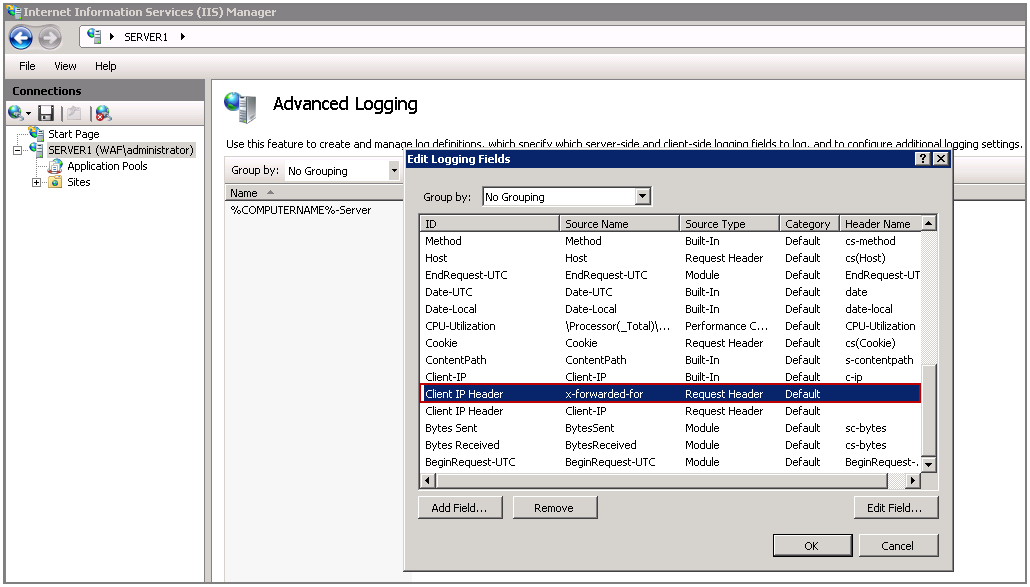
On the Edit Logging Fields window, click Add Field and then enter the details as shown in the image below in the Add Logging Field window.
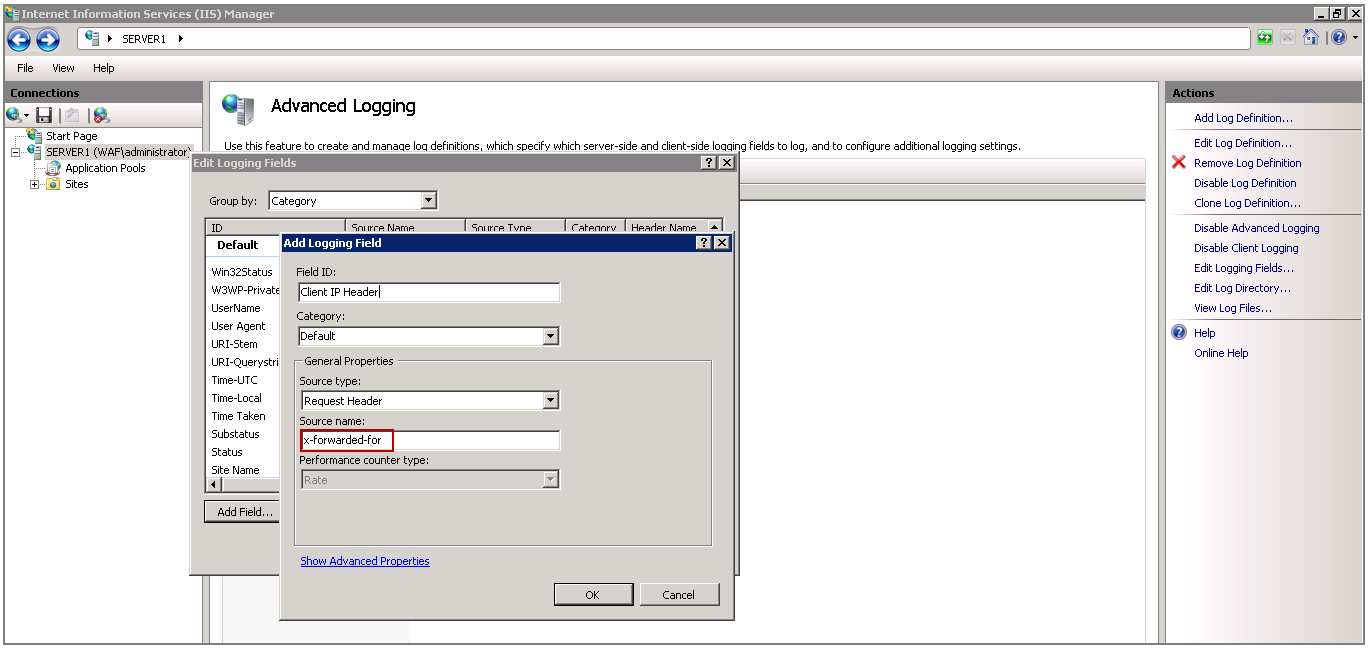
- Click OK, and then scroll down and verify that the new Logging Field is listed.
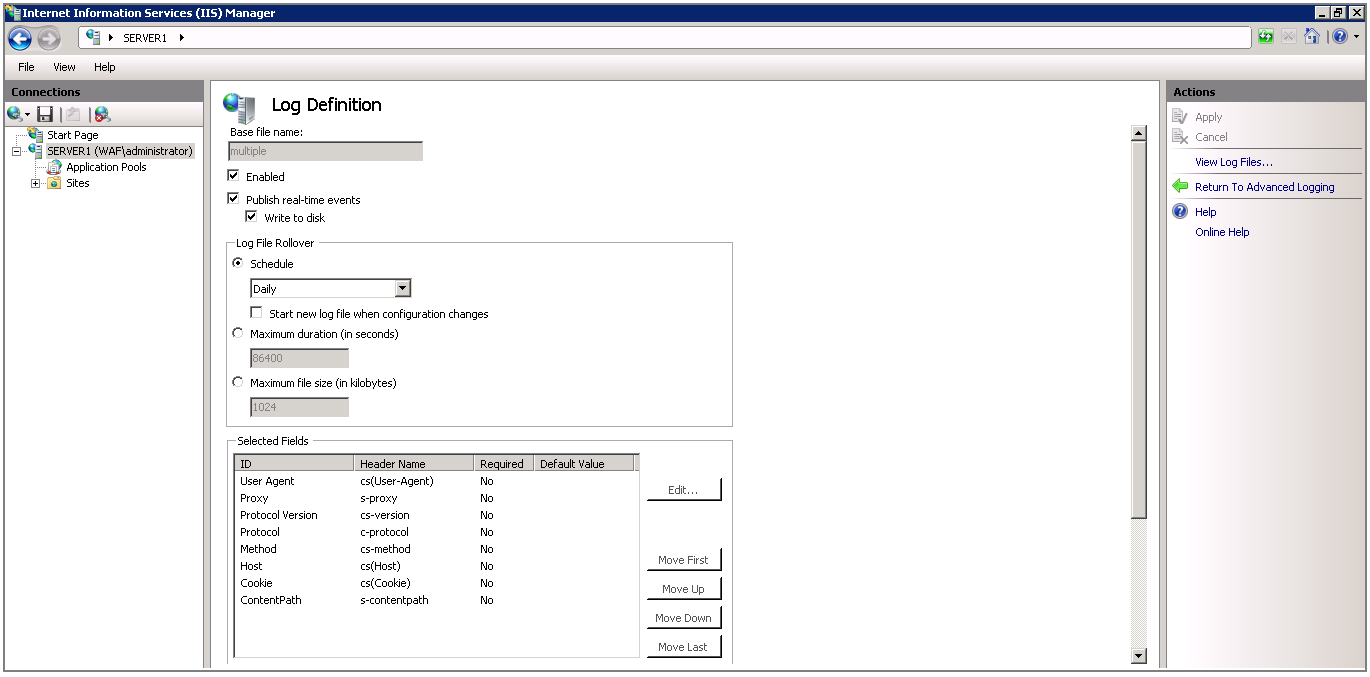
- Click Add Log Definition under Actions.
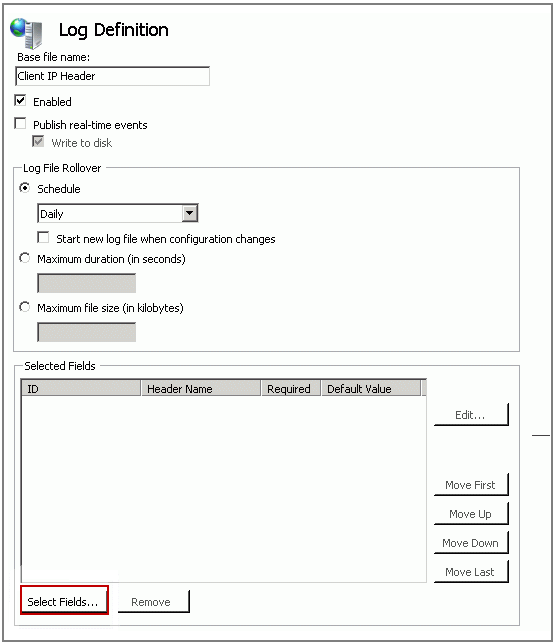
- On the Log Definition window, enter the Base file name and click Select Fields.
- On the Select Logging Fields window, select the Client IP Header logging field created in Step 6 and click OK.
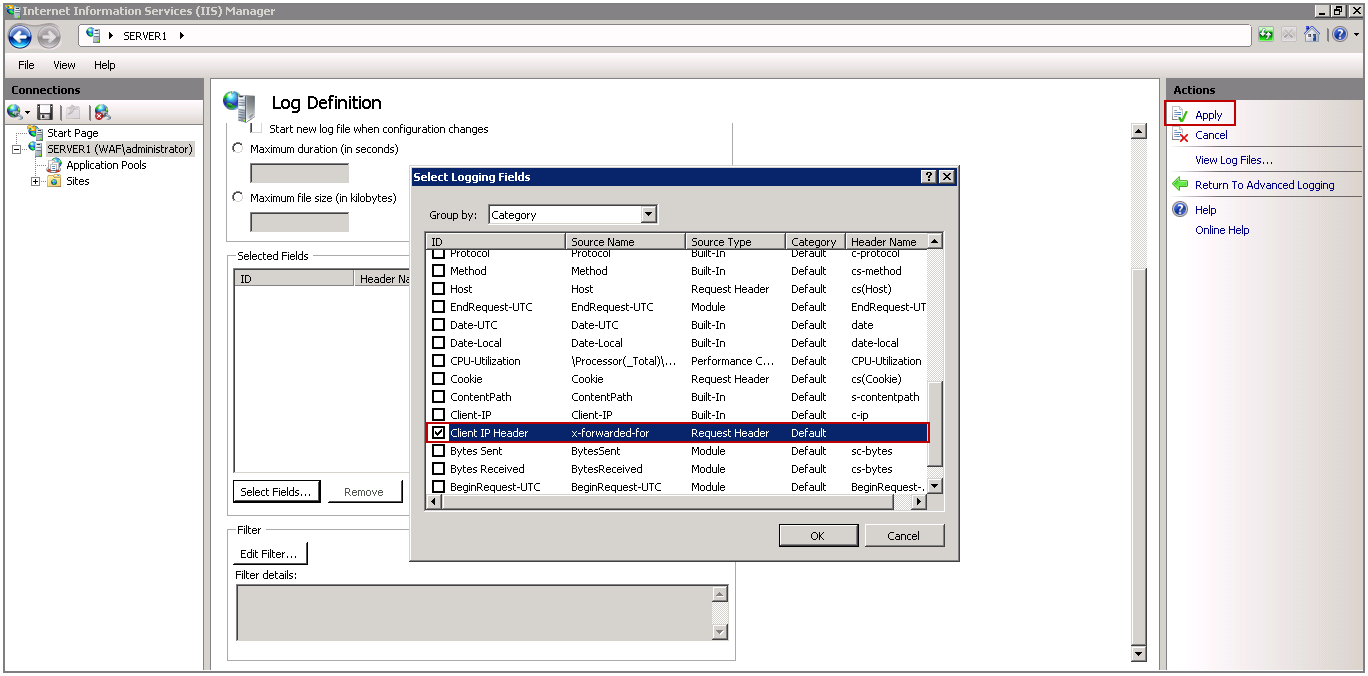
- Click Apply and then click Return to Advanced Logging under Actions.
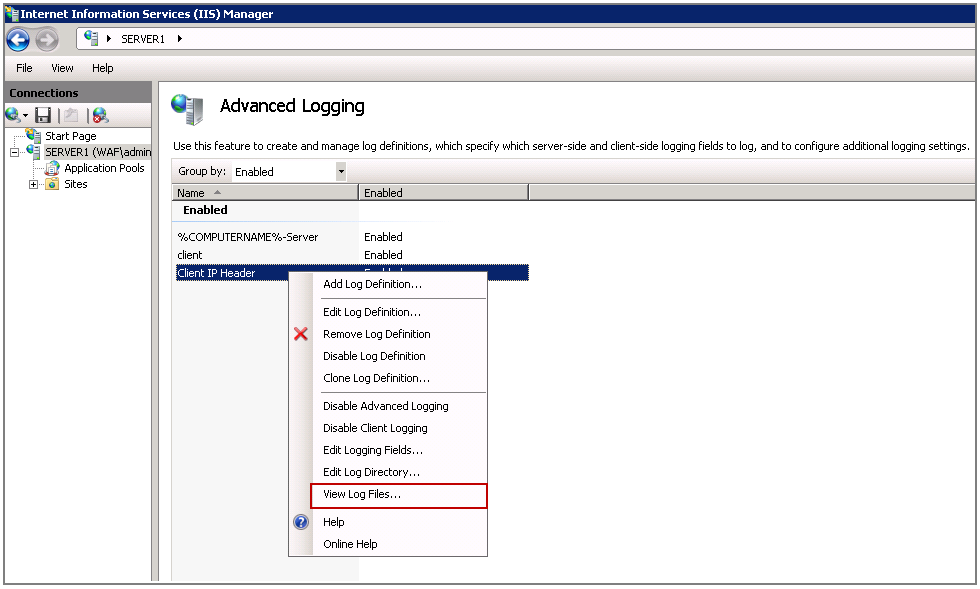
- Now, the Client IP Header log definition will be listed on the Advanced Logging window. Select Client IP Header, right-click and then select View Log Files.
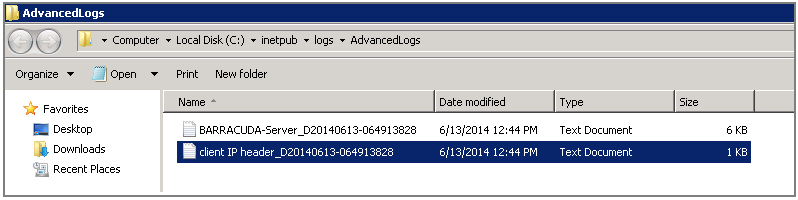
- The advanced logs should be available in the default location or the location you specified.
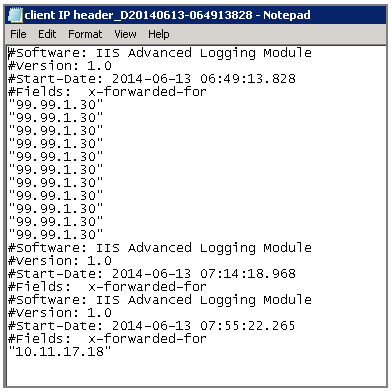
- Open the log file and view the client IP address logging.
- To log additional fields, add the required logging fields as mentioned in Step 8 and then repeat Steps 9 to 13.

To log the actual client IP address in IIS 8.5, follow the steps listed in Microsoft article Enhanced Logging for IIS 8.5.