

Perform the following steps to schedule automated configuration backups to an FTP server:
- From the ADVANCED > Backup page in the Automated Backups section, select FTP from the Server Type drop-down list.
- Specify values for the following:
- Server Name/IP – Enter the Fully Qualified Domain Name (FQDN)/IP address of your FTP server.
- Port – Enter the port number for the FTP server. The default FTP port is 21.
- Username – Enter the username to authenticate to the FTP server.
- Password – Enter the password to authenticate to the FTP server. Note: The Barracuda Web Application Firewall uses these credentials (Username and Password) to connect to the FTP server.
As a best practice, use a unique account for this integration point and grant it the least level of privileges required, coordinating with the FTP administrator. This account requires read and write privileges on the FTP server only for the specific path you indicate in the next field (Folder/Path). For additional information, see Security for Integrating with Other Systems - Best Practices . - Folder/Path – Enter the path to the directory on the FTP server where you want to save automated backups.
- Click Save.
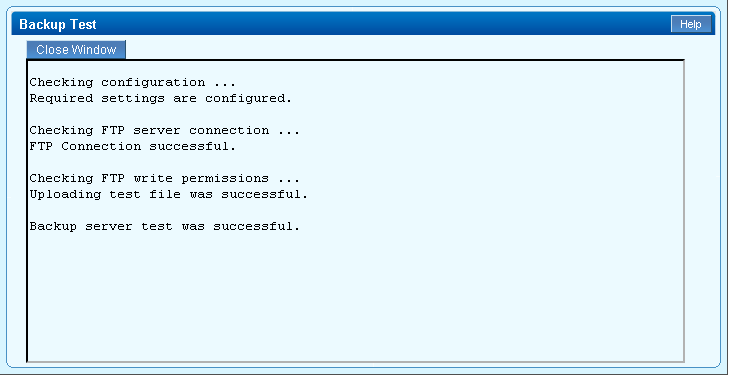
- To test the connection to the FTP server, click the Test Backup Server button. The following window pops up if the test was successful:
- If the test was successful, proceed and configure the Backup Schedule and Backups to Keep.
- Backup Schedule – Select the check box next to each component that is to be backed up. Select the day of the week (or Daily) and the time of day you would like each backup to run.
- Backups to Keep – Set the maximum number of backups to keep on the remote (FTP) server at any one time. When this limit is reached, the oldest backup set will be removed to make room for the newest.
- Click Save.