The other Barracuda Web Application Firewall virtual machines deployed can be reprovisioned using the Consconf.
Prerequisites
The Barracuda Web Application Firewall virtual machine:
- Should have internet access to reach the Barracuda servers on port 80 and 443.
- Should not be clustered with other Barracuda Web Application Firewall virtual machine(s).
To reprovision a regular virtual machine:
- In your hypervisor client, ensure the virtual appliance is “Up” and running.
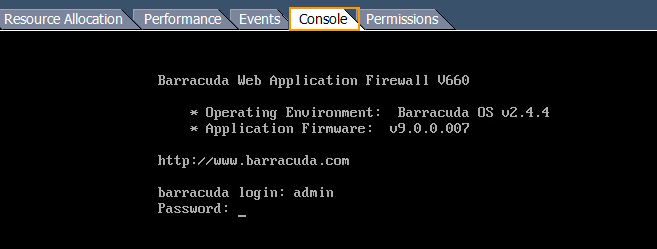
- From the console, log in as admin with the password admin.
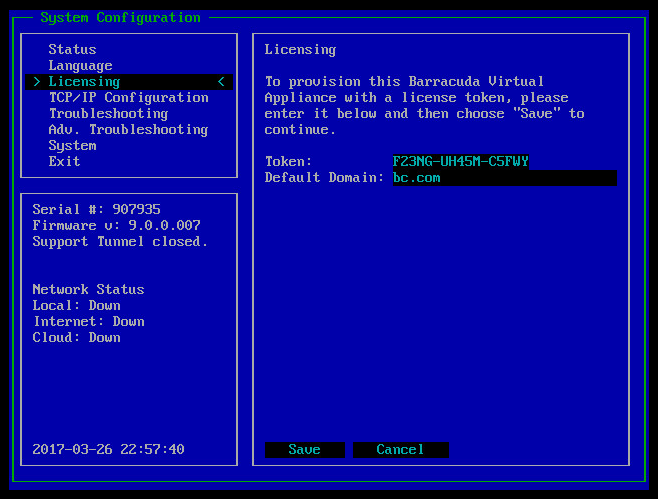
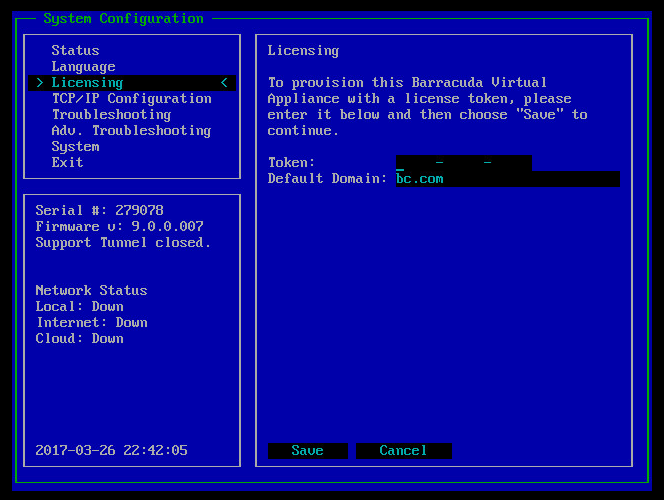
- In the System Configuration window, use the down arrow key and select Licensing. Clear the existing license token, enter the new license Token and hit Save.
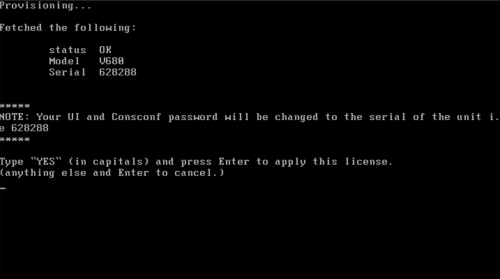
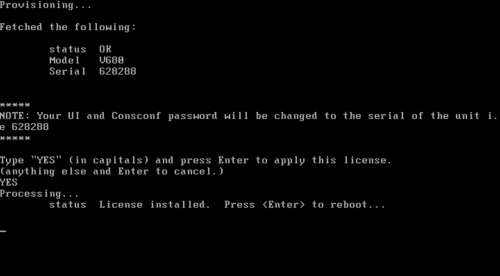
- To provision your virtual machine with the new license token, type YES and press Enter.
- After the license is installed, press Enter to reboot the virtual machine.
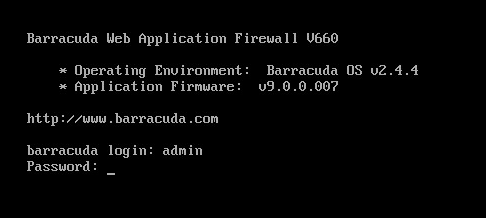
- The system completes the reboot process and displays the login screen.
- Log in with username admin and password, which is either:
- The numeric part of the serial number if your Vx preboot version is 4.6.1 or higher. To find the preboot version, check the name of downloaded Vx image (zip file) which is something like
BarracudaEmailSecurityGateway-p2-vm4.6.1-fw8.1.0.003-20200113-esx-vbox.zip. The text between "vm" and "-fw" in the filename is the preboot version. In this example, it is 4.6.1. The serial number of your Vx is in your invoice and in your VM Setup email. - The word "admin" if your Vx preboot version is below 4.6.1.
For help finding the serial number of your virtual appliance, see Serial Number for Hardware and Virtual Appliances.
- The numeric part of the serial number if your Vx preboot version is 4.6.1 or higher. To find the preboot version, check the name of downloaded Vx image (zip file) which is something like
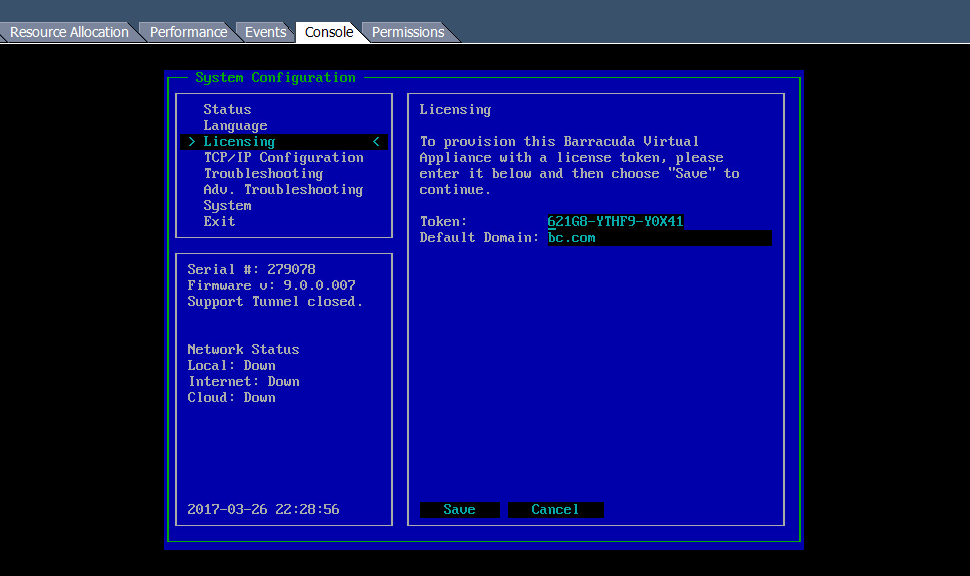
- In the System Configuration section, use the down arrow key and select Licensing. The license Token displays the new token used in step 3.