

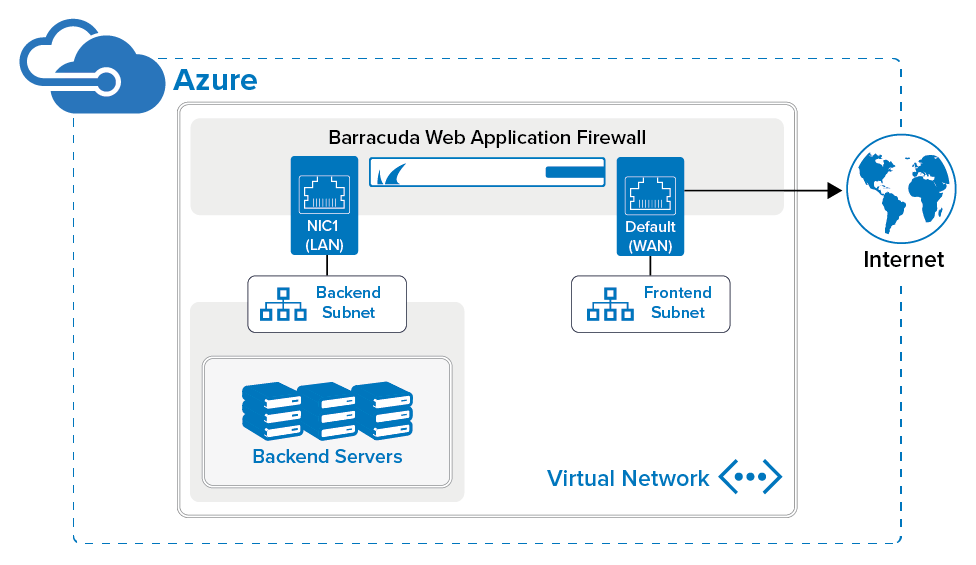
You can deploy the Barracuda Web Application Firewall instances in Microsoft Azure and attach multiple network interface controllers (NICs) to it. Multiple NIC is a requirement for network appliances and virtual machines that forward the traffic from one subnet to another. Multiple NICs also provide more network traffic management functionality, including isolation of traffic between a front-end NIC and a backend NIC. Using Multiple NICs you can separate the data (WAN) traffic from the backend server (LAN) traffic, i.e., the servers can reside in the LAN network. For more information, refer to the Create a VM with multiple NICs article in the Microsoft Azure documentation.
You can deploy the Barracuda Web Application Firewall instance(s) with Single NIC and Multi IP or Multi NIC and Multi IP on Microsoft Azure using the Azure Resource Manager (ARM) template. See Configuring Multiple IP Addresses for the Barracuda Web Application Firewall Instance in Azure Resource Manager.
This article provides information on how to deploy the Barracuda Web Application Firewall instance with multiple NICs using Azure Resource Manager (ARM).
Prerequisite
To configure the Barracuda Web Application Firewall with multiple NICs, the virtual network should include two subnets, i.e., one for the WAN traffic and the other for the LAN traffic. When the Barracuda Web Application Firewall instance is deployed in Microsoft Azure, the virtual network is associated with a single subnet (i.e., for WAN traffic). To add another subnet, perform the following steps:
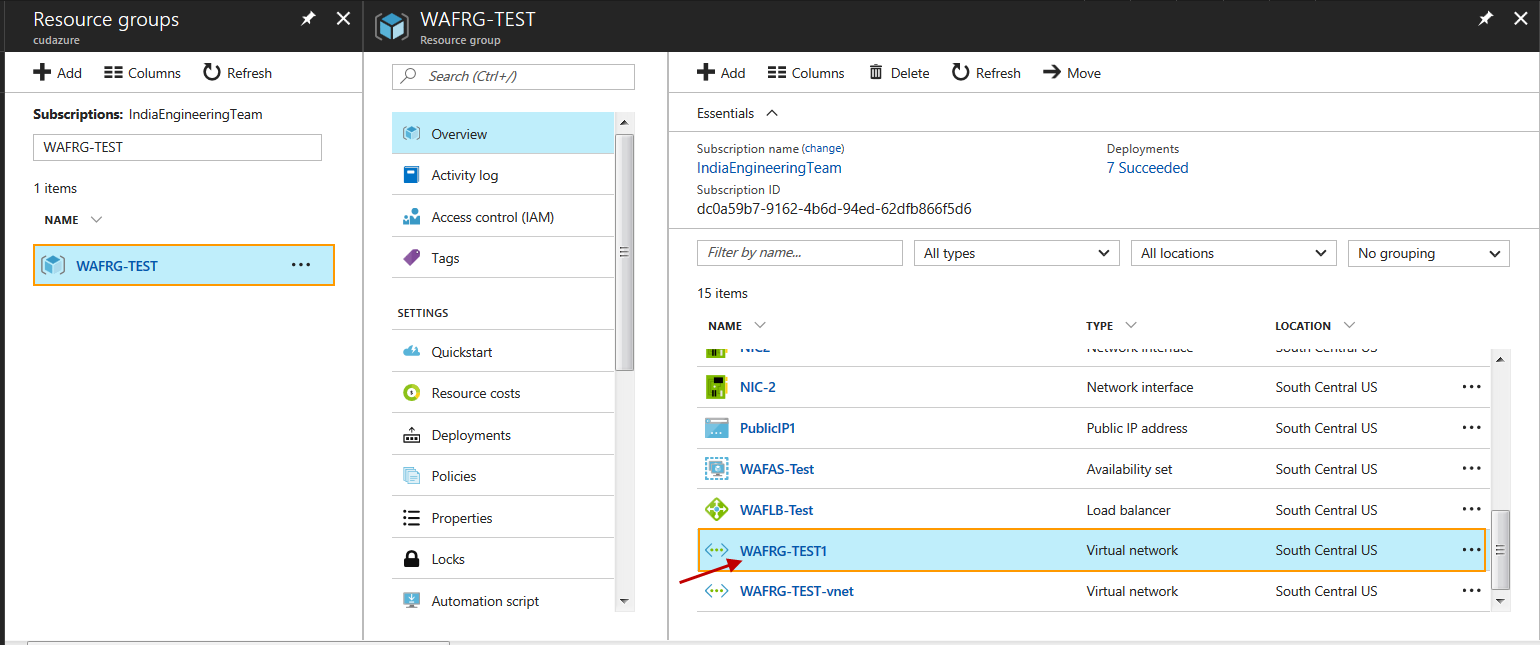
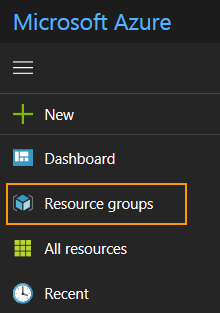
- Log into the Microsoft Azure portal, click Resource groups on the left panel.
- In the Resource groups list, click on the resource group to which the Barracuda Web Application Firewall instance is associated.
- On the resource group page, click on the virtual network associated with the resource group.
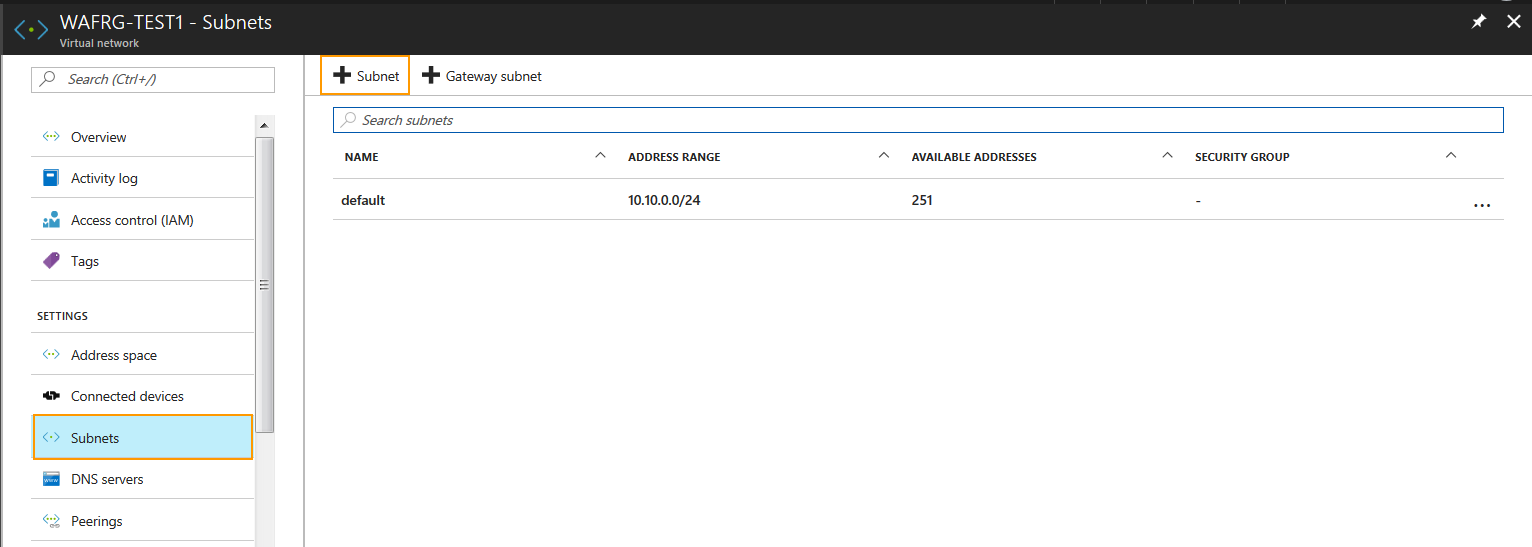
- On the virtual network page, select Subnets under SETTINGS and click Subnet.
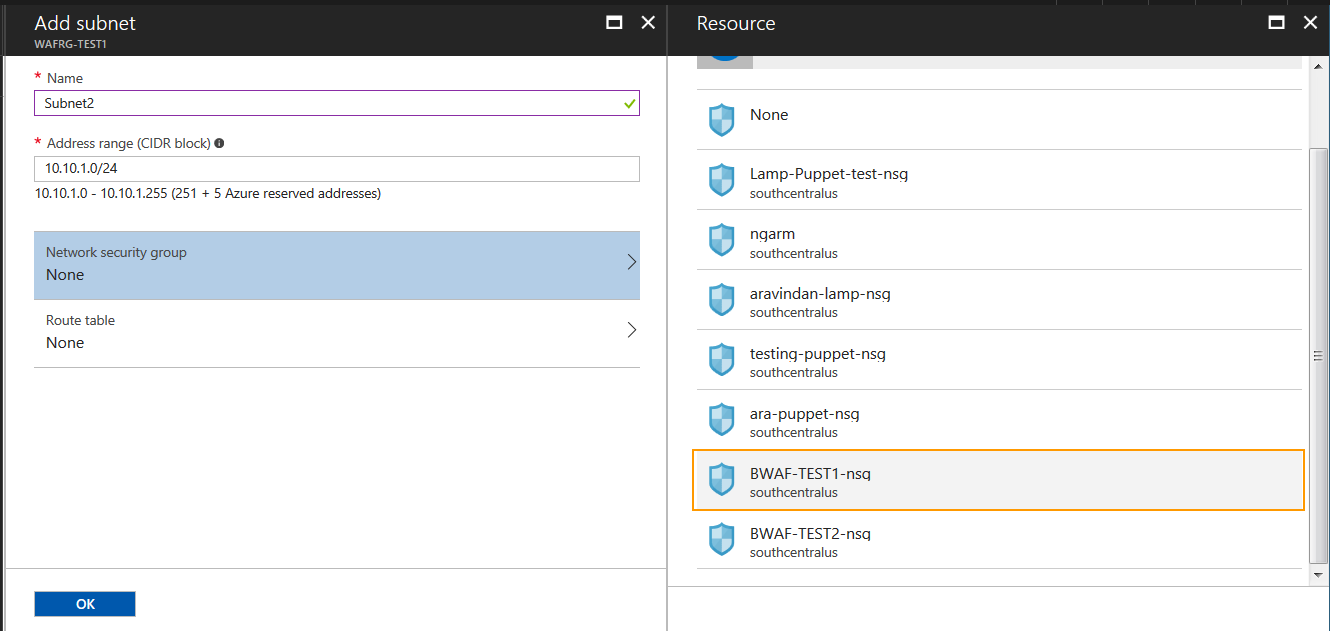
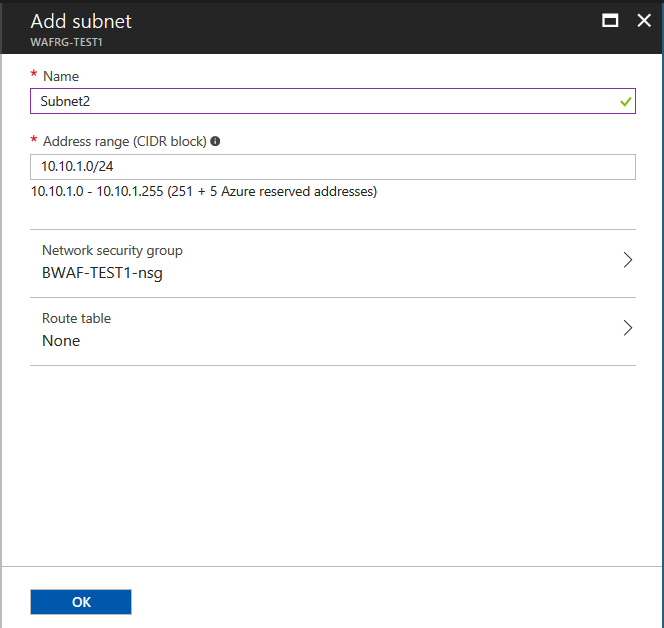
- On the Add Subnet page:
- Name: Enter a name for the subnet.
- Address range (CIDR block): Enter the IP address for the subnet. The IP address should be within the address space of the virtual network.
- Network security group: Select the network security group associated with the resource group selected in Step 2.
- Click OK.
- The new subnet gets displayed in the Subnets list.

To configure the Barracuda Web Application Firewall with multiple NICs, perform the following steps:
Step 1. Deploy the Barracuda Web Application Firewall Instance
Follow the steps mentioned in Deploying and Provisioning the Barracuda Web Application Firewall in the New Microsoft Azure Management Portal or Deploying and Provisioning the Barracuda Web Application Firewall in the Classic Microsoft Azure Management Portal.
Step 2. Set the Private IP Address of the Instance to Static
After the instance is deployed, set the private IP address to static by following the steps below:
- In the Microsoft Azure portal, click Resource groups on the left panel.
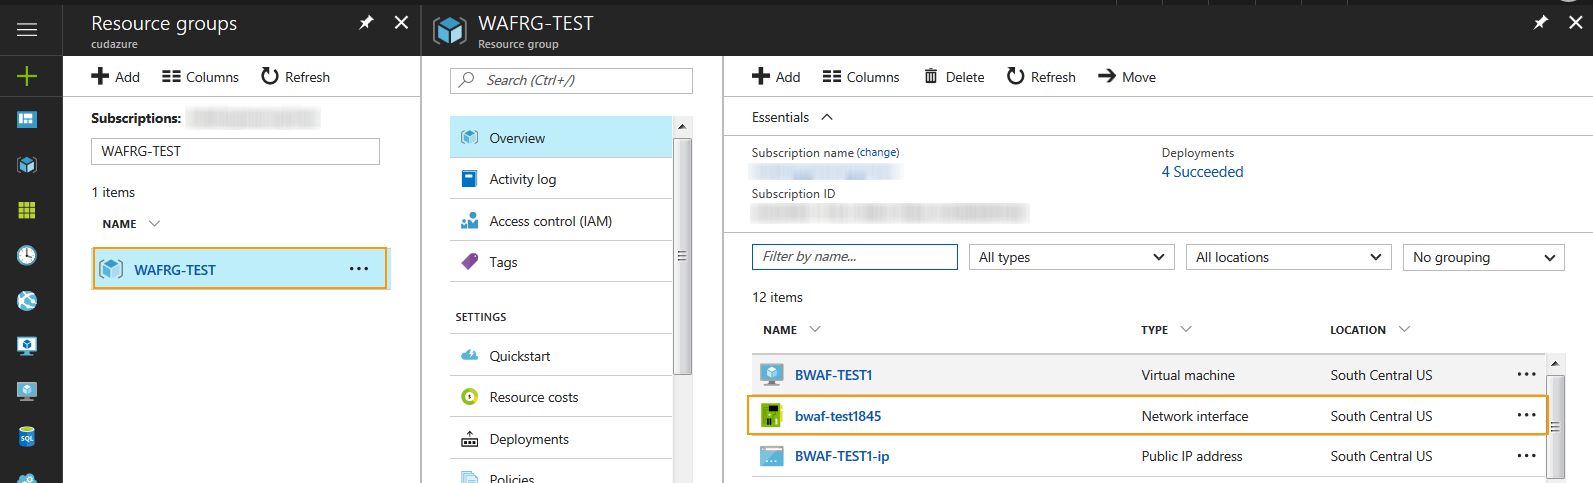
- In the Resource groups list, locate and click on the resource group to which the Barracuda Web Application Firewall instance is associated.
- On the Resource groups page, select the network interface (NIC) of the deployed Barracuda Web Application Firewall instance.
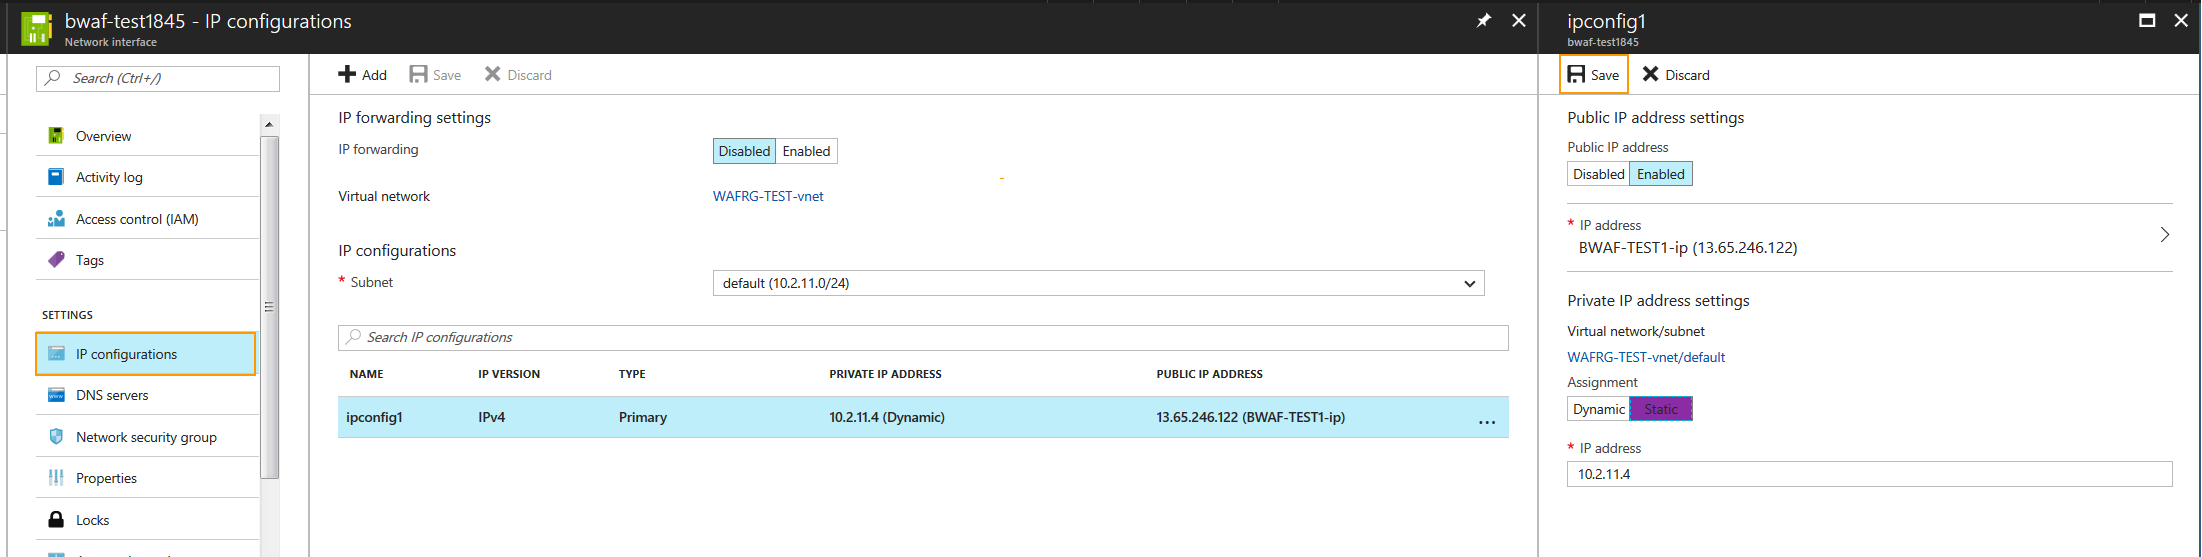
- On the instance Network interface page, select IP configuration under Settings.
- Select the Private IP Address under IP configurations.
- Set Assignment to Static under Private IP address settings and click Save.
Step 3. Create a Network Interface (NIC)
By default, the Barracuda Web Application Firewall instance is deployed with a single NIC. You can add an additional NIC for LAN either through the Azure Portal or Azure CLI.
Create a NIC Using the Azure Portal
- Log into the Microsoft Azure portal.
- Click Marketplace in the left panel and type
Network Interfacein the Search Everything field. - Select Microsoft Network interface from the search results.
- On the Network interface page, click Create.
- On the Create network interface page:
- Name: Enter a name for the network interface. Example:
LAN - Virtual network: Select the virtual network for the network interface. Ensure that the virtual network exists in the same subscription and location as that of the network interface.
- Subnet: Select a subnet within the virtual network.
- Private IP address assignment: Set to Static.
- Private IP address: Enter an IP address that belongs to the configured subnet.
- Network security group: Select an existing network security group, or create a network security group.
- Subscription: Select the subscription from the drop-down list.
- Resource group: Select Use existing and select the resource group to which the Barracuda Web Application Firewall instance is associated.
- Location: Select the location. Ensure that the network interface location and the location specified for the Barracuda Web Application Firewall instance are the same.
- Name: Enter a name for the network interface. Example:
- Click Create.
Creating a NIC Using the Azure CLI
To create a network interface using the Azure CLI, perform the steps below:
- Install Azure CLI by following the steps mentioned in Install Azure 2.0 CLI.
- To authenticate to your Azure account, run the Azure login command and follow the instructions.
az login
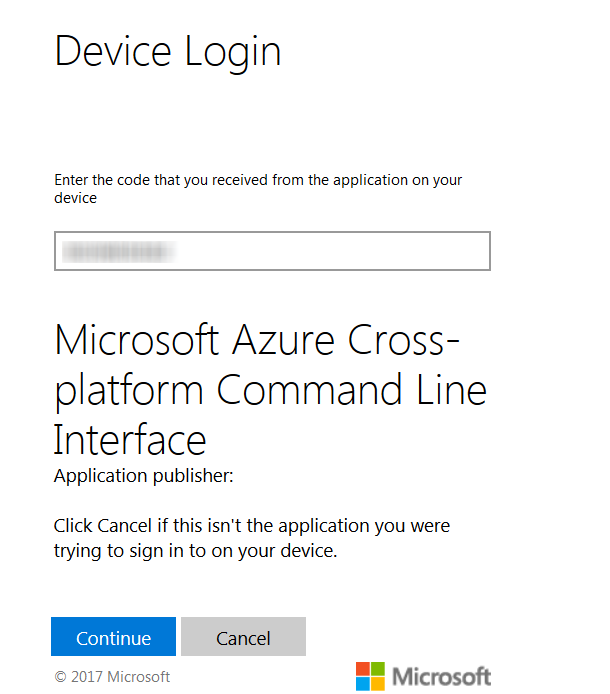
This displays a message as: “To sign in, use a web browser to open the page https://aka.ms/devicelogin and enter the code ********* to authenticate.”

- Copy the URL and paste it in the web browser.
- Enter the Code in the text field and click Continue.
- Enter your Microsoft account username and password.
- After successful authentication, you can use the Azure CLI to perform actions on your Azure account.
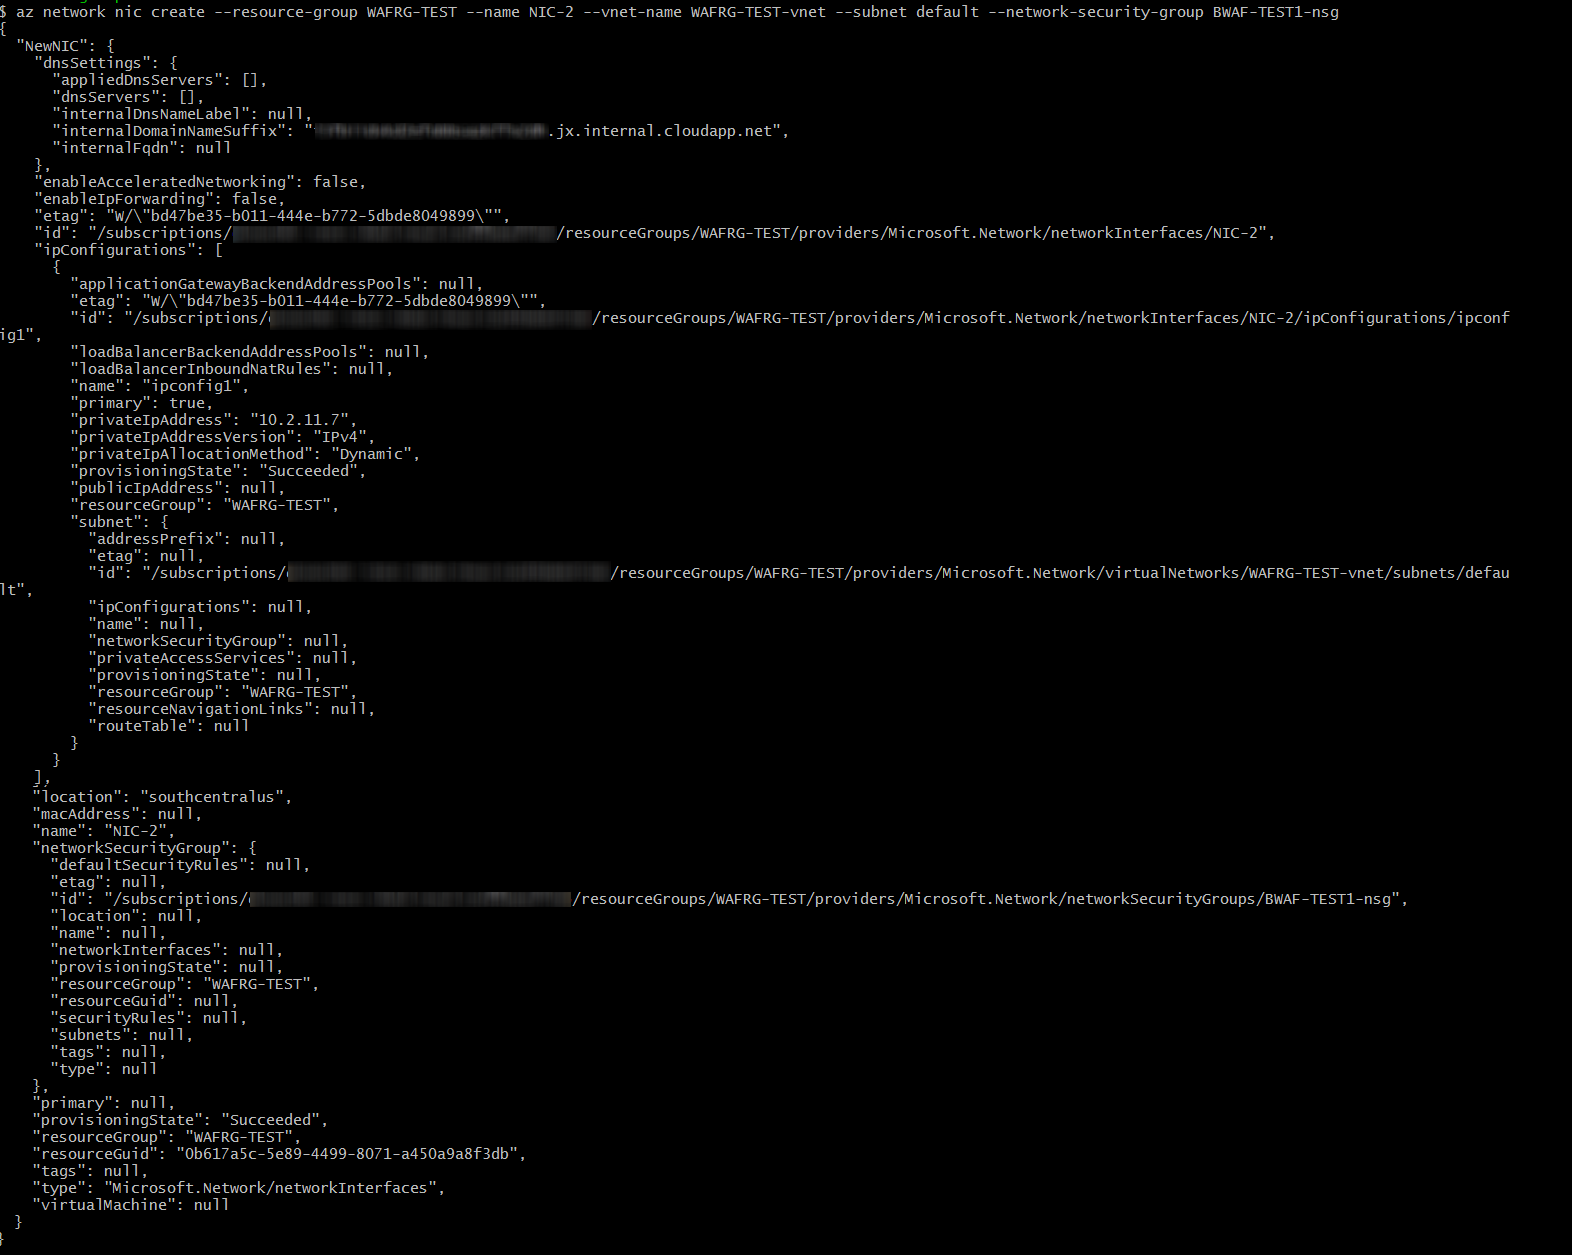
- Run the following command to create a NIC:
az network nic create --resource-group <Resource group name to which your Barracuda Web Application Firewall instance is associated> --name <Name for the new NIC> --vnet-name <Name of the virtual network to which this network interface needs to be created> --subnet <Name of the subnet> --network-security-group <Name of the network security group>
Example: az network nic create --resource-group WAFRG-TEST --name NIC-2 --vnet-name WAFRG-TEST-vnet --subnet default --network-security-group BWAF-TEST1-nsg
Step 4. Add the LAN Network Interface to the Barracuda Web Application Firewall Instance
To add the created network interface to the Barracuda Web Application Firewall instance, perform the following steps:
- Log into the Microsoft Azure Portal.
- Click Virtual machines in the left panel.
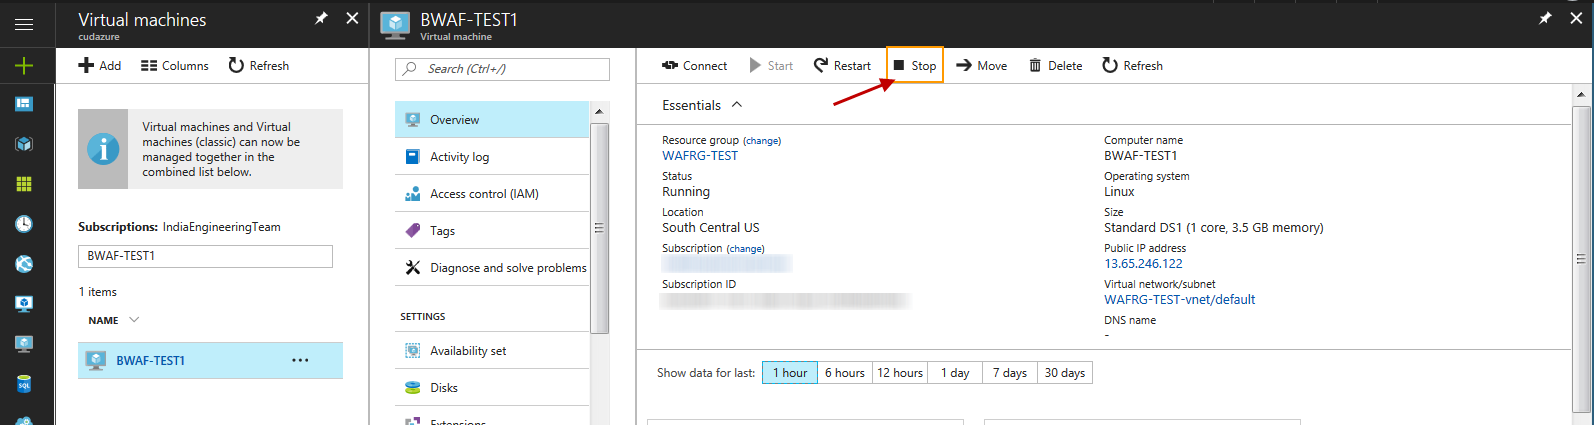
- In the Virtual machines list, click on the virtual machine to which the network interface needs to be added.
- Click Stop to shut down the virtual machine.
- After the virtual machine has stopped, go to the Microsoft Azure Command Line Interface, and run the following command:
az vm nic add --output json --vm-name <Name of the Barracuda Web Application Firewall instance to which the network interface needs to added> --resource-group <Name of the resource group> --nics <Name of the network interface that needs to be added to the instance>
Example: az vm nic add --output json --vm-name BWAF-TEST1 --resource-group WAFRG-TEST --nics NIC-2
Step 5. Configure the LAN IP Address
The private IP address of the new NIC should be configured as the LAN IP address in the BASIC > IP Configuration page.
- Log into the Barracuda Web Application Firewall web interface.
- Go to the BASIC > IP Configuration page.
- In the LAN IP Configuration section:
- IPv4 Address: Enter the IP address of the second NIC that was added to the instance.
- IPv4 Subnet Mask: Enter the netmask associated with the IP address
- Allow Administration Access: Set to No to allow administration access.
- Click Save.
