

Perform the following steps to deploy the ARM template:
- Log into the Azure Portal.
- Click More Services under Azure Services.
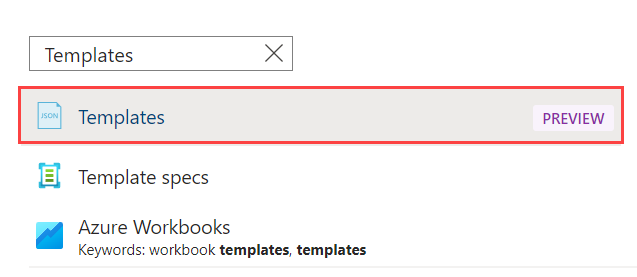
- In the Filter services field, type
Templatesand select Templates.
- On the Templates page click Create.
- On the Add template > General page:
- Name – Enter a name for the template.
- Description – Provide a description of the template.
- Click Next: ARM Template.
- On the Add template > ARM Template page:
- Clear the text area.
- Copy the Barracuda ARM template and paste it into the text area.
- Click Add.
- On the Templates page, select the template you created in Step 6 and click Deploy.
- On the Custom deployment page, do the following:
- BASICS
- Subscription – Select the subscription from the drop-down list.
- Resource group – Select an existing resource group, or create a new resource group to associate the Log Analytics workspace.
- Location – Select the location under which you want to create the resource group. Note: This is available only when Create new is selected in the Resource group field.
- SETTINGS
- Workspace Name – Enter a name for the Log Analytics workspace that needs to be created.
- Pricing Tier– Select a pricing tier as per your requirement from the drop-down list.
- Type – Select Workbook or View from the drop-down list.
- TERMS AND CONDITIONS
- Select the Terms and Conditions check box.
- BASICS
- Click Purchase.
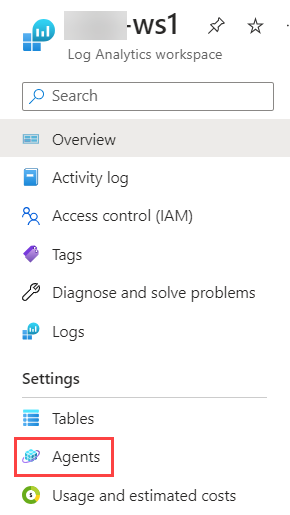
- After the workspace is deployed successfully, type the workspace name created in Step 8 in the search box and select the workspace.
- On the workspace page, select Agents under Settings.
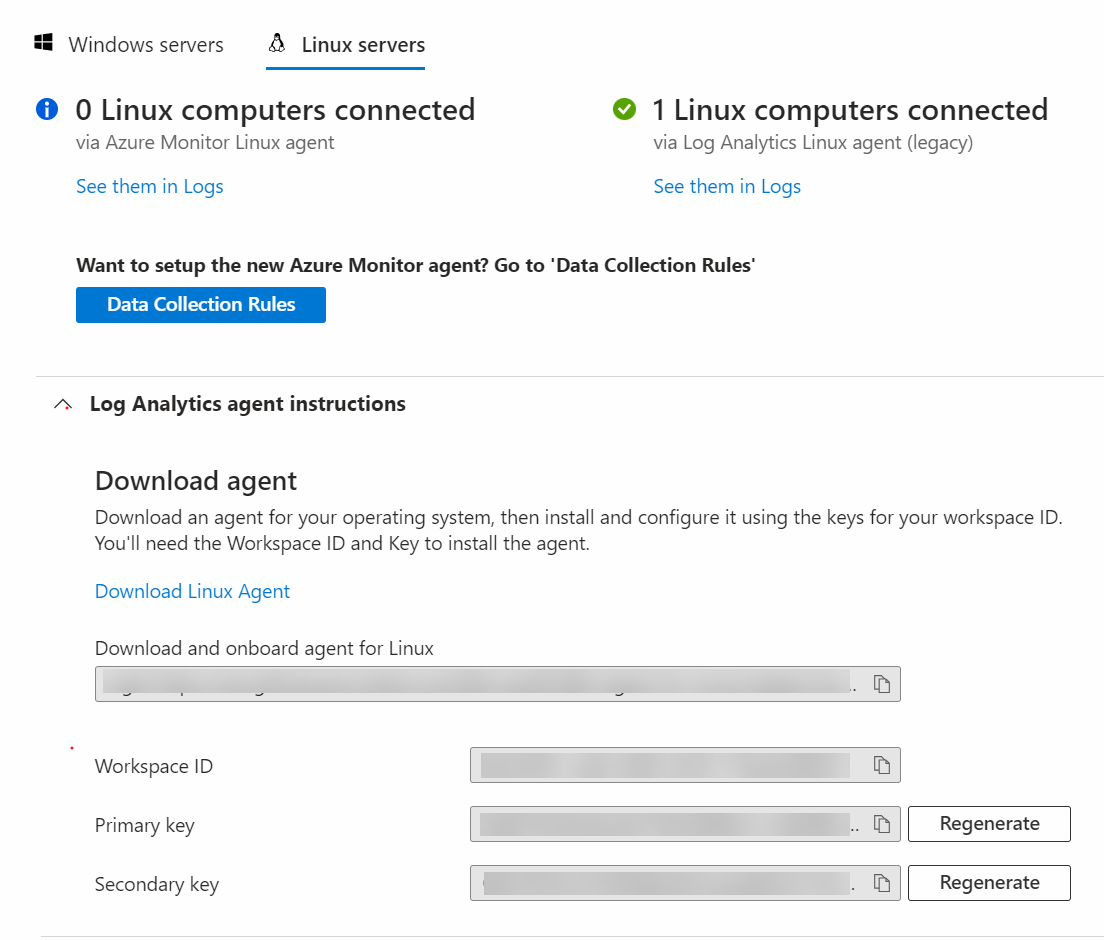
- On the Agents page:
- Select Linux servers.
- Expand Log Analytics agent instructions and copy the Workspace ID and Primary Key.
Next Step
Continue with Configure the Barracuda Web Application Firewall to Integrate with the Log Analytics Server and Export Logs.