

The article walks you through how to import the Barracuda Web Application Firewall BYOL CFT and deploy the instance.
Pre-requisites
- Create all necessary S3 buckets (License S3 bucket, Cluster S3 bucket and Backup S3 bucket)
- Upload the BYOL licenses to the License S3 bucket. (Licenses can be activated here.)
- Create an IAM Role to access the S3 buckets
- BYOL CloudFormation Template. See Barracuda CloudFormation Template (CFT) for BYOL Instance.
Upload the BYOL Licenses to the S3 Bucket
Before deploying the Barracuda Web Application Firewall instance(s) using the CloudFormation Template, upload the BYOL licenses to the predefined “Licenses” S3 bucket. The licenses should be activated manually by the administrator before being uploaded to the Licenses S3 bucket. If the licenses are not activated, the Barracuda Web Application Firewall will not boot up and will stop at the “Licensing” page.
Uploading the BYOL Licenses
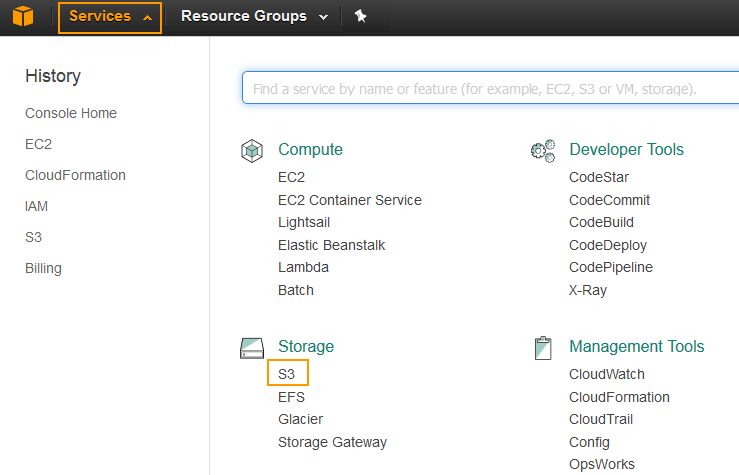
- Log into the AWS Management Console.
- Click Services and select S3 under Storage.
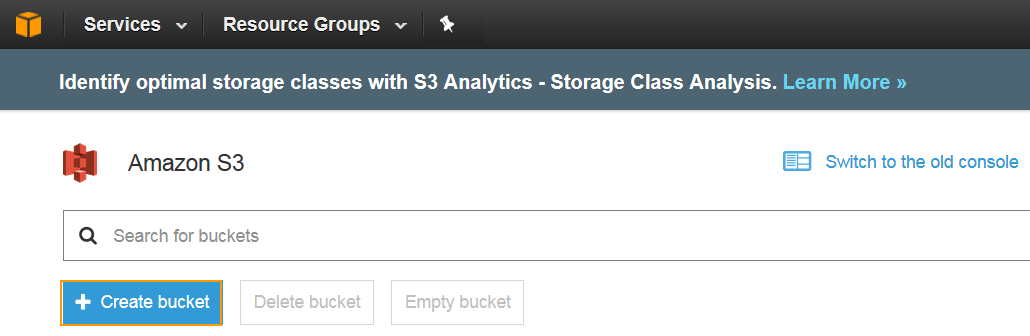
- On the S3 Management Console, click Create bucket to add a S3 bucket to store the licenses.
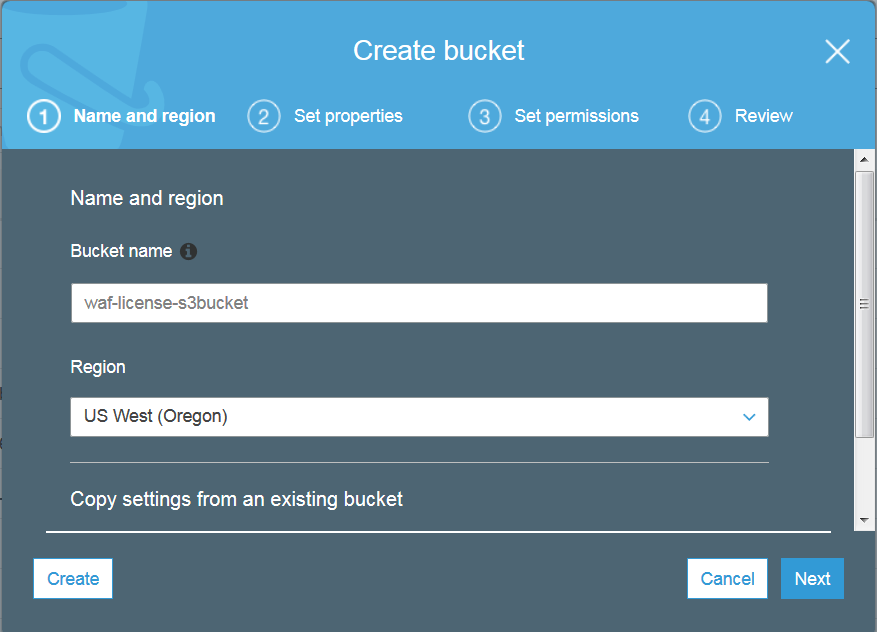
- In the Create bucket window, enter a unique bucket name, select the region where the instances will be deployed, and click Create.
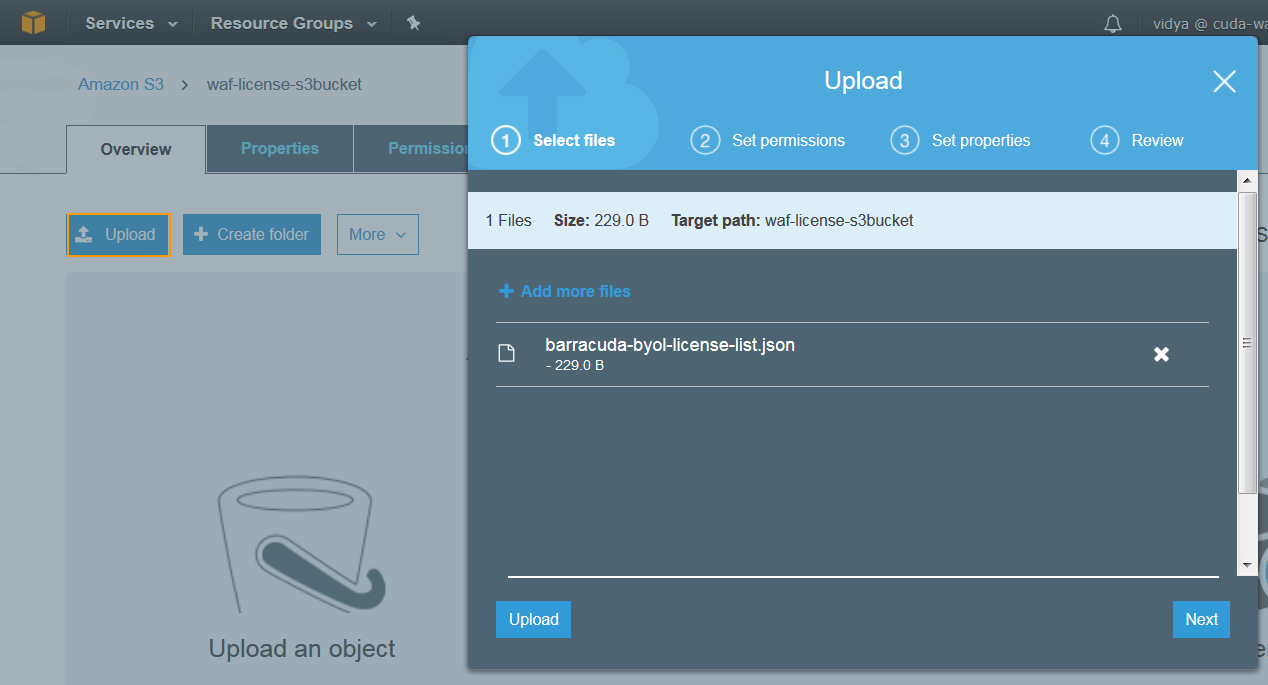
- Select the created S3 bucket and click Upload.
- In the Upload window, locate the licenses file by clicking Add files and click Upload. Note: The licenses file should be created in the valid JSON format, and the file should be named as barracuda-byol-license-list”. Example: barracuda-byol-license-list.json
- To create the Cluster S3 bucket, repeat step 3 and 4.
- To create the Backup S3 bucket, repeat step 3 to 5 and upload the backed up file(s) (if the backup was taken manually). If not, repeat step 3 and 4. See “Backing Up the Barracuda Web Application Firewall Instance(s) System Configuration in AWS” section in the Backing Up and Restoring Your System Configuration article.
Importing the Barracuda Web Application Firewall for AWS BYOL CFT and Deploying the Instance
Perform the steps below to import the Barracuda Web Application Firewall CloudFormation Template and deploy the instance:
- Log into the AWS Management Console.
- Select CloudFormation under Management Tools.
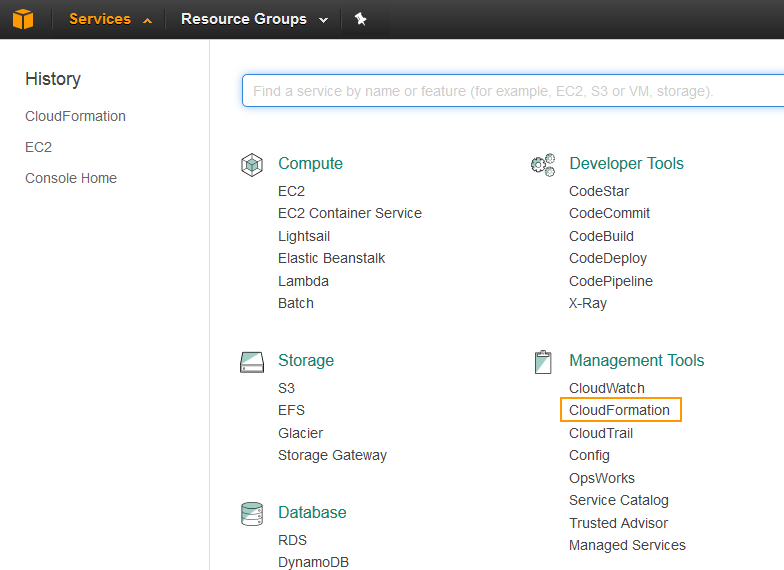
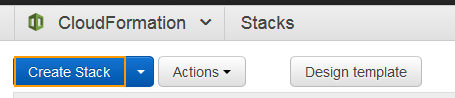
- On the CloudFormation Management page, click Create Stack.
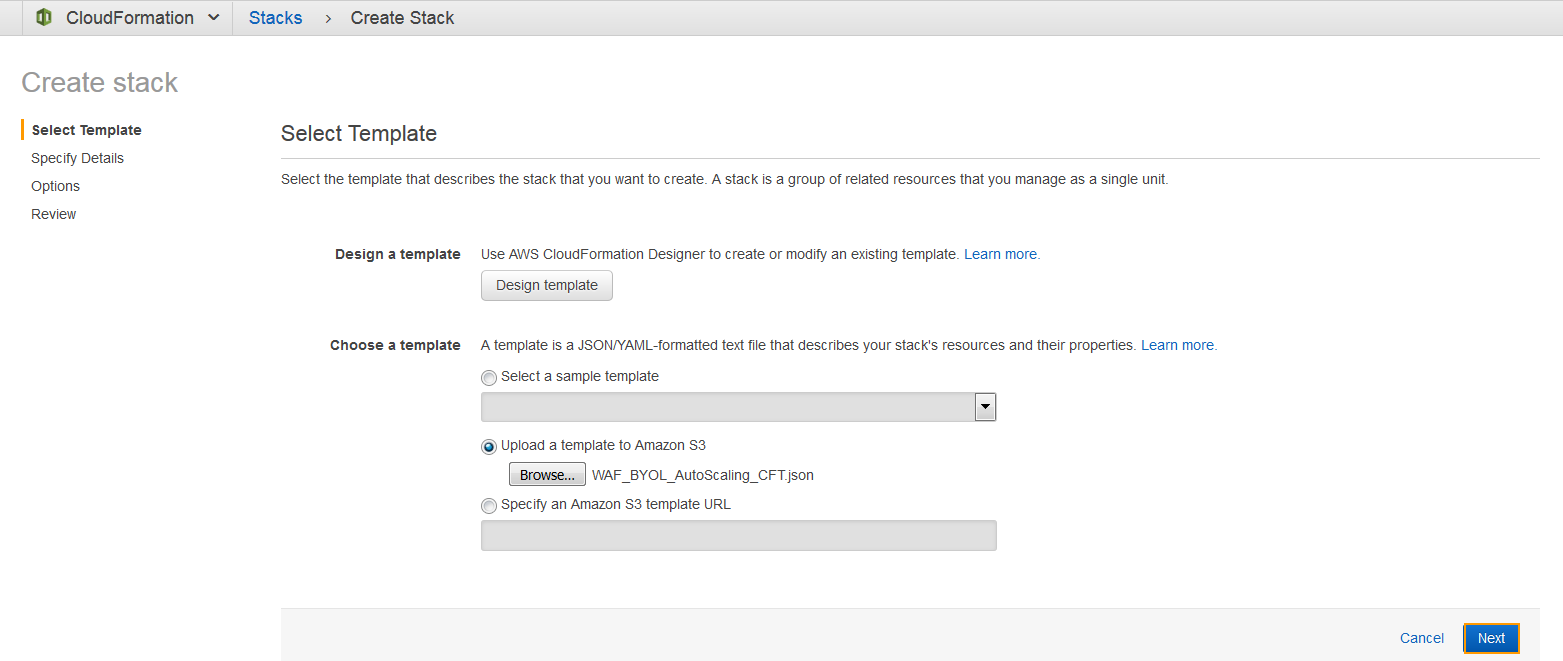
- On the Create stack > Select Template page:
- Select the Upload a template to Amazon S3 option, click Browse and locate the BYOL CFT file saved on your system. Example: WAF_BYOL_AutoScaling_CFT.json.
- Click Next.
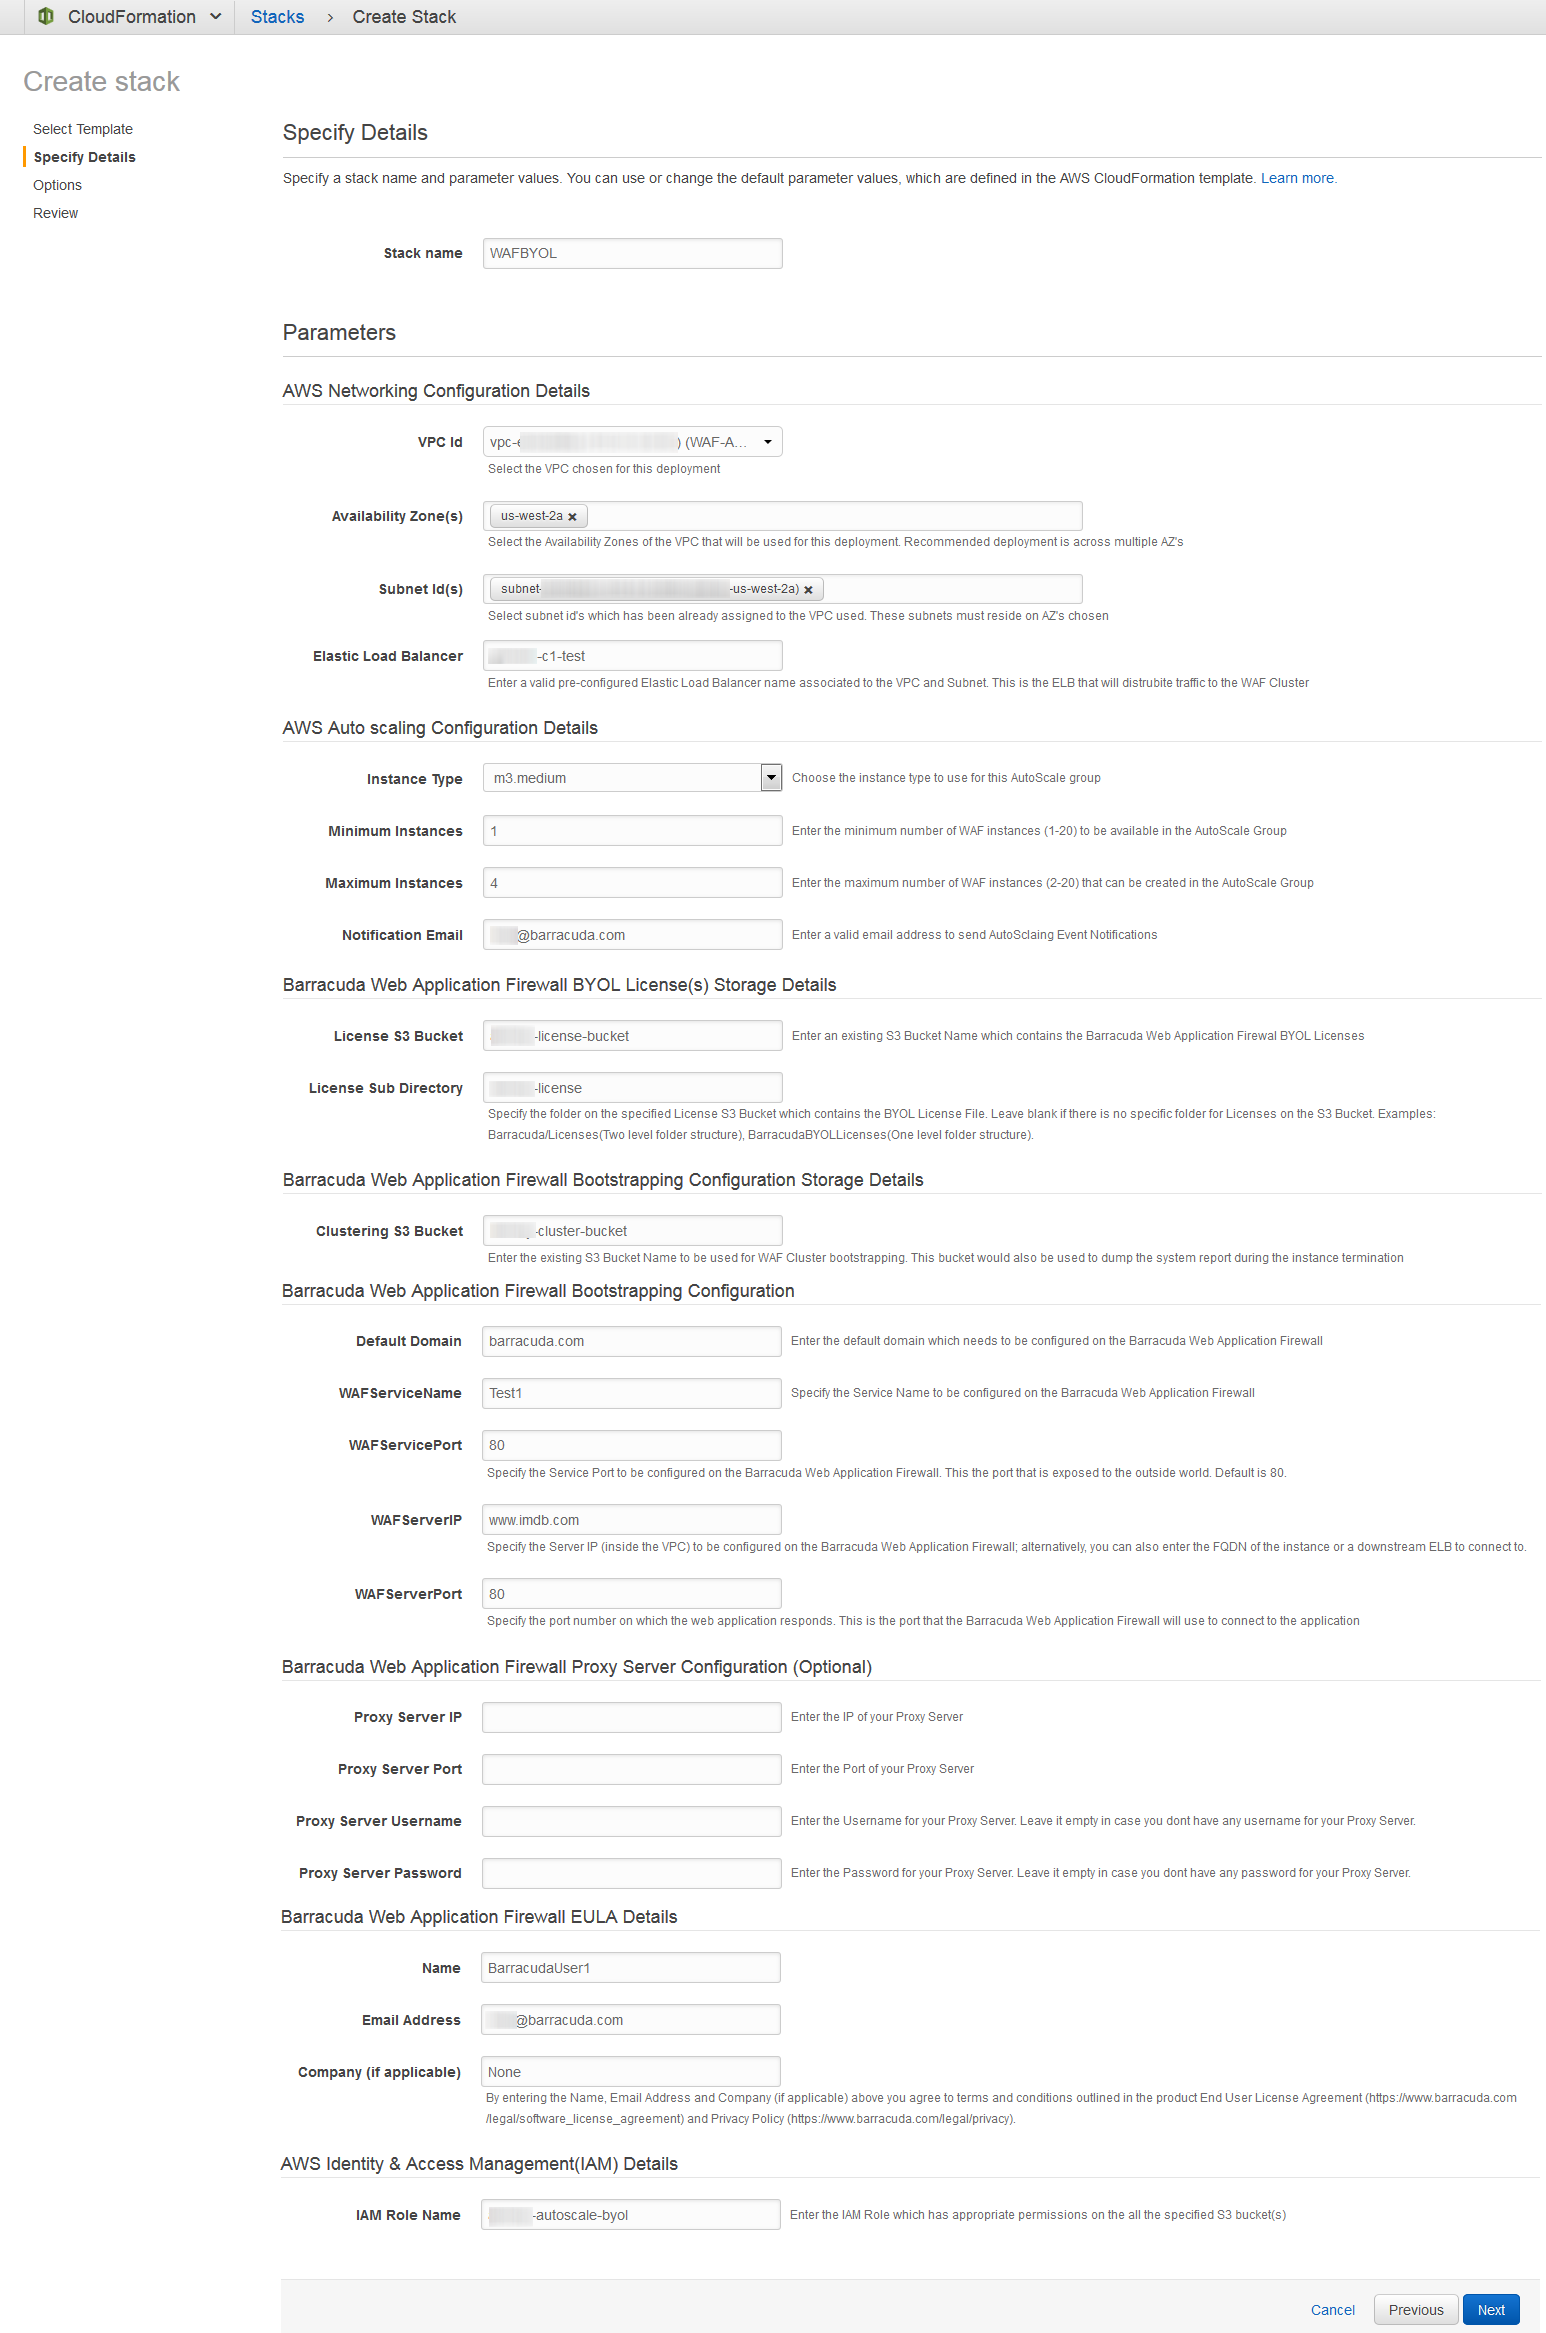
- On the Create stack > Specify Details page, do the following configuration:
- In the Specify Details section:
- Enter a name for the CloudFormation stack in the Stack name field.
In the Parameters section, specify values for the following:
AWS Networking Configuration Details Parameter Name Description VPC ID Select the VPC that you wish to deploy the Barracuda Web Application Firewall instance(s) from the drop-down list. Availability Zone(s) Select the availability zones from the multi-select drop-down list. The VPC you choose to deploy in must be available across these availability zones. Note: It is recommended to deploy the instances in multiple availability zones. Subnet ID(s) Select the subnet ID(s) associated with the availability zone(s) where the Barracuda Web Application Firewall instance(s) needs to be deployed. Note that these subnets must be part of the VPC that you choose. Elastic Load Balancer Enter the name of the elastic load balancer(s) (ELB) that needs to be used to load balance/distribute the traffic between the Barracuda Web Application Firewall(s). The ELB(s) should be connected to all the subnets that are used for this deployment and be part of the VPC that is chosen for this deployment. AWS Auto Scaling Configuration Details Parameter Name Description Instance Type Select an instance type depending on your requirement. Minimum Instances Enter the minimum number of Barracuda Web Application Firewall instance(s) that needs to be up and running continuously in the Auto Scaling group. Default: 1 Maximum Instances Enter the maximum number of Barracuda Web Application Firewall instance(s) to be deployed in the Auto Scaling group. Default: 4 Notification Email Enter the email address(es) to which you want Amazon SNS to send email notifications. Barracuda Web Application Firewall BYOL License(s) Storage Details Parameter Name Description License S3 Bucket Specify the name of the S3 bucket where the licenses are uploaded. License Sub Directory Specify the name of the sub directory that contains the licenses. Leave it blank if there is no sub directory. Barracuda Web Application Firewall Bootstrapping Configuration Storage Details Parameter Name Description Clustering S3 Bucket Specify the name of the S3 bucket that contains the details of instances that are in cluster. Barracuda Web Application Firewall Bootstrapping Configuration Parameter Name Description Default Domain Specify the default domain name that needs to be configured on the Barracuda Web Application Firewall for AWS. WAF Service Name Specify the service name that needs to be configured on the Barracuda Web Application Firewall for AWS. WAF Service Port Specify the port number on which your web server responds. WAF Server IP Specify the IP address or Fully Qualified Domain Name (FQDN) of the server that hosts the service. WAF Server Port Specify the port number of the server. Barracuda Web Application Firewall Proxy Server Configuration (Optional) Parameter Name Description Proxy Server IP Specify the IP address of the proxy server. Proxy Server Port Specify the port number associated with the proxy server. Proxy Server Username Specify the username to authenticate to the proxy server. This field can be left empty if you do not have any username to authenticate to the proxy server. Proxy Server Password Specify the password associated with the username. This field can be left empty if you have not specified the Proxy Server Username. Barracuda Web Application Firewall EULA Details Parameter Name Description Name Specify your name. Email Address Specify your email address. Company (if applicable) Specify your company name. AWS Identity & Access Management(IAM) Details Parameter Name Description IAM Role Name Specify the IAM role name that has appropriate permissions to the specified S3 buckets. See IAM Policy.
- Click Next.
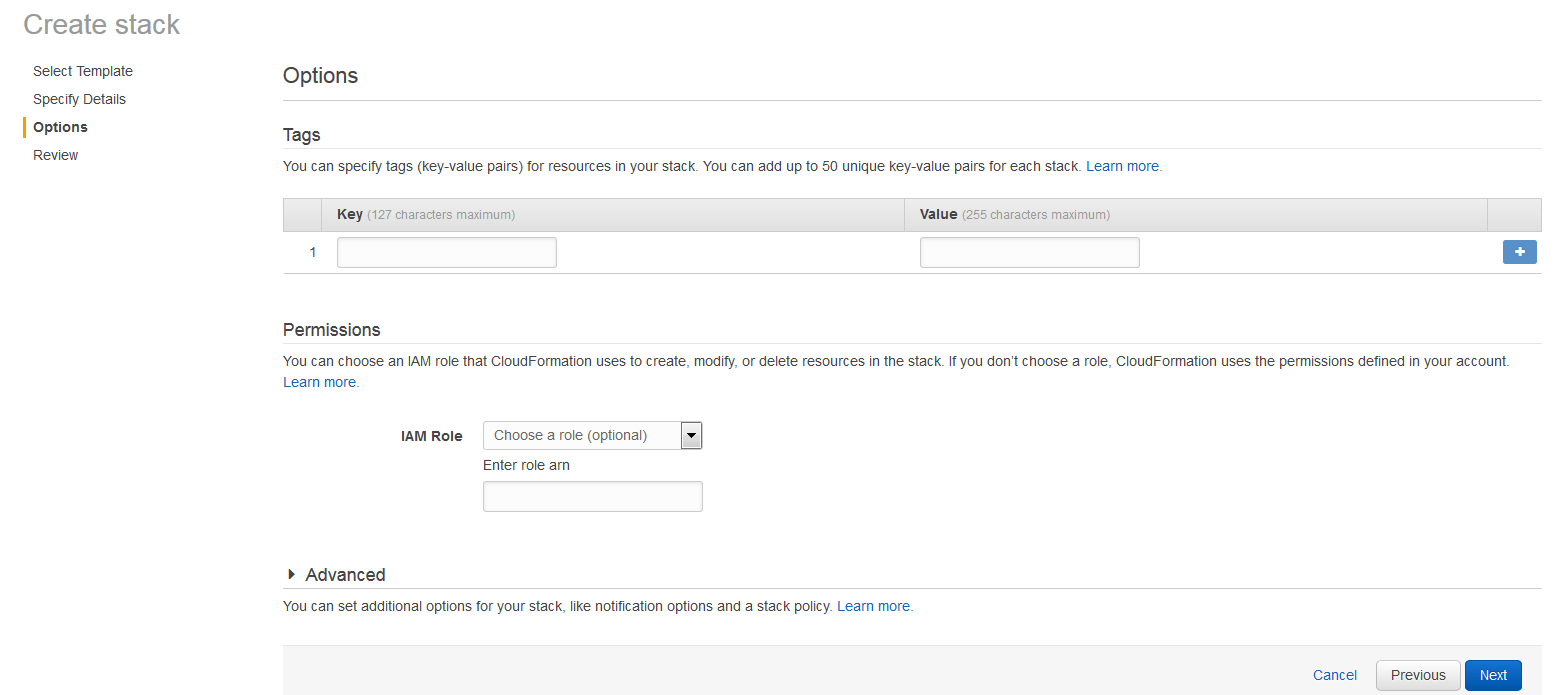
- On the Create stack > Options page, add tags for resources in your stack (if required) and click Next.
On the Create stack > Review page, verify the details and click Create.
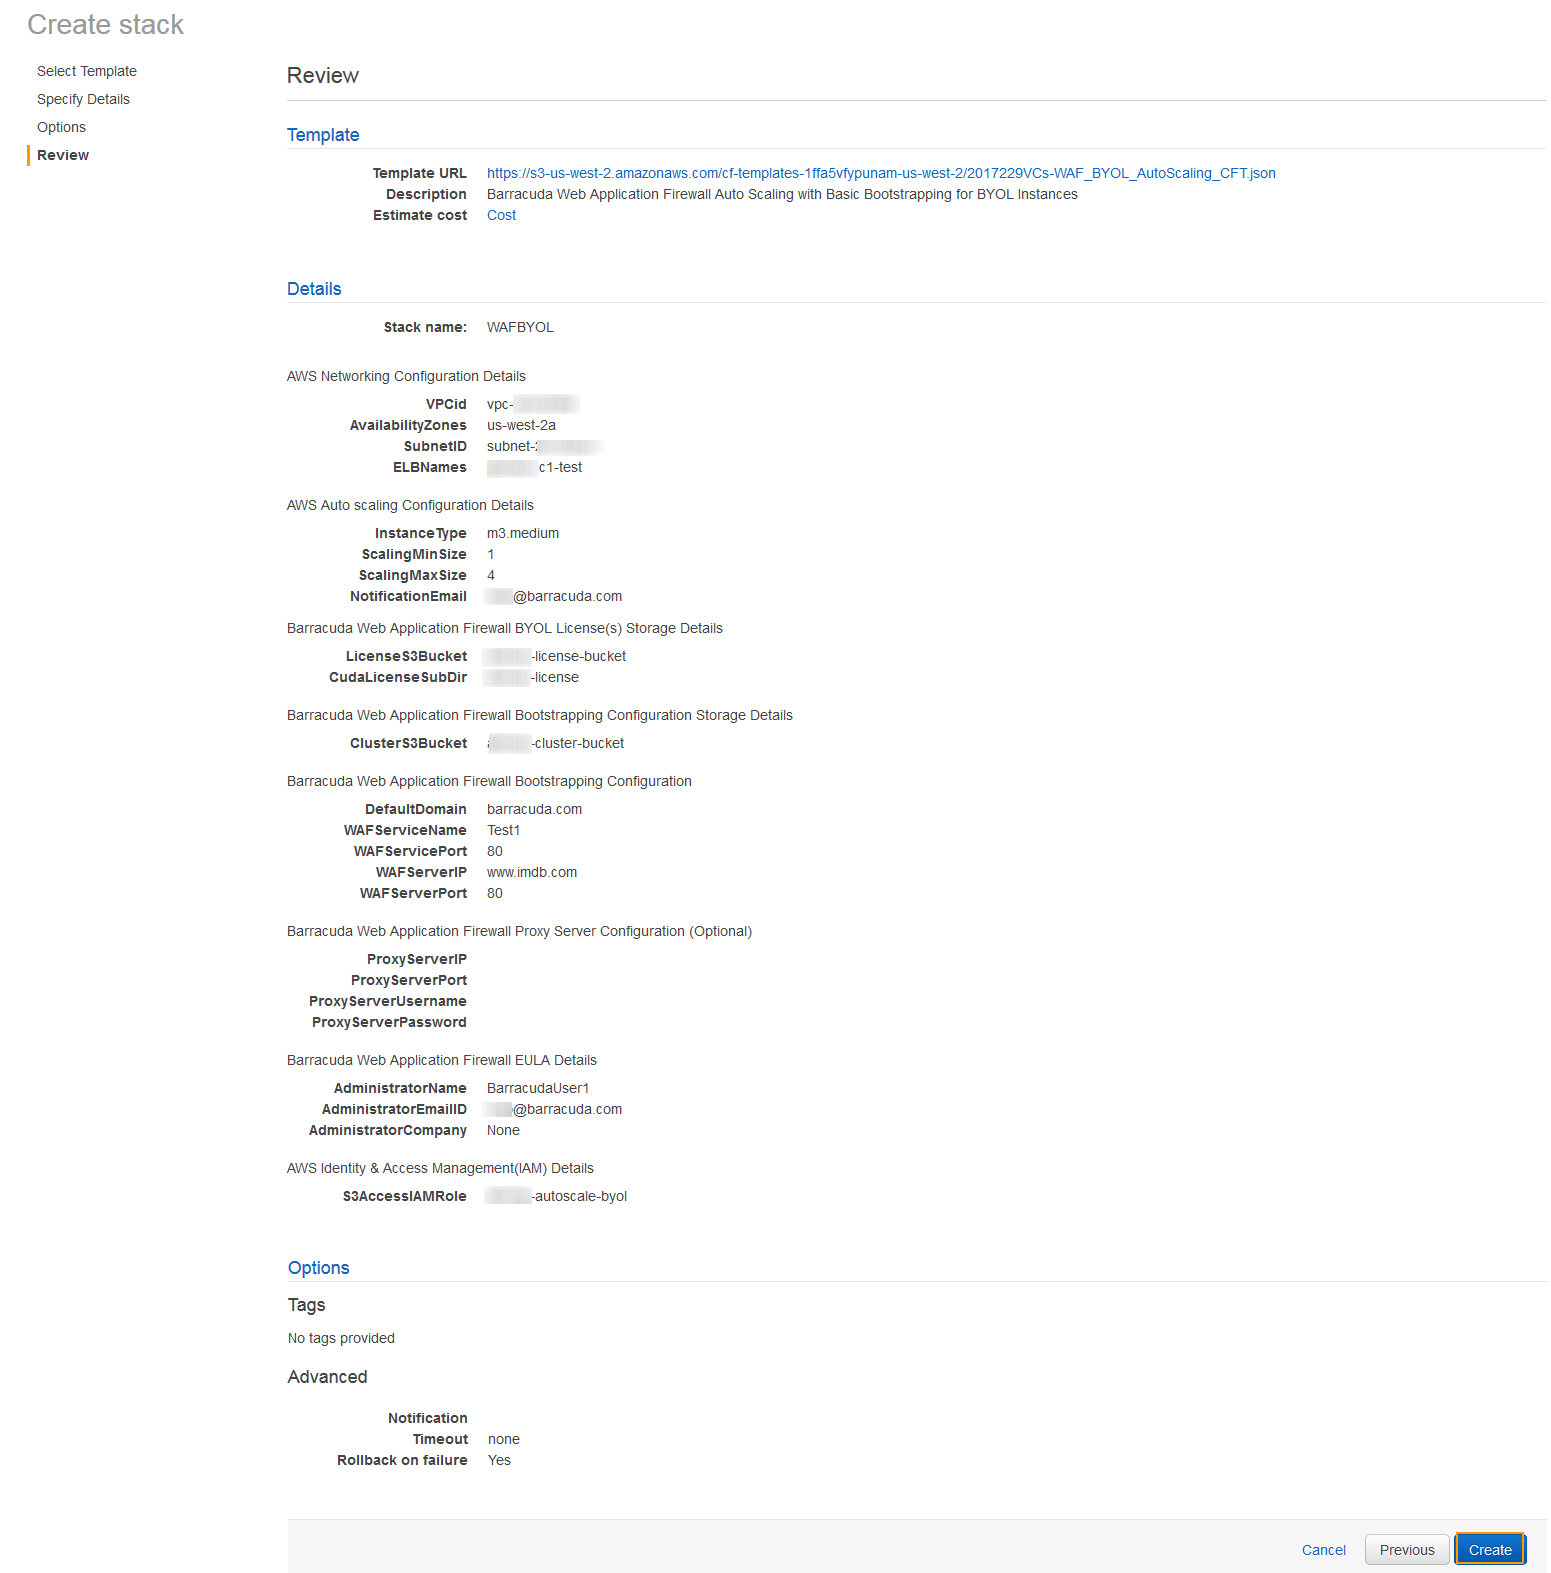 As per the configuration in the CFT above:
- A stack with the name “WAFBYOL” will be created.
- Deploys one (1) Barracuda Web Application Firewall VM in the specified availability zone (us-west-2a), and subnets (subnet-xxxxxxxxx) with instance type as m3.medium, and gets added to the "xx.c1-test" Elastic Load Balancer.
- Sends notification to xxxxx@barracuda.com.
- Scales up the instance (up to total of 4) whenever the alarm triggers
- Creates a service on the Barracuda Web Application Firewall with port 80 that protects the server(s) (FQDN: www.imdb.com on port 80). The created service can be accessed over the ELB, i.e., xxx-c1-test, using port 80.
- The IAM role (xxx.autoscale-byol) gains access to the specified S3 buckets.
- If AWS is unable to create the stack based on the inputs you provided, the stack will roll back.
- The CFT now starts its operation. You can see the CREATE_IN_PROGRESS status displayed on the CloudFormation Management Console for the stack. Select the tabs and see the status of events and resources that are being created. An example of the successfully created resources is available in the screenshot below:
Next Step
Continue with .