

If you are using LDAPS authentication, you must export an LDAPS certificate from your Windows Server to upload the Barracuda Web Security Gateway. You configure the LDAP Port with the port number on which the server listens for LDAP (636 for LDAPS) connections, on the USERS/GROUPS > Authentication page of the Barracuda Web Security Gateway web interface.
(Note: Kerberos and NTLM authentications do not require a certificate.)
After you export the certificate from your Windows Server, follow instructions for uploading the certificate to your Barracuda Web Security Gateway in How to Enable LDAP Domain User Authentication.
To export a root certificate from your Windows Server 2008:
Launch Server Manager.
Go to Roles > Active Directory Certificate Services.
Right click on the domain that is associated with your domain and select Properties. Typically this would be the root certificate.
Under the General tab, note the box that lists all available certificates that have been created for the domain.
Select certificate and click View Certificate.
Click Details.
Click Copy to File...
Go through the wizard.
Use Base-64 encoded X.509 (.CER)
Enter the file name and location where you want to save the certificate.
Click Next.
Click Finish.
To export a root certificate from your Windows Server 2012:
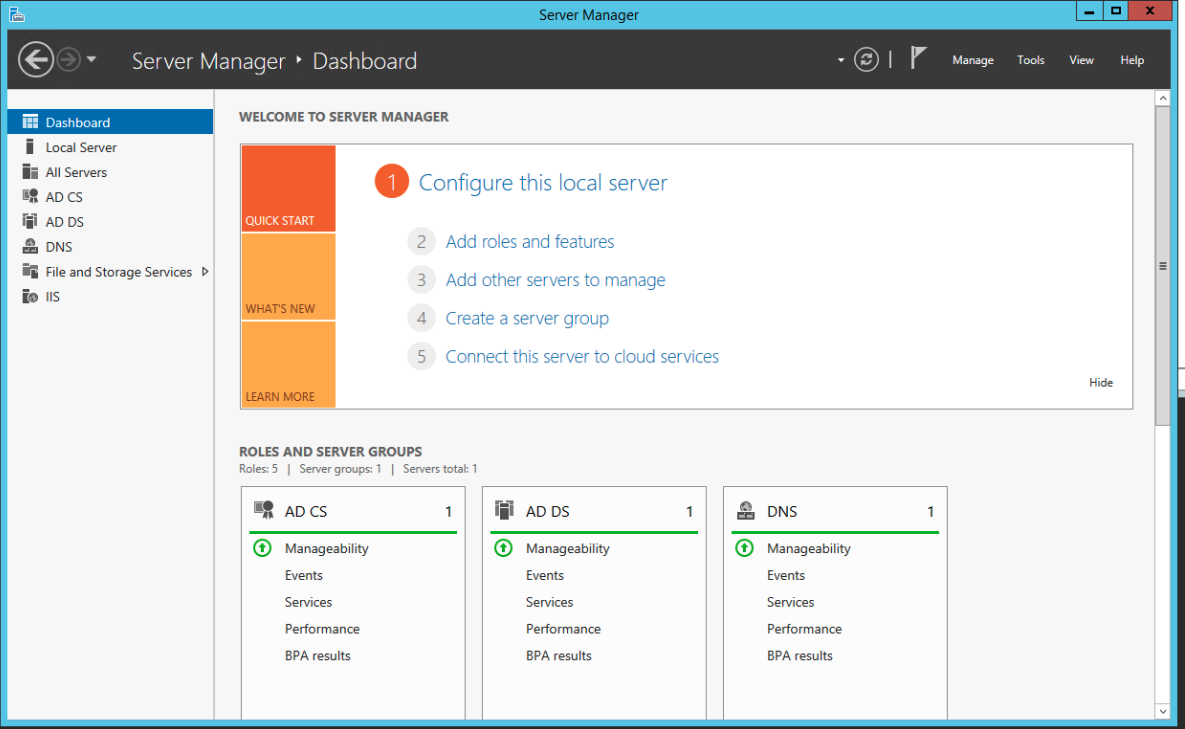
Launch Server Manager.
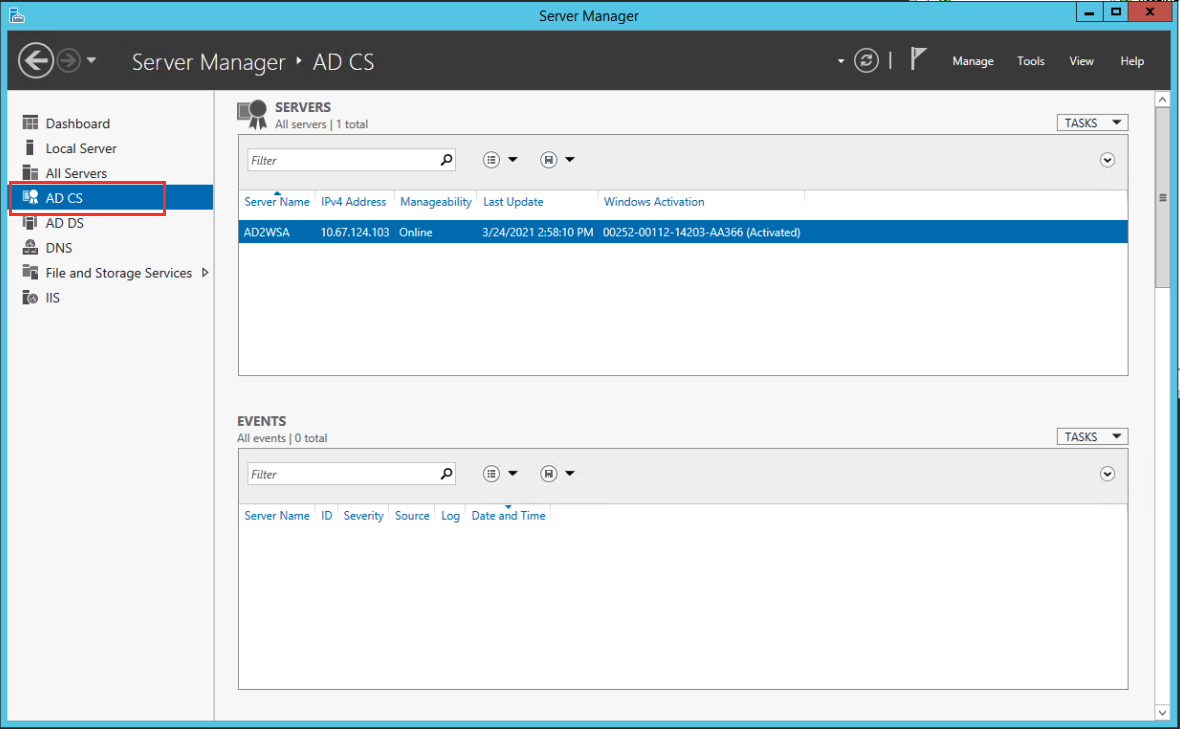
Go to AD CS.
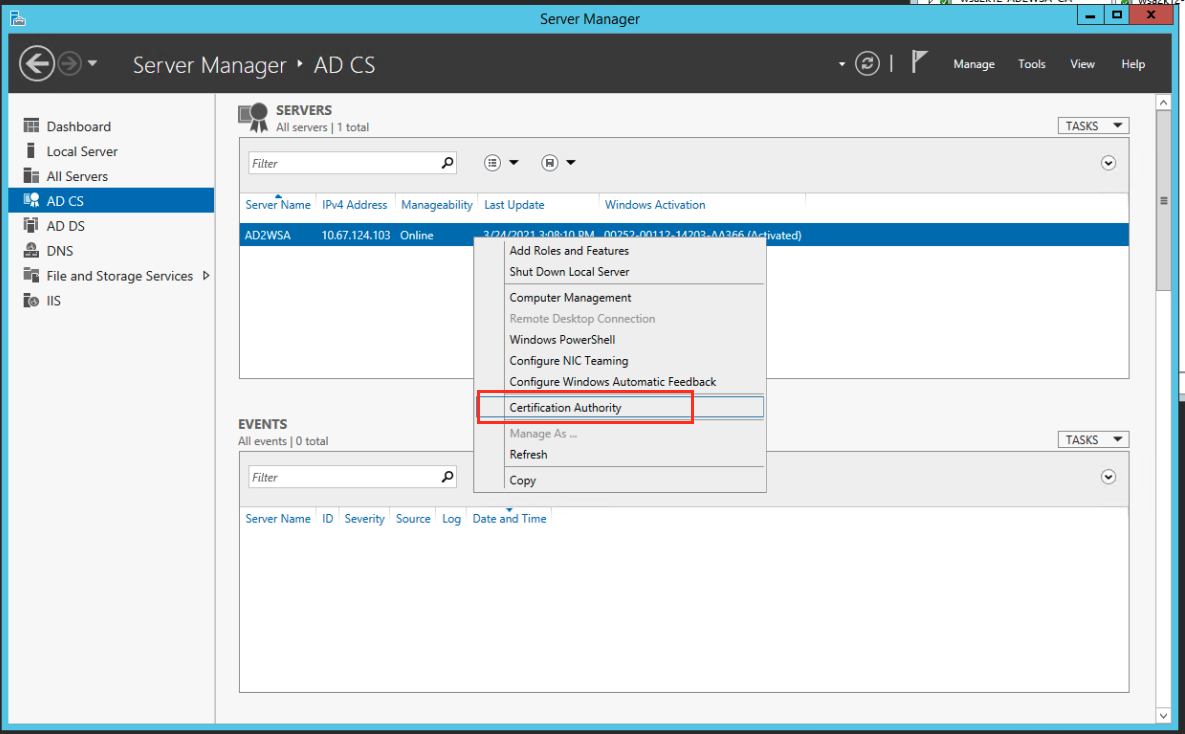
Right click on server where Certificate exists on and select Certificate Authority.
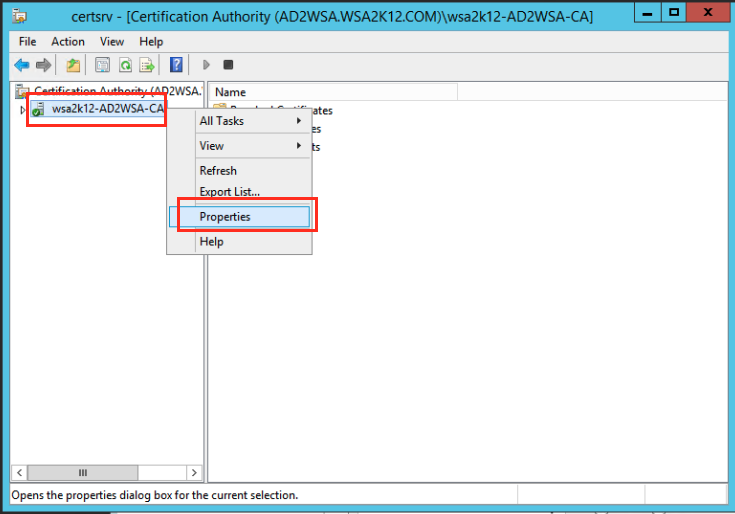
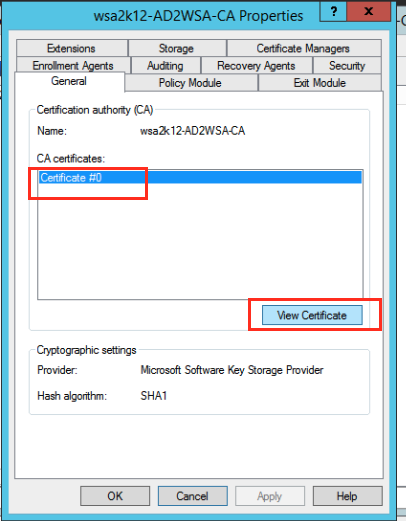
Right Click on the root certificate and click Properties.
Under the General tab, note the box that lists all available certificates that have been created for the domain. Select the certificate to export and click View Certificate.
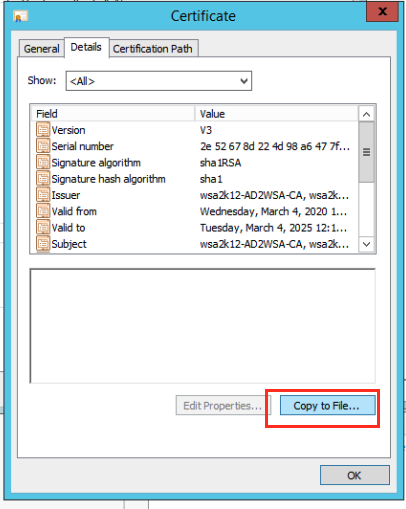
Click the Details tab.
Click Copy to File..
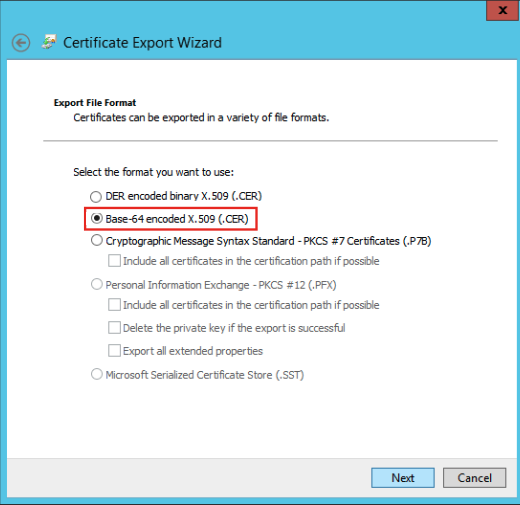
Go through the wizard.
When asked for the file format, use Base-64 encoded X.509 (.CER)
Enter the file name and location where you want to save the certificate.
Click Next.
Click Finish.
You can now upload the certificate to your Web Security Gateway appliance on the ADVANCED > Secure Administration page.