

To integrate with Connectwise, you must:
Set up Connectwise
Follow the Connectwise Integration Wizard
Set up your site mappings
Test your settings
Follow the procedures below:
Set up Connectwise
In this procedure, you create a new API member with the name SKOUT CYBERSECURITY. You will then be able to see the API keys you will need in the following step.
In Connectwise, on the taskbar on the right, navigate to Members from the System tab.
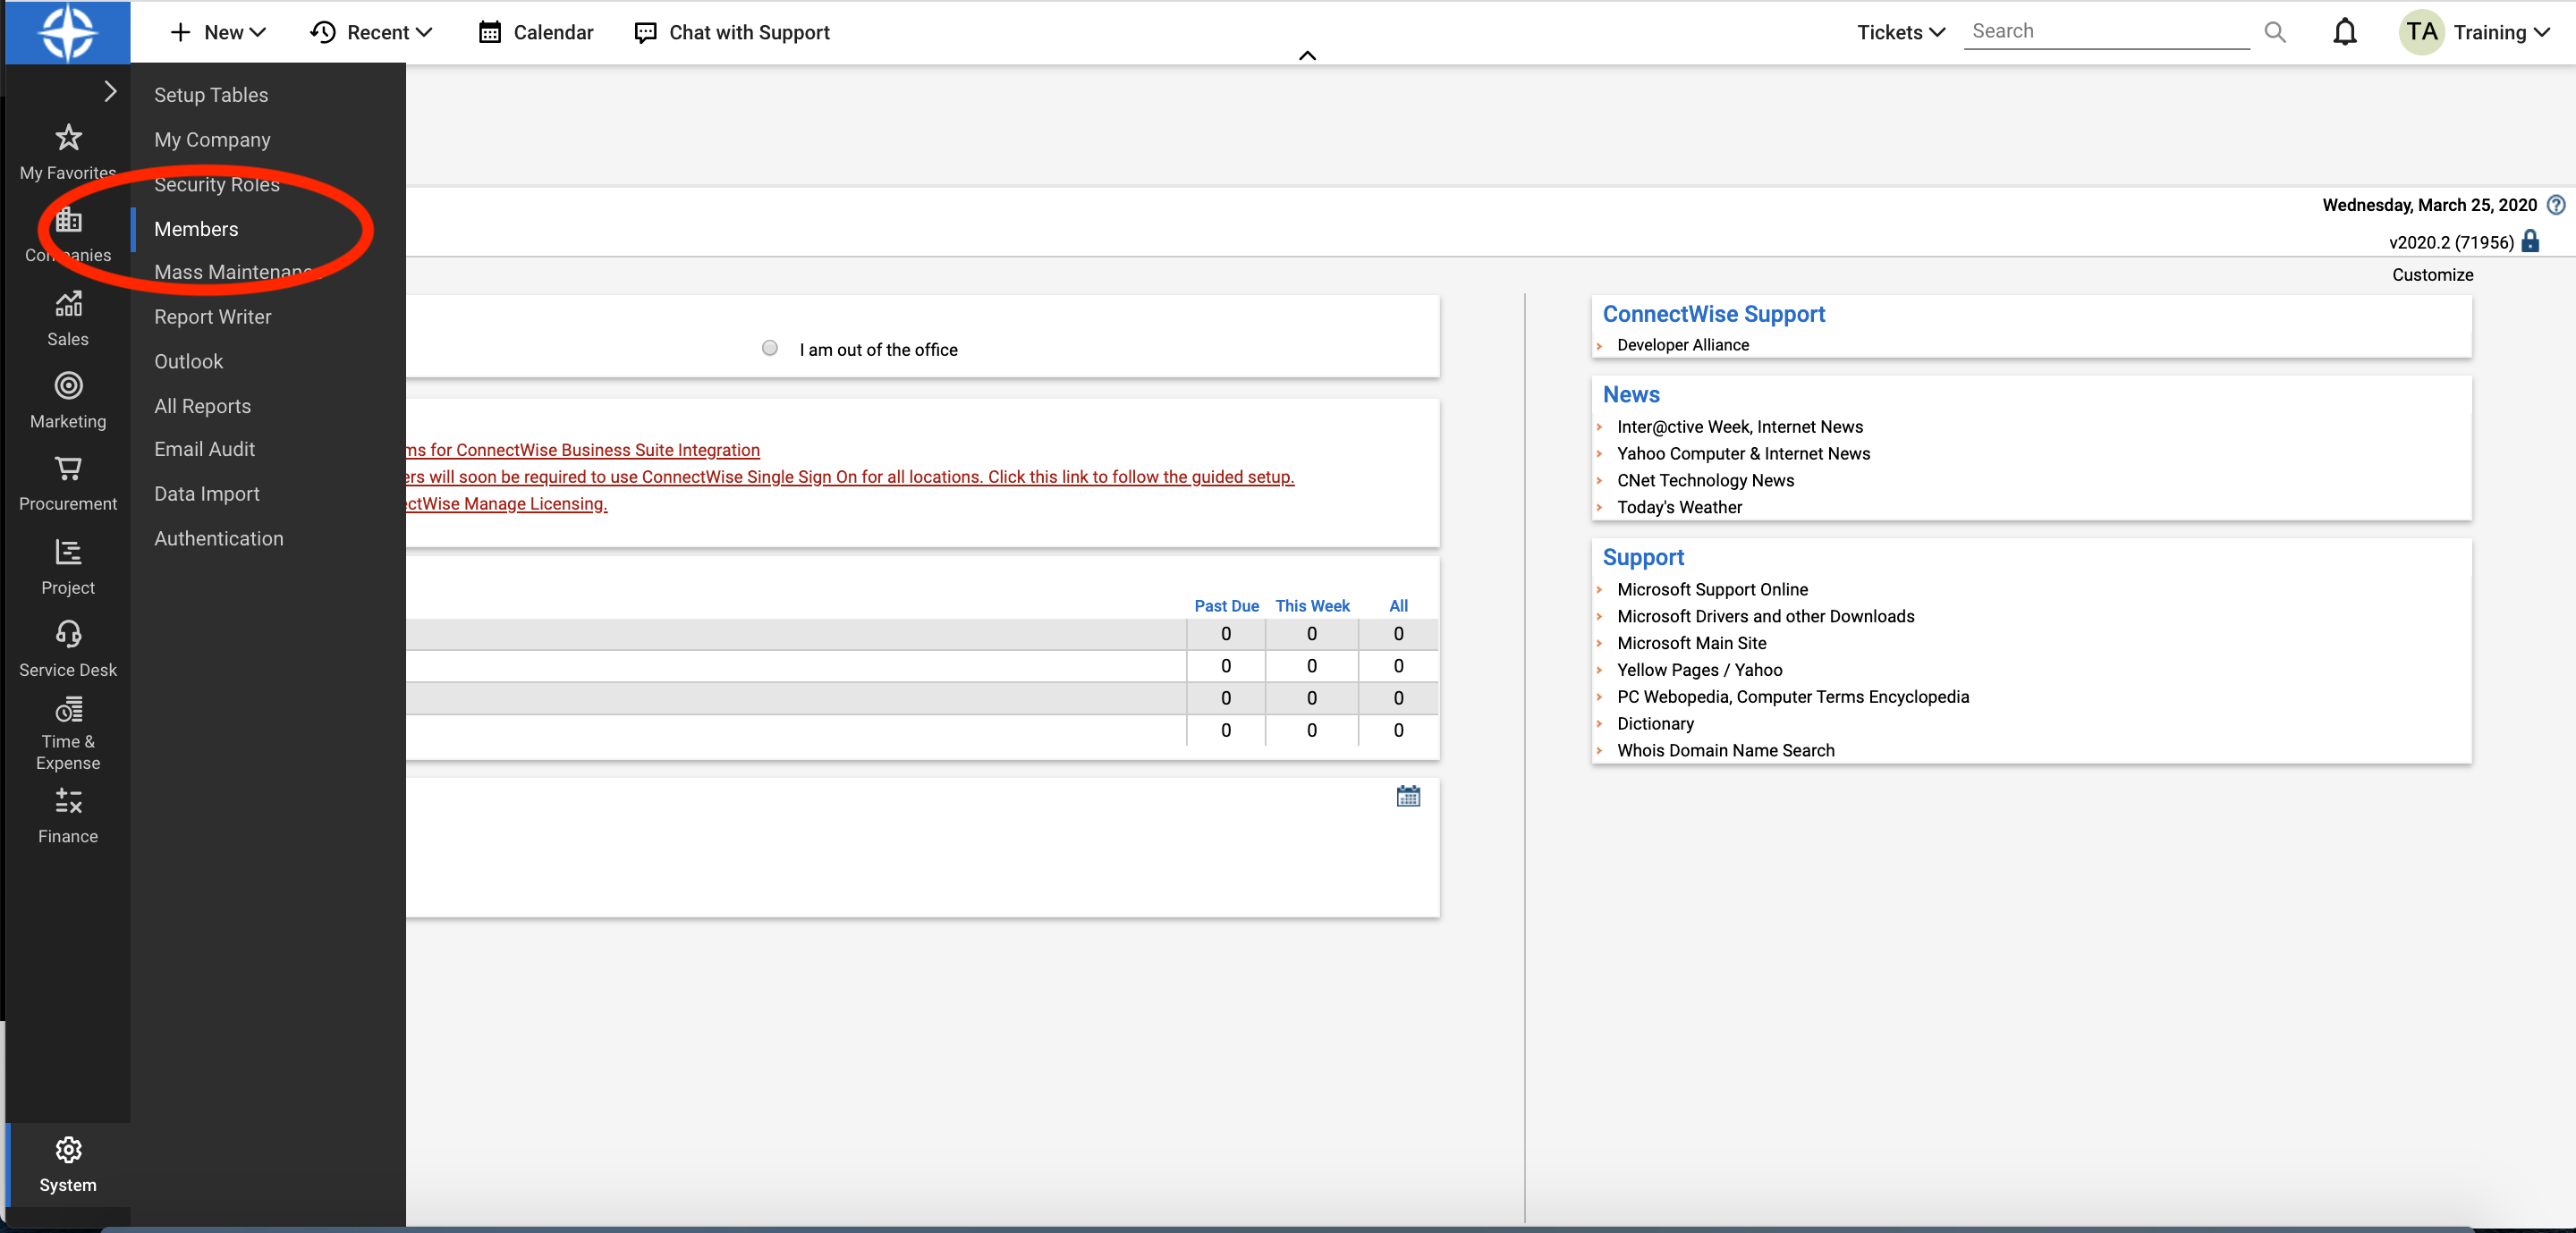
Click the API Members tab.
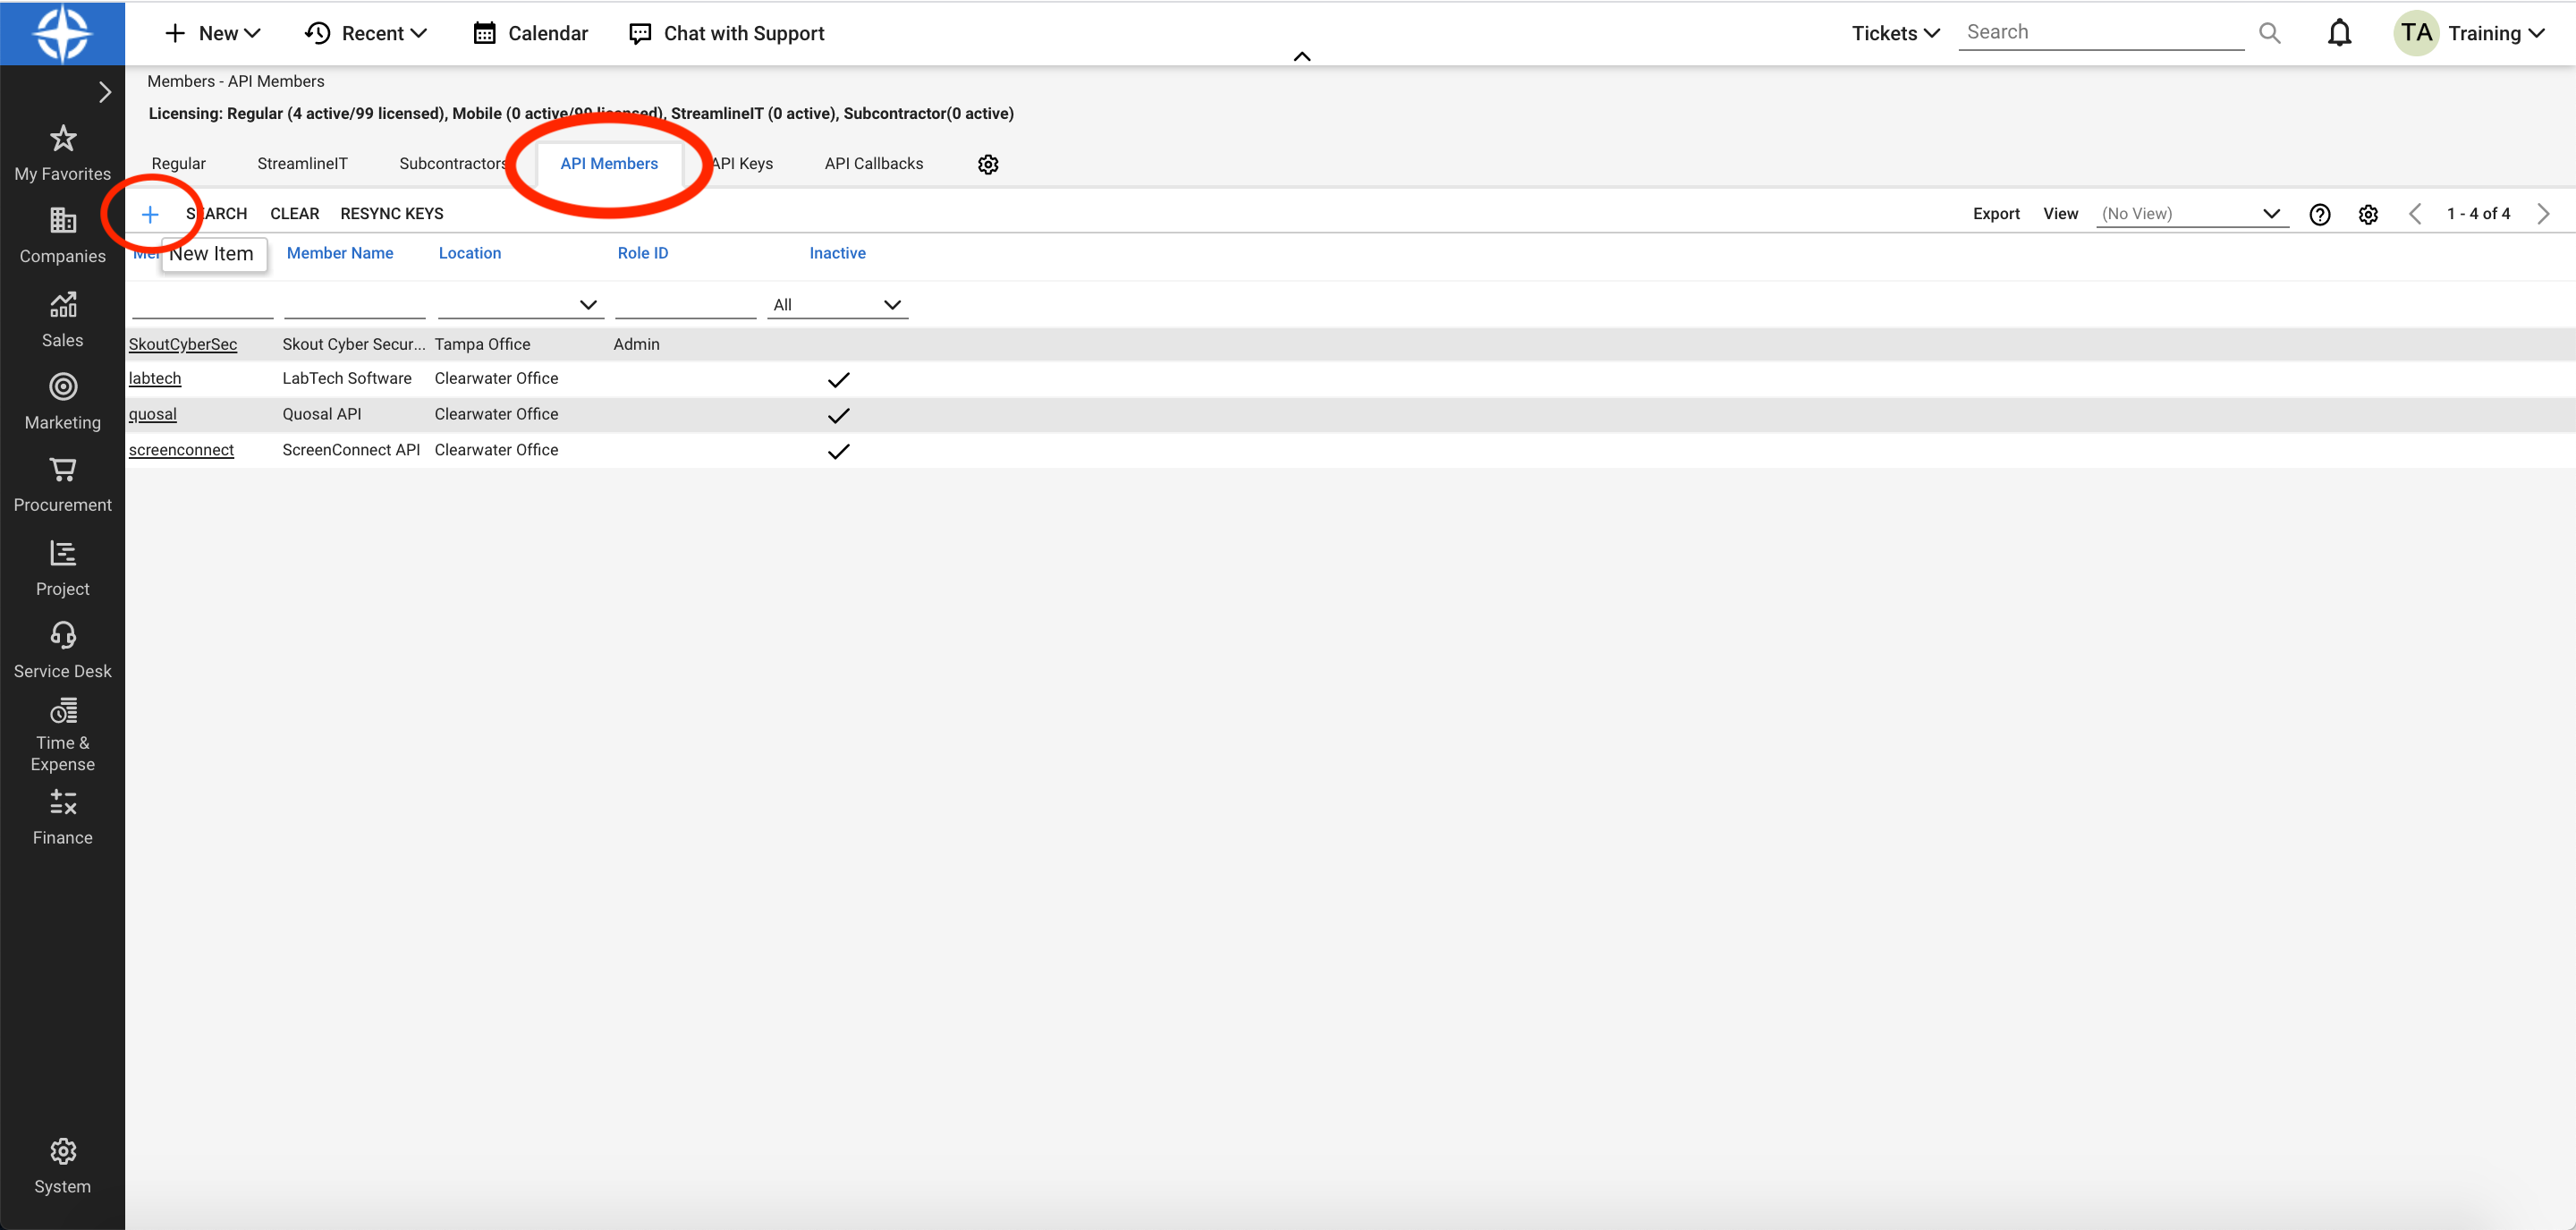
Click + to create a new member.
In the Profile section, in Member Name*, enter
SKOUT CYBERSECURITY.
NOTE If Member Name is not exactlySKOUT CYBERSECURITY, the integration may fail.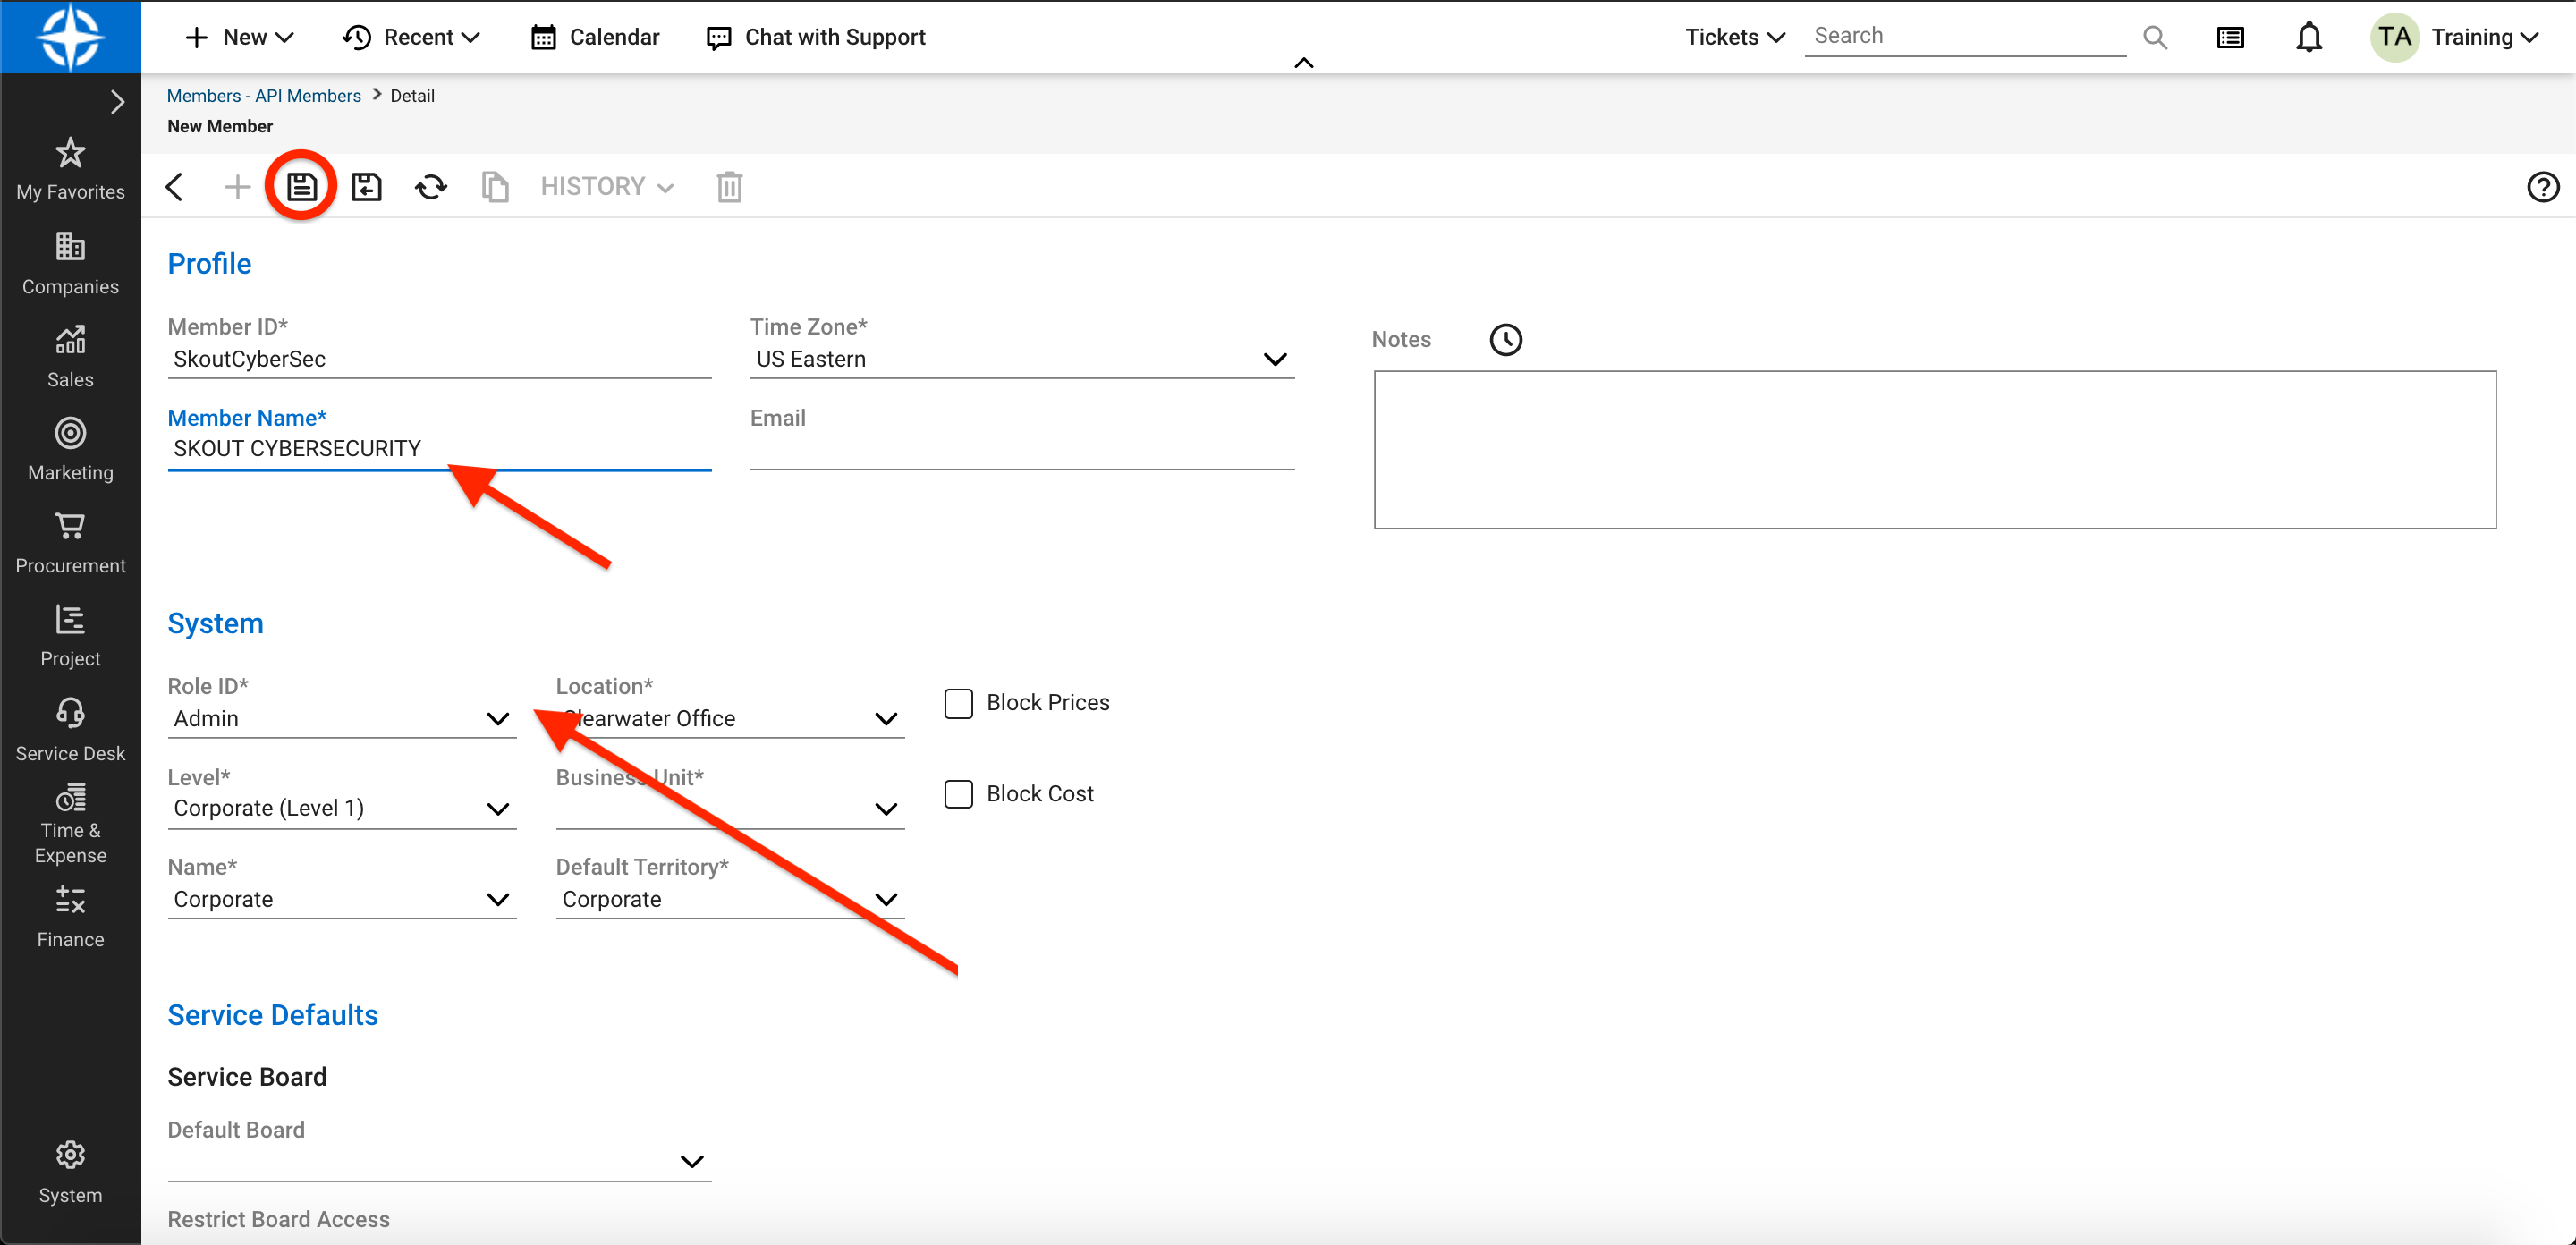
In the System section, in Role ID, select a role that has the following permissions:
View boards, teams, sources, tickets, ticket notes, company statuses and priorities
Edit tickets, ticket notes, and sources
See below for the Required Permissions.
Enter information in the other fields.
Click the name of the member you just created.
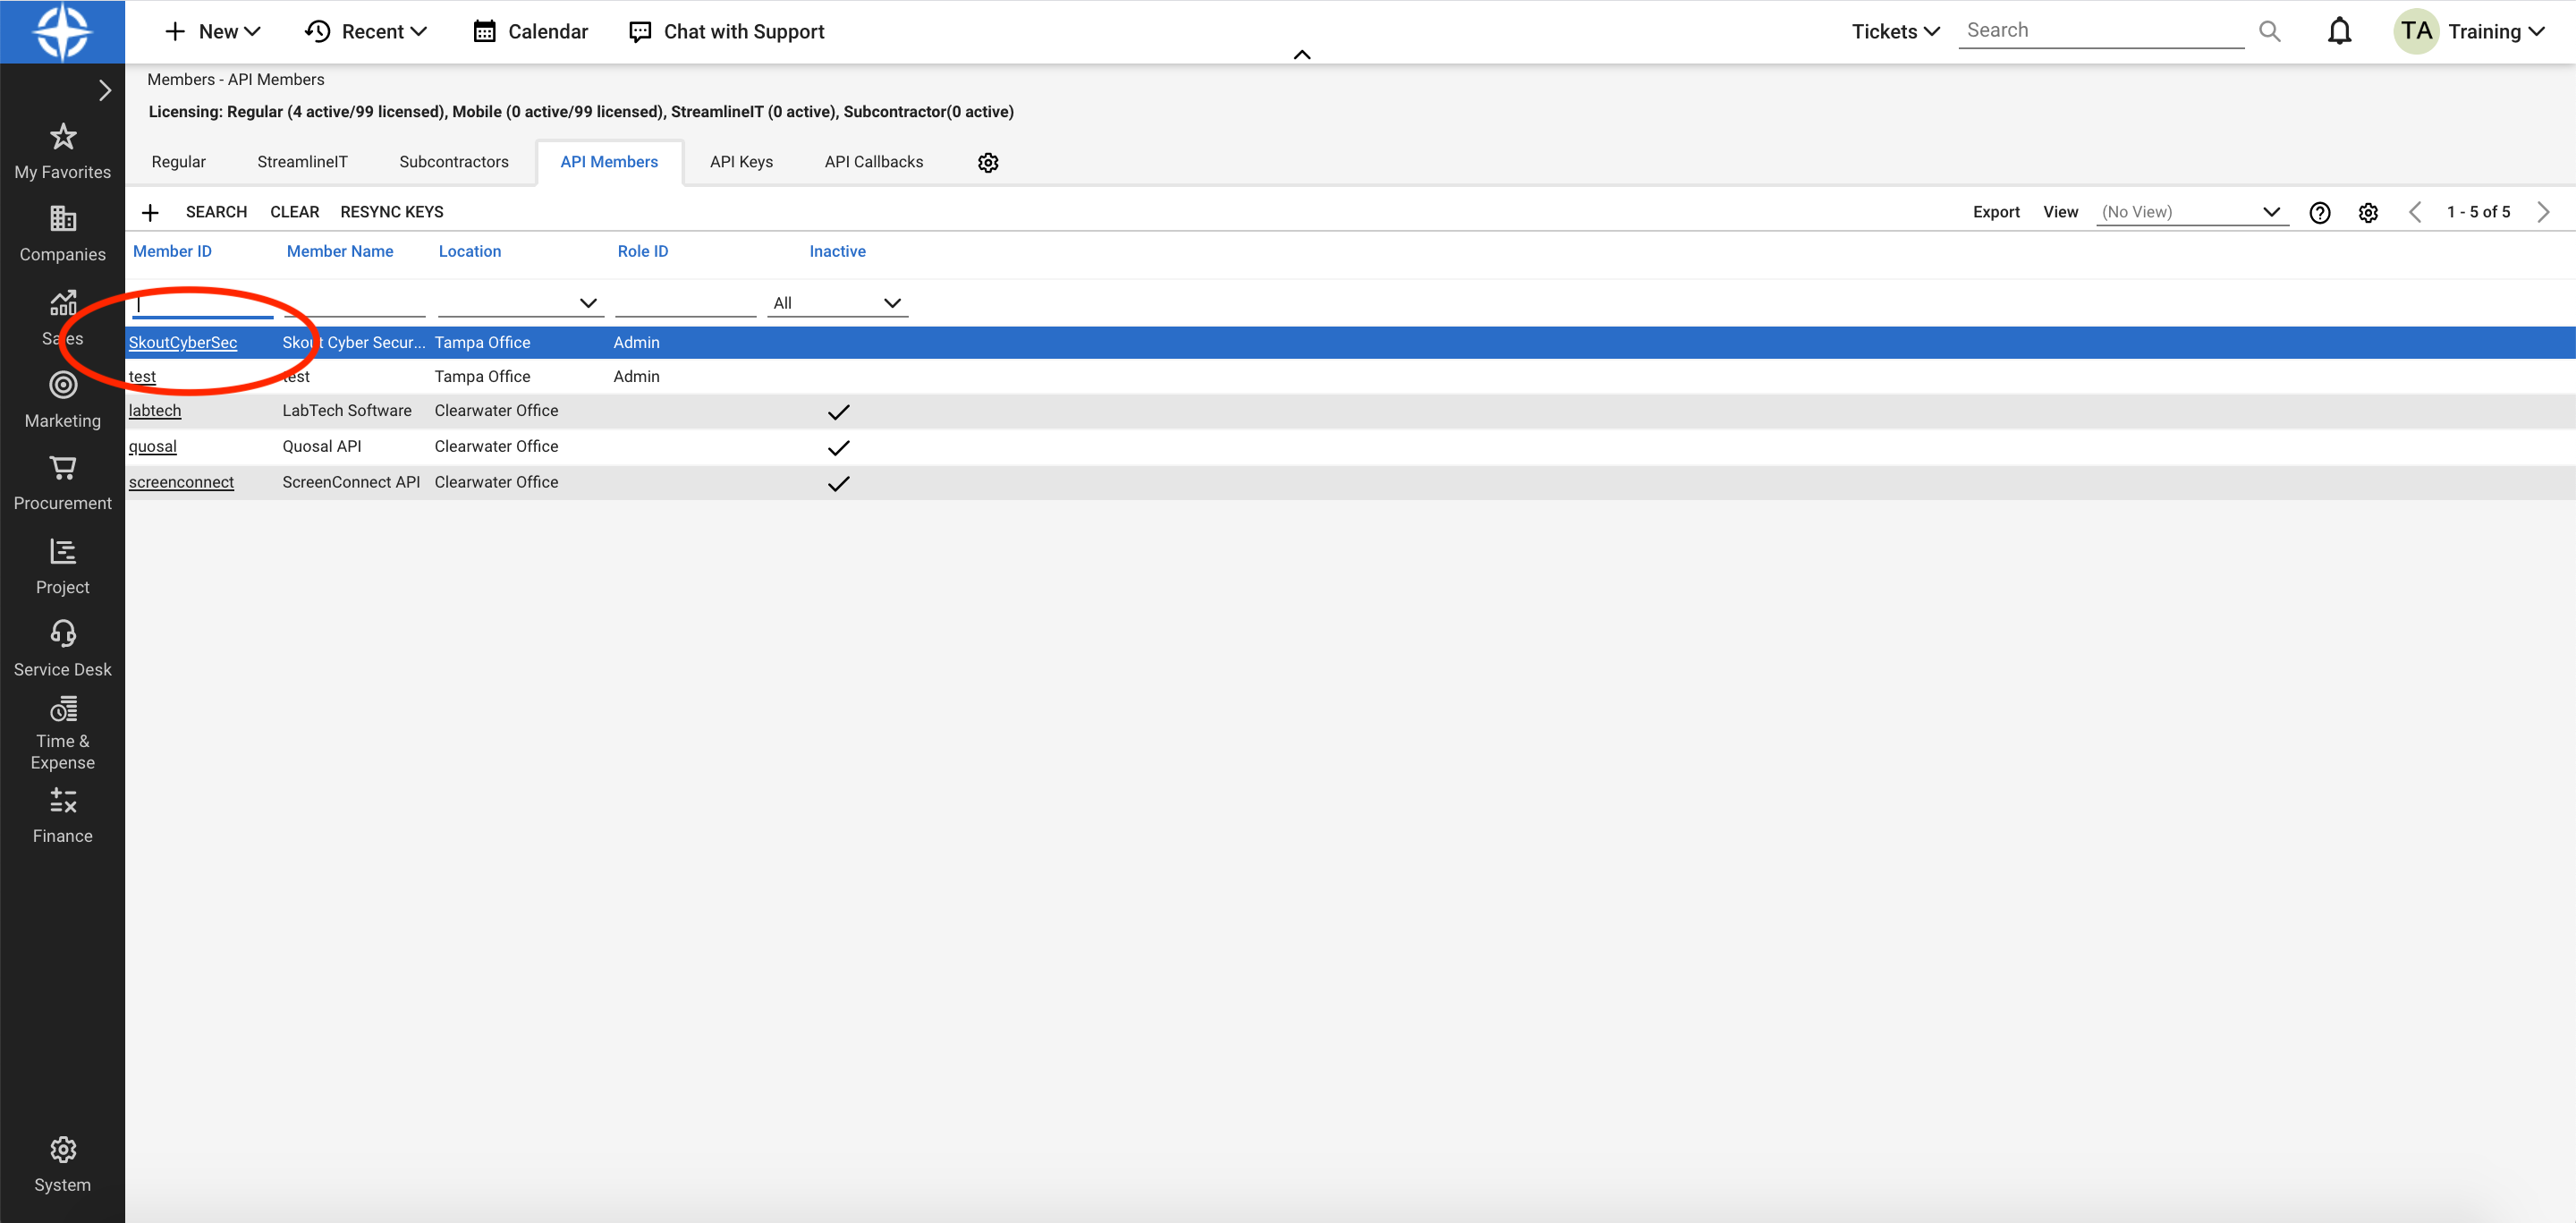
Click the API Keys tab.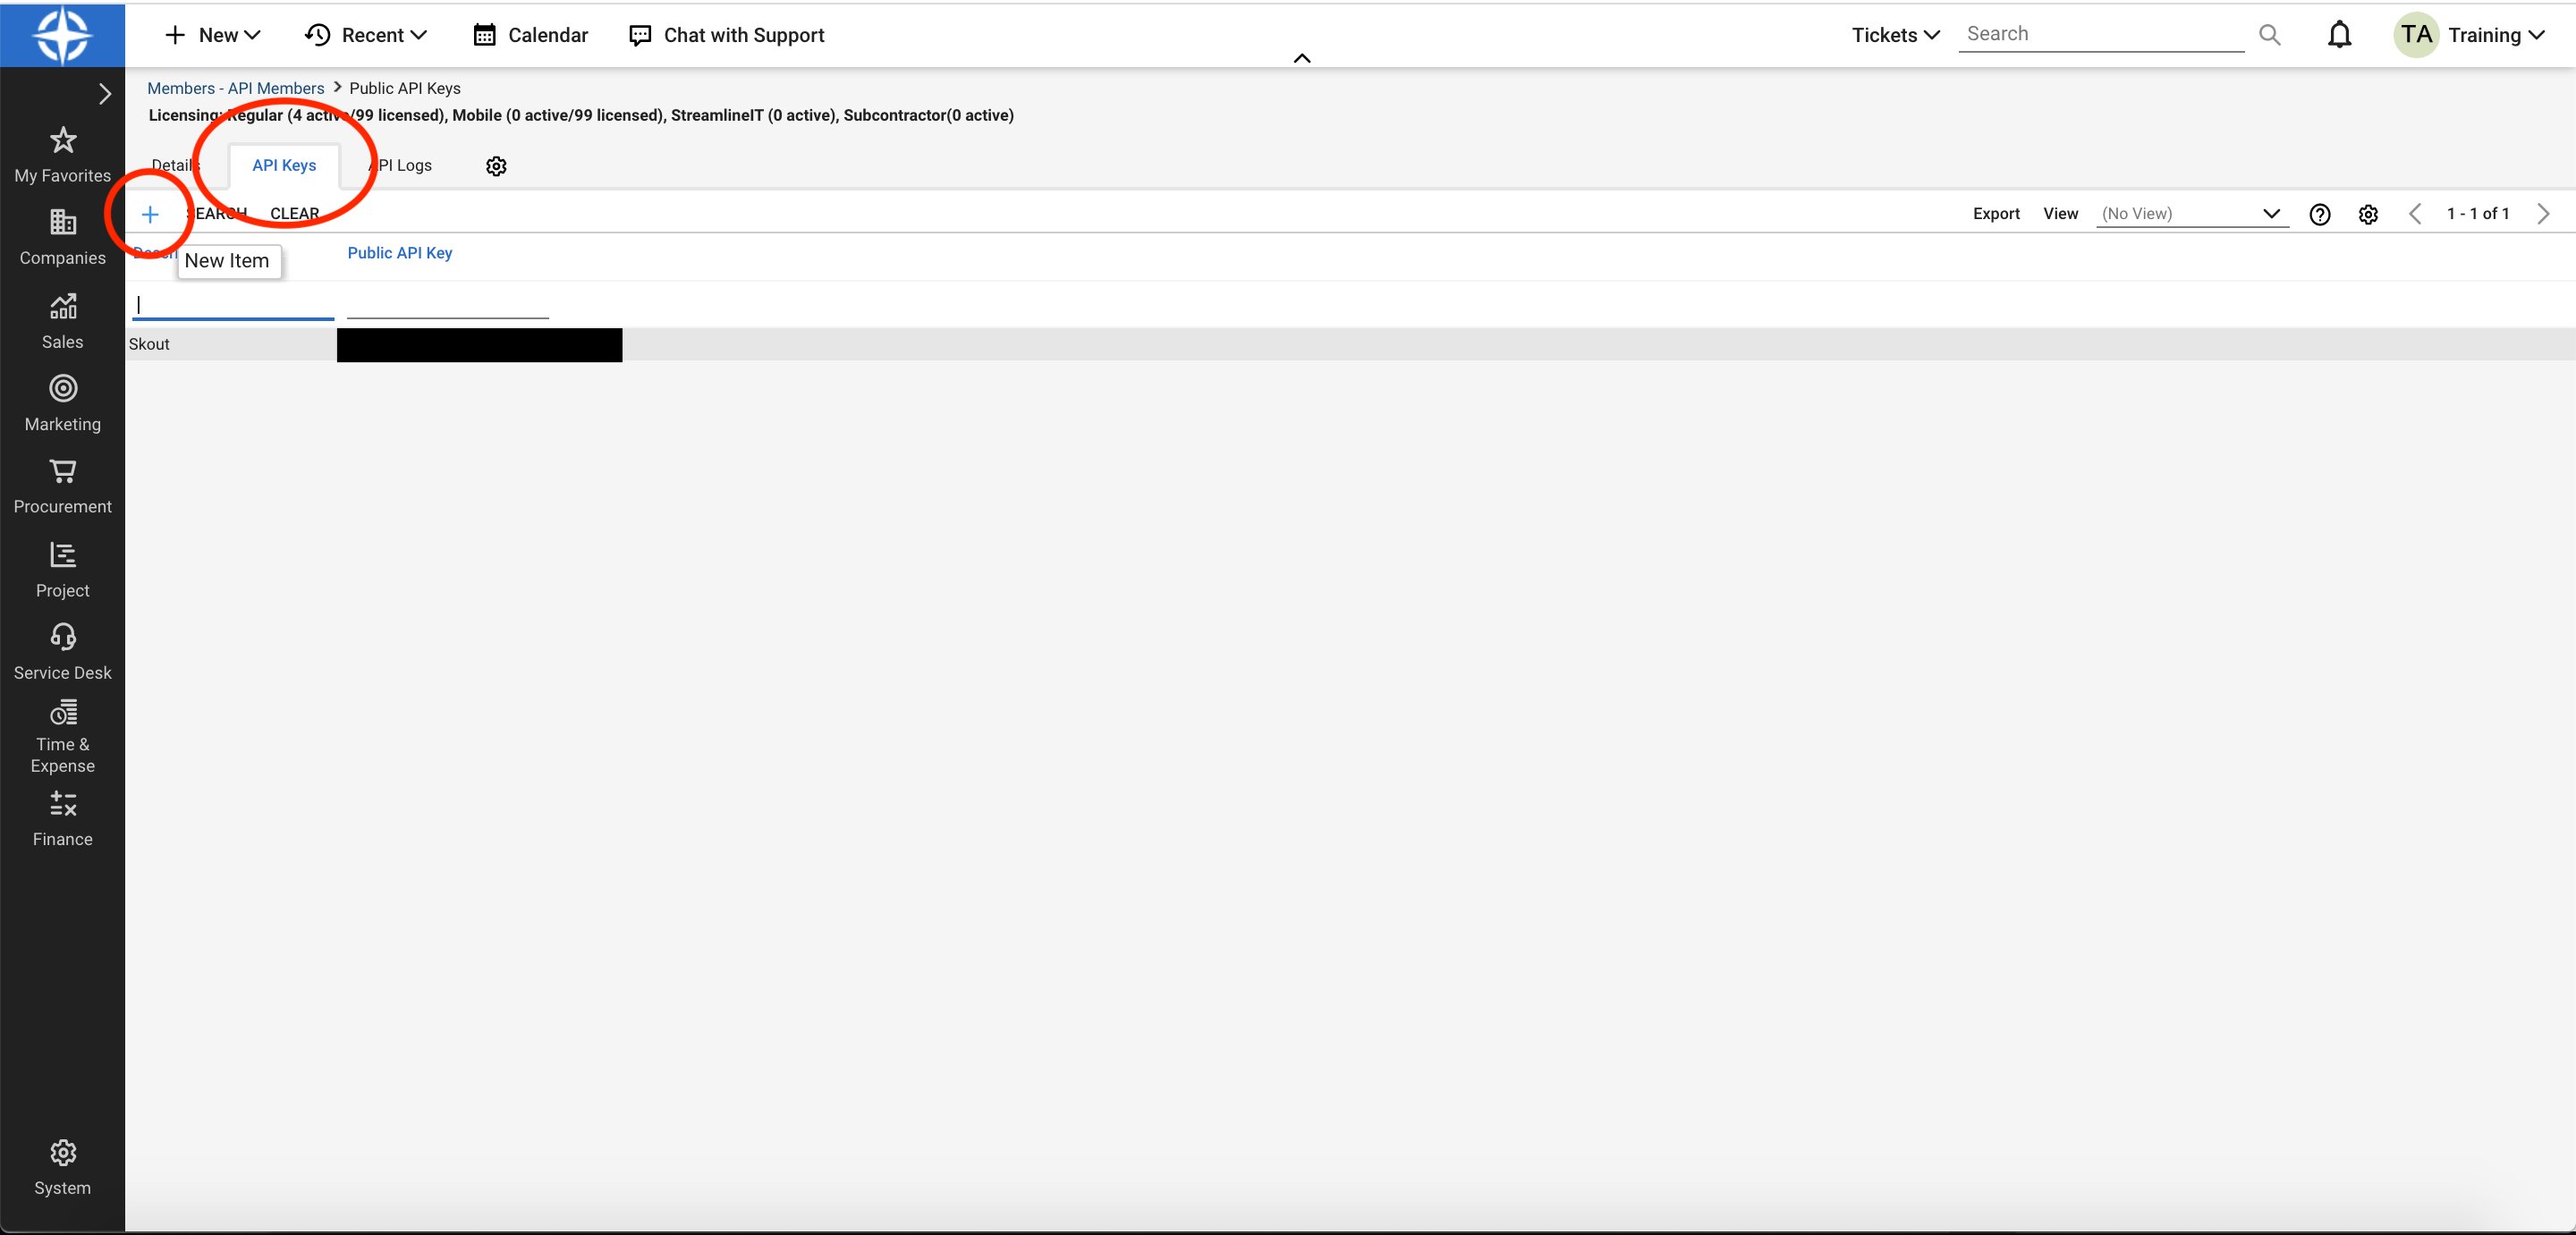
Click + to create a new item. Enter a description and click Save.
The API keys are now available.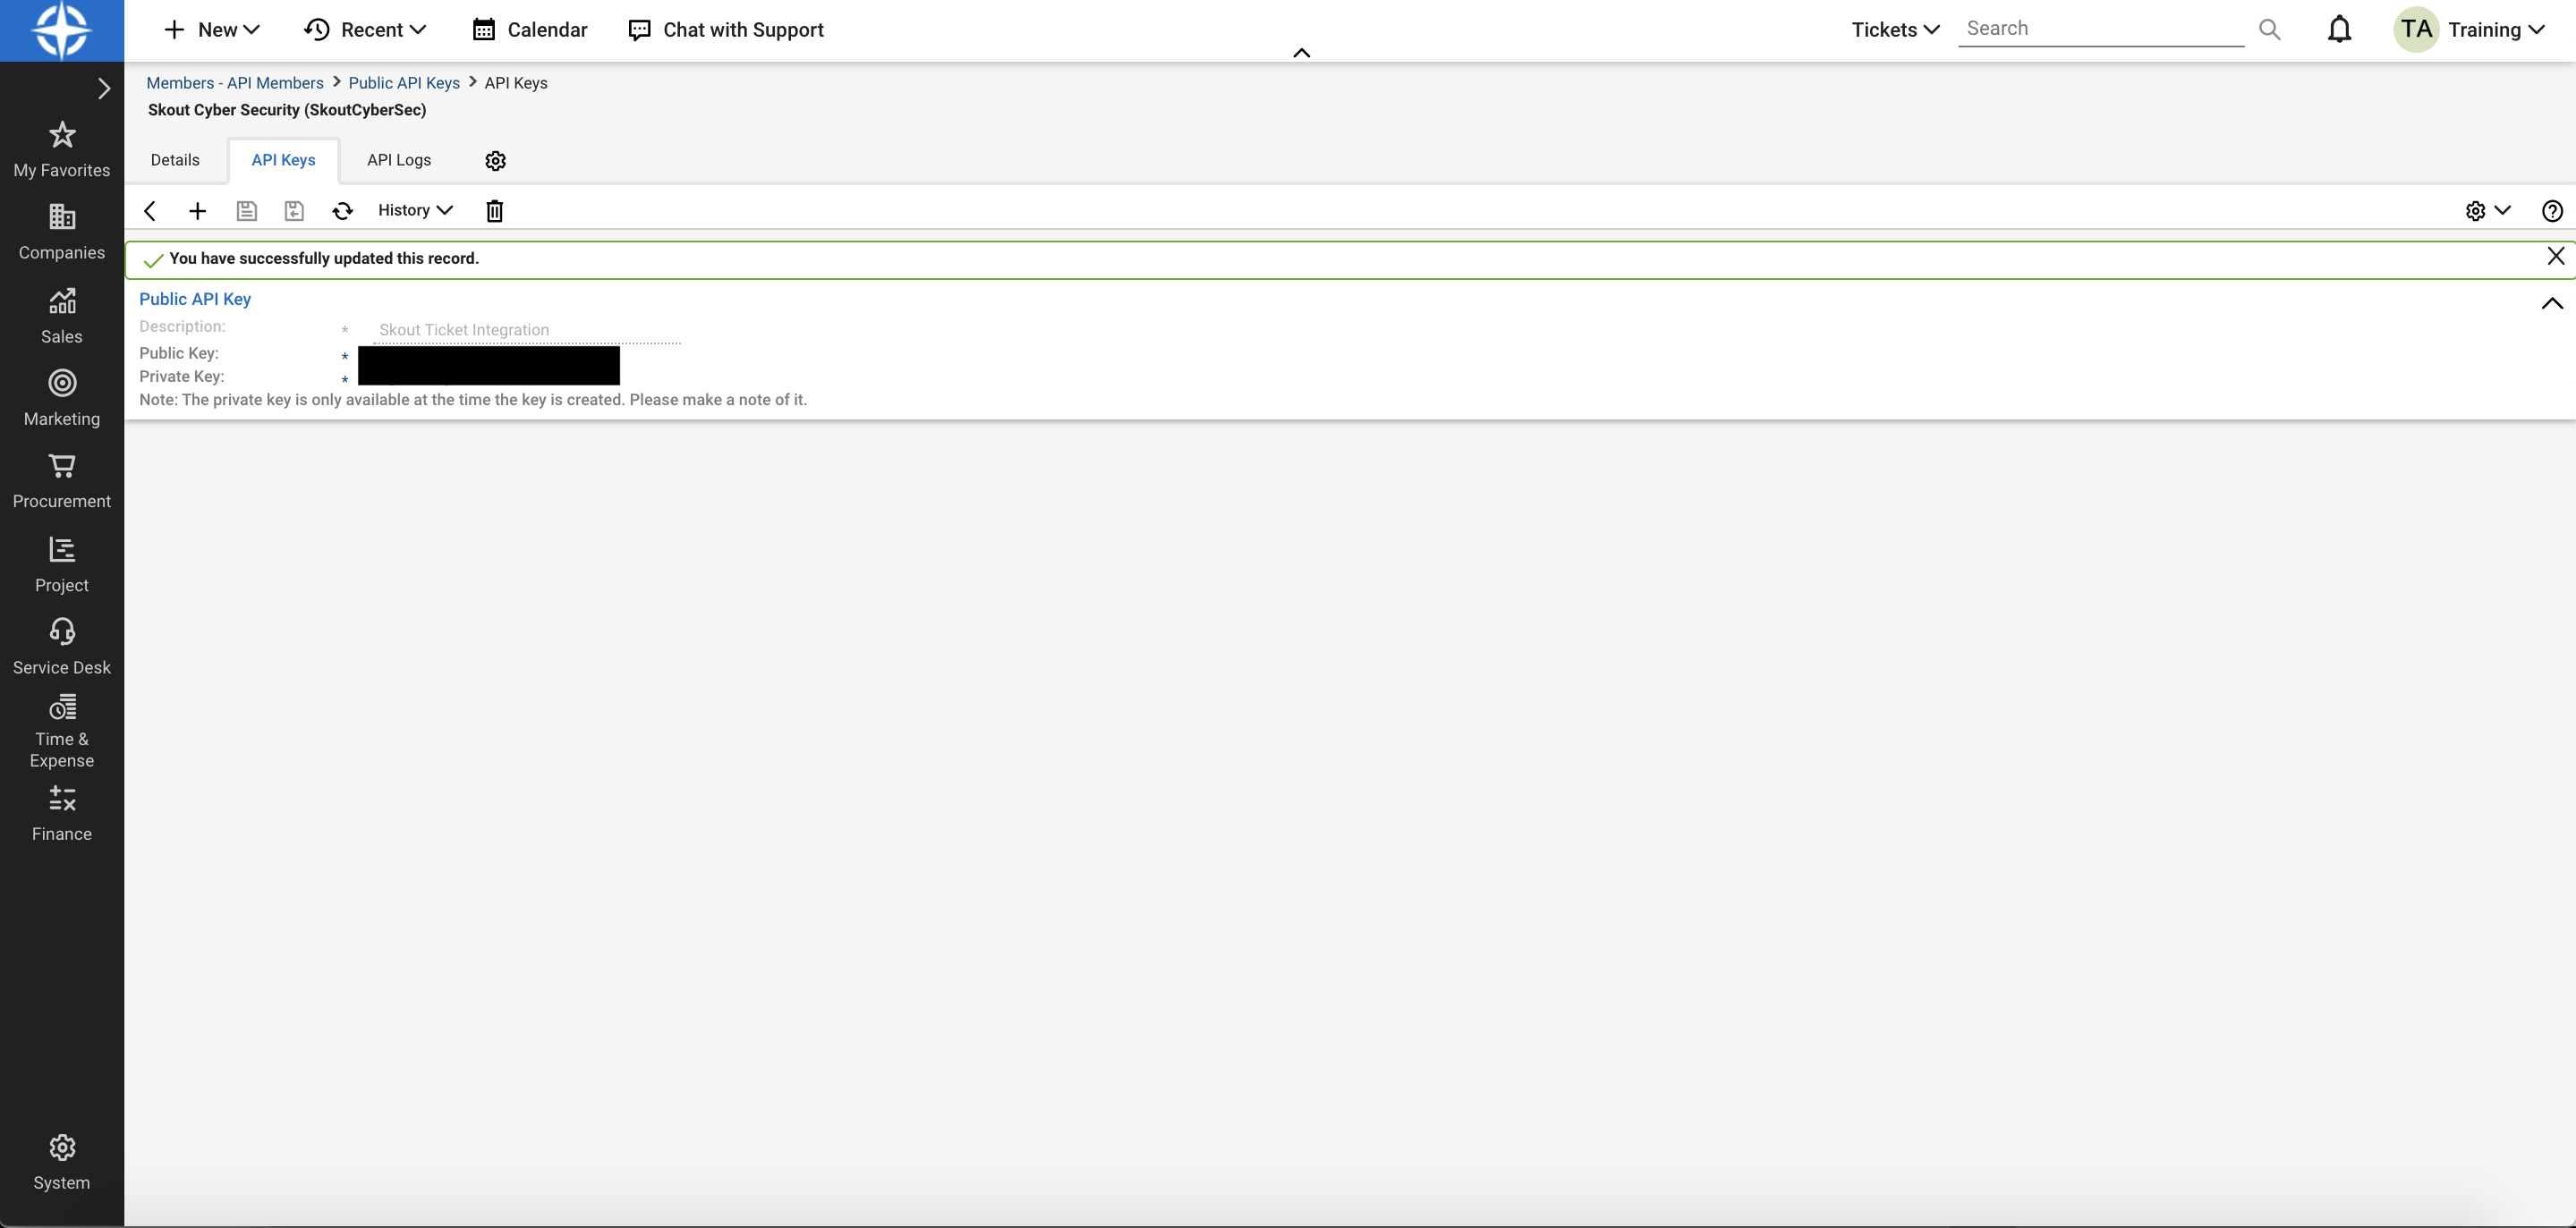
Make a note of the API keys, especially the Private Key.
Required Permissions
Companies Module | Add Level | Edit Level | Delete Level | Inquire Level |
|---|---|---|---|---|
Company Maintenance | None | None | None | All |
Company/Contact Group Maintenance | None | None | None | None |
Configuration – Display Passwords | None | None | None | None |
Configurations | None | None | None | None |
Contacts | None | None | None | All |
CRM/Sales Activities | None | None | None | None |
Import Contacts | None | None | None | None |
Manage Attachments | None | None | None | None |
Management | None | None | None | None |
Notes | None | None | None | None |
Reports | None | None | None | None |
Surveys | None | None | None | None |
Teams Members | None | None | None | None |
Tracks | None | None | None | None |
User Scenarios | None | None | None | None |
Accounting Interface | None | None | None | None |
Agreement Invoicing | None | None | None | None |
Agreement Sales | None | None | None | None |
Agreements | None | None | None | None |
Billing Rate Maintenance | None | None | None | None |
Billing Reconciliation | None | None | None | None |
Billing View Time | None | None | None | None |
Company Finance | None | None | None | None |
Expense Reimbursement | None | None | None | None |
Financial Dashboard | None | None | None | None |
Invoice Approval | None | None | None | None |
Invoicing | None | None | None | None |
Reports | None | None | None | None |
Close Project Tickets | None | None | None | None |
Close Project | None | None | None | None |
Project Contacts | None | None | None | None |
Project Finance | None | None | None | None |
Project Headers | None | None | None | None |
Project Management | None | None | None | None |
Project Notes | None | None | None | None |
Project Phase | None | None | None | None |
Project Product | None | None | None | None |
Project Reports | None | None | None | None |
Project Scheduling | None | None | None | None |
Project Teams | None | None | None | None |
Project Templates | None | None | None | None |
Project Ticket - Dependencies | None | None | None | None |
Project Ticket - Tasks | None | None | None | None |
Project Tickets | None | None | None | None |
Closed Opportunity | None | None | None | None |
Opportunity | None | None | None | None |
Opportunity Finance | None | None | None | None |
Reports | None | None | None | None |
Sales Dashboard | None | None | None | None |
Sales Funnel | None | None | None | None |
Sales Order Finance | None | None | None | None |
Sales Orders | None | None | None | None |
Change Approvals | None | None | None | None |
Change Management | None | None | None | None |
Close Service Tickets | All | All | All | All |
Cloud Console | None | None | None | None |
ConnectWise Chat | None | None | None | None |
ConnectWise Control | None | None | None | None |
IT Boost | None | None | None | None |
Knowledge Base Approver | None | None | None | None |
Knowledge Base Creator | None | None | None | None |
Launch Remote Access | None | None | None | None |
Merge Tickets | None | None | None | None |
Print Service Signoff | None | None | None | None |
Reports | None | None | None | None |
Resource Scheduling | None | None | None | None |
Service Tickets - Dependencies | All | All | All | All |
Service Tickets | All | All | All | All |
Service Tickets - Finance | None | None | None | None |
SLA Dashboard | None | None | None | None |
Add Licenses | None | None | None | None |
API Reports | None | None | None | None |
Chat with ConnectWise Management Support | None | None | None | None |
ConnectWise Manage lab | None | None | None | None |
ConnectWise Next | None | None | None | None |
ConnectWise Now | None | None | None | None |
Custom Menu Entry | None | None | None | None |
Data Import | None | None | None | None |
Email Audit | None | None | None | None |
List View Export | None | None | None | None |
Manage Hosted API | None | None | None | None |
Marketplace Sharing | None | None | None | None |
Mass Maintenance | None | None | None | None |
Member Maintenance | None | None | None | None |
Member Maintenance - Finance | None | None | None | None |
My Account | None | None | None | None |
My Company | None | None | None | None |
Report Writer | None | None | None | None |
Security Roles | None | None | None | None |
System Reports | None | None | None | None |
Table Setup | None | None | None | All |
Today Links | None | None | None | None |
Expense Approvals | None | None | None | None |
Expense Billable Option | None | None | None | None |
Expense Report Entry | None | None | None | None |
Reports | None | None | None | None |
Stopwatch | None | None | None | None |
Time Approval | None | None | None | None |
Time Entry | None | None | None | All |
Time Entry Billable Option | None | None | None | None |
Follow the Connectwise Integration Wizard
Sign in to the Barracuda XDR Dashboard.
Click Administration > Integrations.
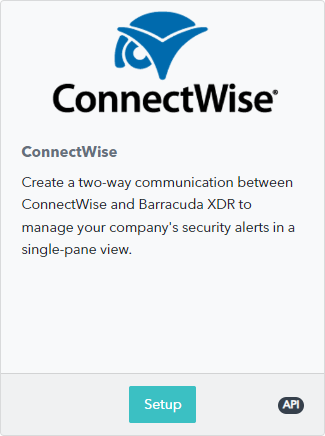
On the ConnectWise card, click Setup.
Click Configure Settings and enter the following:
ConnectWise Site
Company ID
Public Key
Private Key
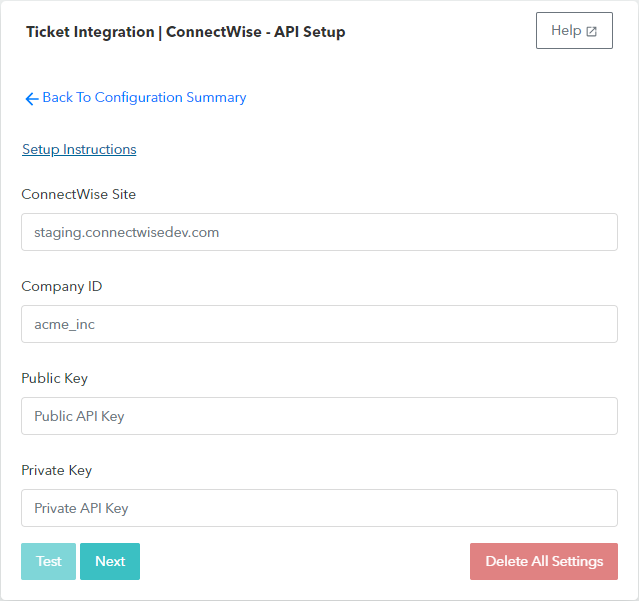
Click Next.
Type the appropriate Board, Source, and Team information, then click Next.
Select your Priority options, then click Next.
(Optional) Select your Ticket Status options, then click Next.
Map the statuses for your Board, then click Next.
Map the statuses for your Other Boards, then click Next.
(Optional) Click Edit in any Account row to edit account information. When complete, click Next.
(Optional) Click Edit to edit Contact information.
NOTE You can also delete Contact information by clicking Delete. Note that there is no confirmation or Undo for deleting a contact.Click Submit.
Map your Connectwise sites
Sign in to the Barracuda XDR Dashboard.
Click Administration > Integrations.
On the ConnectWise card, click Update.
Click Edit Settings.
Click Next several times until you get to the Ticket Integration page.
On the Ticket Integration page, in the row of a company you want to map, click Edit.
in the Step 1: search Connectwise companies by keyword box, type the name of the company you want or part of the company name and click Search.
In the Step 2: select from the below search results box, select a company.
Click Done.
Repeat steps 6-9 until you have mapped all the companies you want to map.
Click Next.
Click Submit.
Test the ticket sync
To test integration settings
Sign in to the Barracuda XDR Dashboard.
Click Administration > Integrations.
On the ConnectWise card, click Update.
Click Edit Settings.
Click Test.
To test your ticket sync
You can test your ticket settings by sending a test email that uses your saved settings.
Sign in to the Barracuda XDR Dashboard.
Click Administration > Integrations.
On the ConnectWise card, click Update.
Click Edit Settings.
Click Send Test.