

To prepare for a disaster, perform the following steps:
- Configure a backup job to support disaster recovery.
- Run a backup of your system, configured as described, and save boot images to the catalog
- Create bootable media. If not created automatically in step 2, you need to create bootable media for the backup domain master server. You should also create bootable media for every machine in your backup domain that may require disaster recovery.
- Test the bootable media to make sure that you have created in properly.
Configuring Backups to Support Disaster Recovery
To configure backups for disaster recovery:
- Insert the first disaster recovery media.
- Create a backup job and open its property page.
- Select the machine to back up. A full backup is recommended for disaster recovery.
- Select the backup device to which you want to write the backed up data.
- To prevent an out-of-sequence disaster recovery backup from affecting your current backup rotations, o n the Configuration page, set Backup mode to Copy .
- To create bootable media for the Backup Server on an attached bootable backup device, configure the following:
- On the Configuration page, set Write mode to Overwrite all media .
- On the Configuration page, verify Split File is cleared.
- On the Advanced > Options page, select Create DR Bootable Media (selected by default).
- On the Advanced > Options page, select Update DR information on selected machine to update boot images of selected machines in the catalog so they can be burned to bootable media in a separate step.
- Click Save, and then click Run to begin the backup job, inserting additional media as required.
Once the backup job is complete, check the log page and verify that the backup was successful. The Summary section of this page tells you if any items have failed.
Create Bootable Media
You can view a short video on creating bootable disaster recovery media for Windows XP, Vista, and Windows Server 2008.
Videolink:
https://campus.barracuda.com/Users can create bootable CD or DVD media from the Backup Administrator.
To create bootable media:
Log in to the Administrator.
In the Tasks view, double-click Make Bootable CD-DVD.
In the Disaster Recovery wizard, select the machine for which you want to create a bootable CD/DVD. You can only select machines with bootable images in the catalog. The bootable CD/DVD is customized for the operating system and device drivers of the selected machine.
Select a CD or writable DVD drive on which to create the bootable CD/DVD.
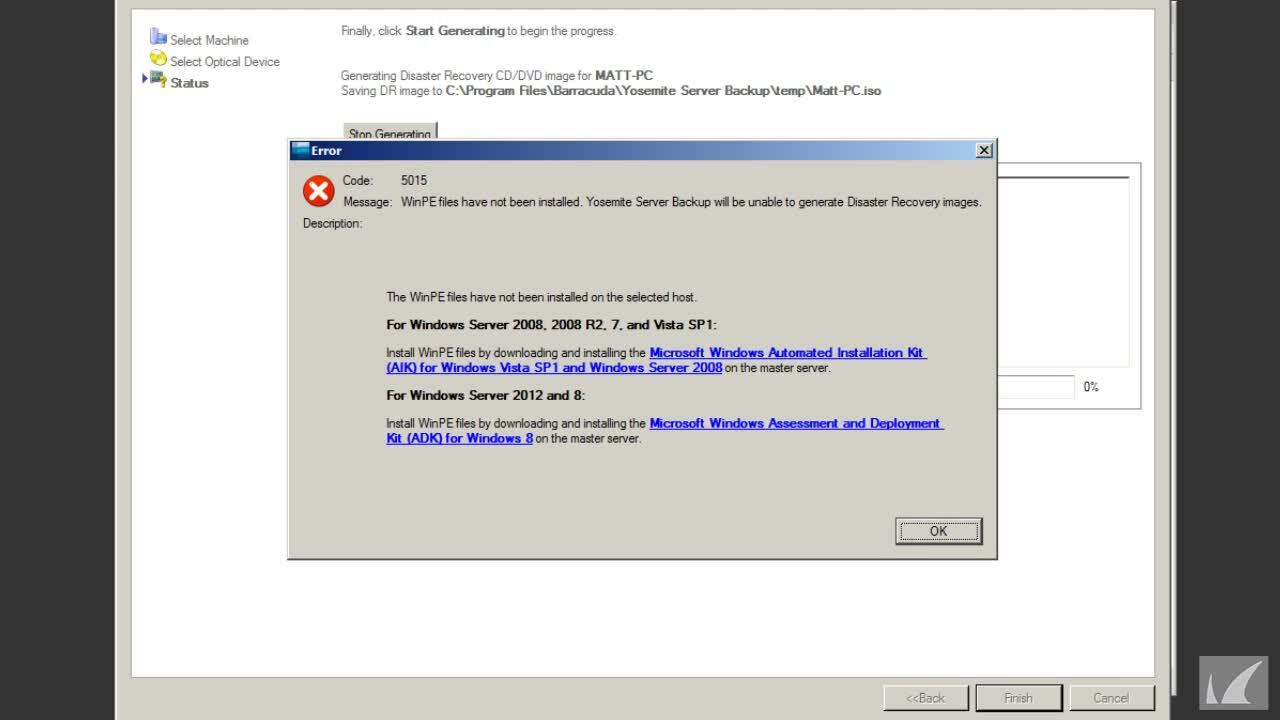
Click Start Recording to create the bootable CD/DVD. This process takes time. The Status information area displays the status and a progress bar.
As soon as you create the bootable media, test the disaster recovery media on a test computer as described in the section that follows. After a successful test, store the CD or DVD. Create a bootable CD or DVD for each machine connected to the Yosemite Server Backup management domain.
After the test is successful, store the disaster recovery media. If you have backed up to a tape or removable cartridge, be sure to write protect the cartridge.
Test the Media
Test your disaster recovery media as soon as you create it to ensure it will work in the event of a disaster. Consider creating alternative bootable media in case your new hardware does not support your current bootable media. For example, a bootable CD or DVD may not work with your new hardware, so if you created an additional set of bootable media for another bootable device you have, you could boot from that.
To test the disaster recovery media, shut down your system normally and perform one of the following procedures. You will not lose any data on your system. The procedures are entirely safe.
To boot your computer from a bootable CD or DVD:
Insert the disaster recovery CD or DVD into your computer.
Turn on your computer.
Perform any special steps for booting your computer from CD or DVD. (Refer to your system documentation.)
To boot your computer from the bootable tape media:
- Remove all media from all tape drives and/or library magazine slots.
- Insert the first bootable media:
If you are using a single tape drive, insert the first tape media into the drive.
If you are using a library, insert the first (or only) bootable tape media into slot 1 of the magazine. If the full backup used two or more media, insert the rest of the full backup media into the library magazine in their proper order.
- Perform any special steps for booting your computer from the tape drive. (Refer to your system documentation.) Most bootable drives use a combination of power cycling and pressing the Eject button on the front panel. Many also require that you update the computer BIOS.
If your system boots and displays any disaster recovery screen, the bootable media successfully passed the test and will function properly during an actual Disaster Recovery.
If you are using a bootable device and your system hangs during startup or your operating system does not boot from the device, your device is not compatible with the bootable media. You will need to make new bootable media for disaster recovery.
To end the test, select Exit and press Enter on the Disaster Recovery character screen or click Cancel on the Disaster Recovery Wizard screen.