

The Barracuda SecureEdge Manager allows you to create your own custom notification or response messages when a specific URL is blocked due to a defined URL filter policy on your sites or Edge Services . Edge Services includes the following: the Hosted Edge Service, Private Edge Service, and Edge Service for Virtual WAN. In addition, you can now add both a customized text and a logo to the default response pages. The response page or template consists of four kinds of pages: block, override, virus alert, and warning.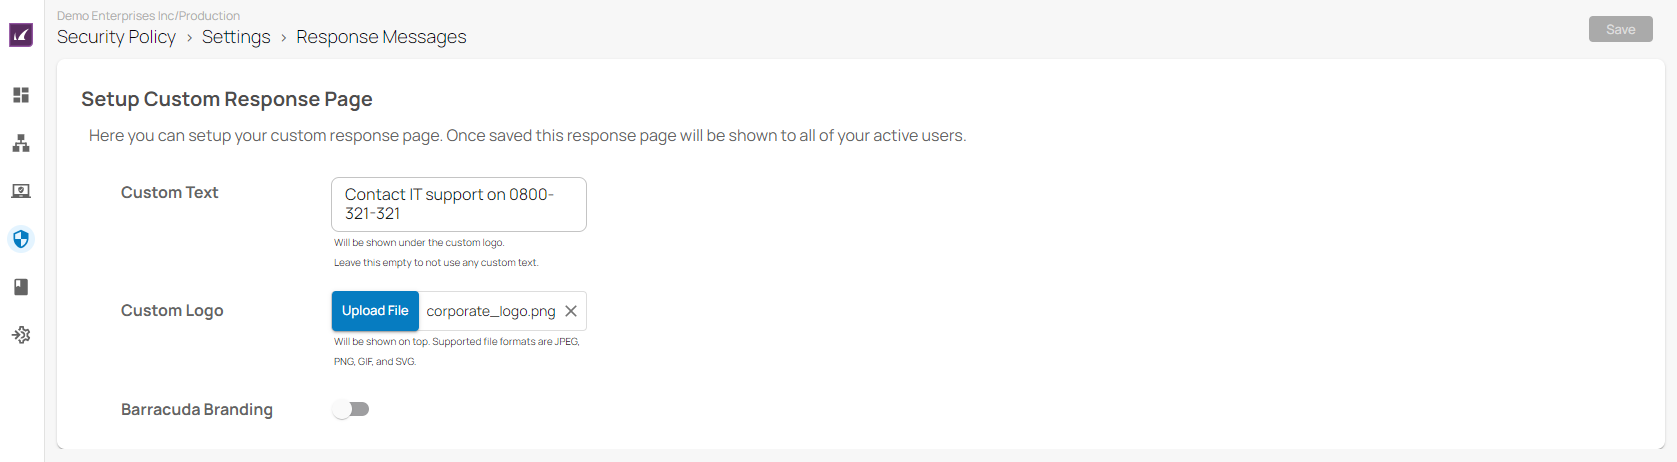
There are four custom response page versions available:
- Default response page with Barracuda branding – The default layout with Barracuda branding at the top.
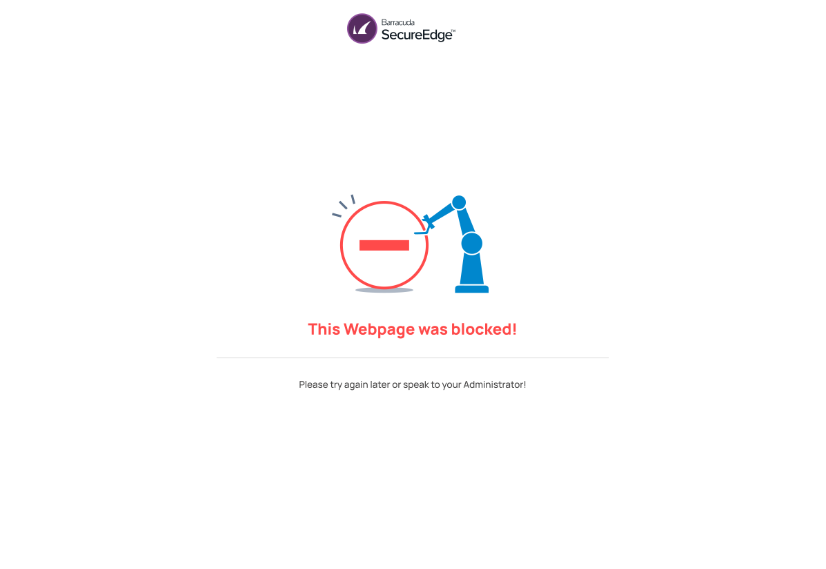
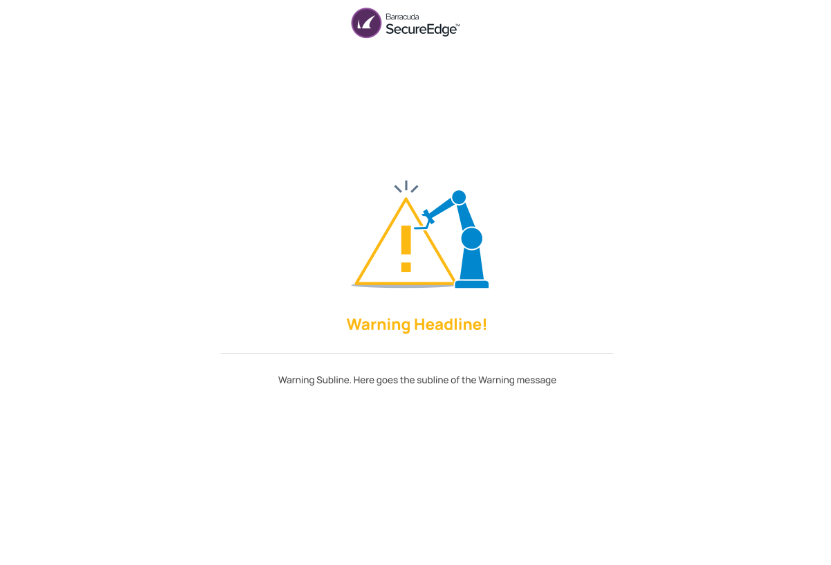
Block and Warning page
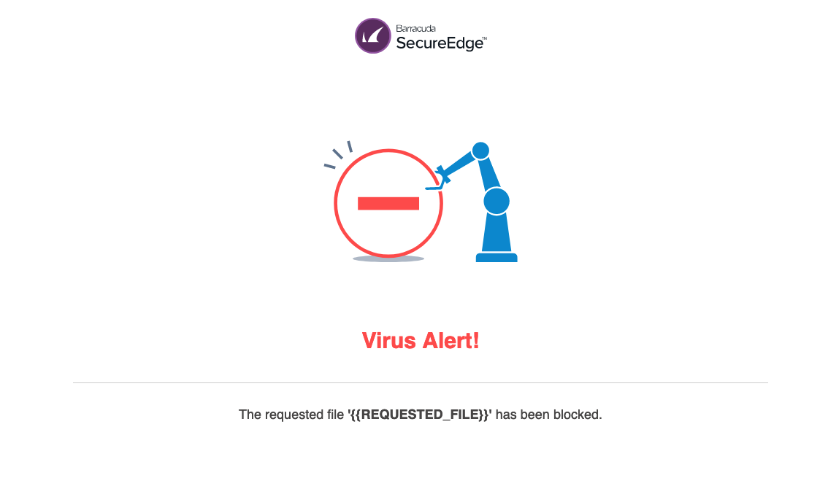
Virus Alert page
- Default response page without branding – The default layout with no Barracuda branding.
- Custom logo/text response page with branding – Allows custom logo and text to be added at the top of the page with a small Barracuda branding at the bottom.
- Custom logo/text response page without branding – Allows custom logo and text to be added at the top of the page. There is no Barracuda branding.
Create a Custom Response Page
- Go to https://se.barracudanetworks.com and log in with your existing Barracuda Cloud Control account.
- In the left menu, click the Tenants/Workspaces icon and select the workspace you want to create a custom response block page for.
- Go to Security Policy.
- Expand the Settings menu on the left and select Response Messages.
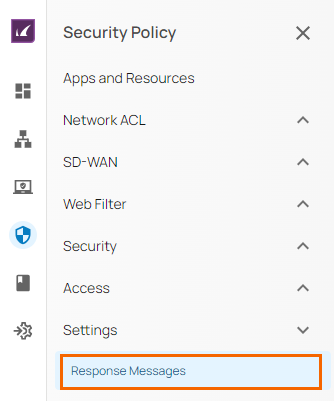
- The Response Messages page opens. Specify values for the following:
- Custom Text – You can either enter your text or leave this field empty.
Custom Logo – Click Upload File to upload a valid custom logo.
- Barracuda Branding – Click to enable/disable.
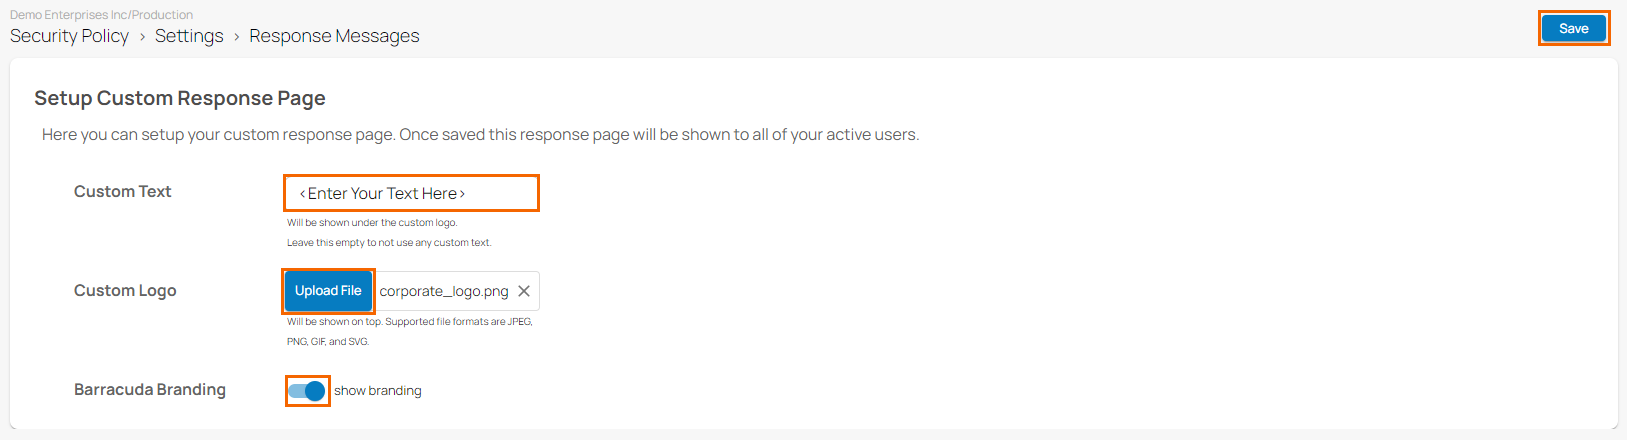
- Click Save.
After configuration is complete, a newly created custom response page will be shown to all your active users. For example, you have an existing web filter block rule, and you created a new custom response block page by uploading a custom logo/text with Barracuda branding. If a user navigates to a web page that triggers the rule, this user will receive a new custom response block page with Barracuda branding along with the uploaded image and the specified custom text.
Edit an Existing Custom Response Page
You can update the custom response page for the following: block, override, virus alert, and warning.
- Go to https://se.barracudanetworks.com and log in with your existing Barracuda Cloud Control account.
- In the left menu, click the Tenants/Workspaces icon and select the workspace you want to edit a custom response block page for.
- Go to Security Policy > Settings and select Response Messages.
- The existing Response Messages page opens. Edit the value you are interested in.
- Click Save.
Remove an Existing Custom Response Page
You can remove the custom response page for the following: block, override, virus alert, and warning.
- Go to https://se.barracudanetworks.com and log in with your existing Barracuda Cloud Control account.
- In the left menu, click the Tenants/Workspaces icon and select the workspace you want to remove the custom response block page for.
- Go to Security Policy > Settings and select Response Messages.
- The Response Messages page opens. Modify the following:
- Custom Text – Remove or clear all text from this field.
- Custom Logo – To remove a custom logo, click the X next to the name of image file. You can see that the previously added image is removed.
- Barracuda Branding – Click to disable.
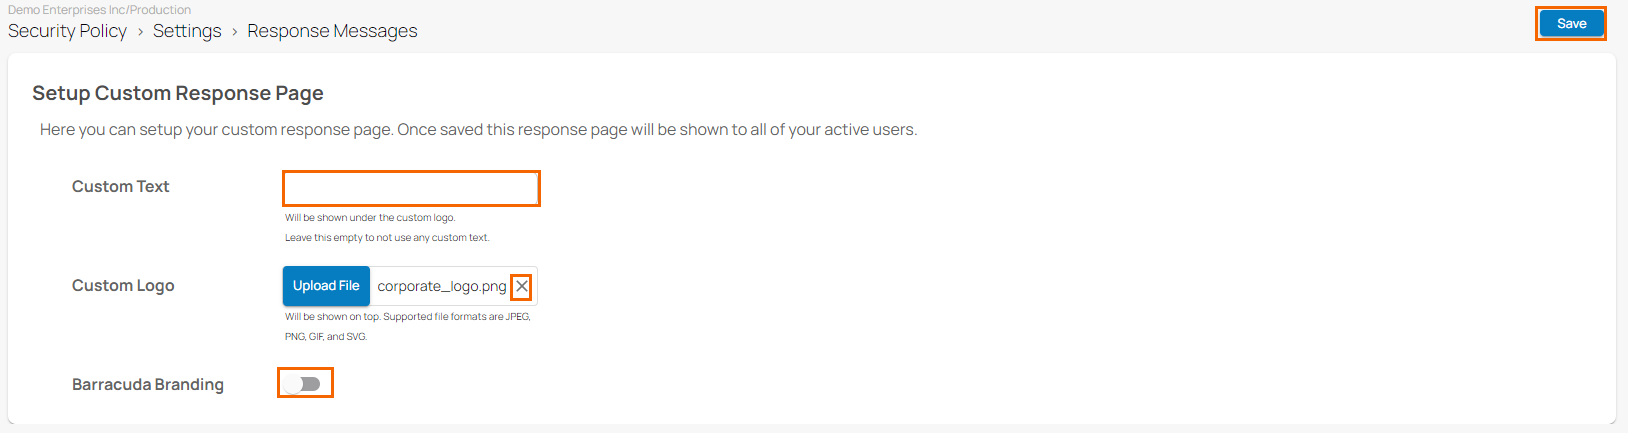
- Click Save.