The Azure Security Center aims to prevent, detect, and respond to threats to your resources in Azure. Based on your existing setup, the Azure Security Center recommends ways for you to secure your VMs. VMs in backend subnets must be protected by a network security group. The configuration of the firewall VM is tailored to secure incoming traffic for specific services using a Dst NAT access rule with a dynamic NAT connection method. If you also want to route outgoing traffic over the firewall, you must enable IP forwarding and add an Azure route table with UDR routes. CloudGen Firewalls deployed through the Security Center are automatically configured to send the following status information and threat logs to the Azure Security Center:
- CPU load
- Disk space
- Service status
- License state
- Dropped Azure EventHub messages
- Incident reports for all threat Logs
Before You Begin
Create a dedicated subnet for the firewall in your virtual network to be able to route incoming and outgoing traffic over the firewall.
Step 1. Deploy through Azure Security Center Recommendations
- Go to https://portal.azure.com.
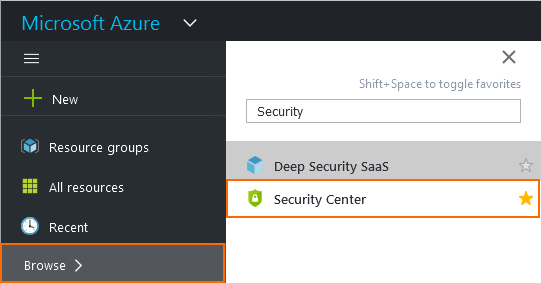
- In the left menu, click More Services and go to the Security Center.

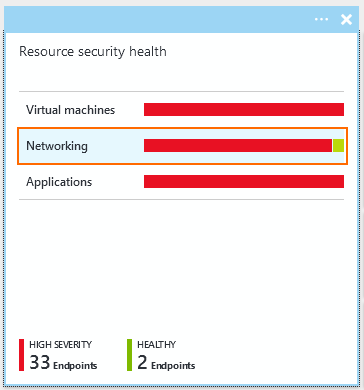
- Click Overview, and in the Prevention section, click Networking. The Networking blade opens.

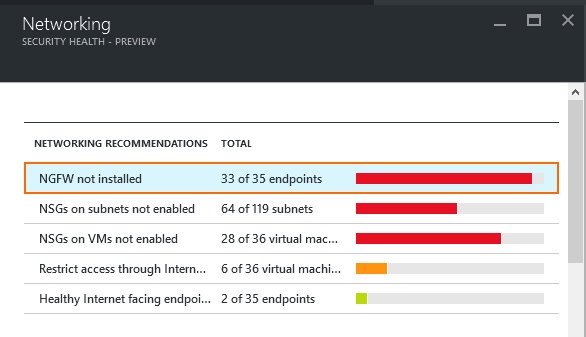
- Click on NGFW not installed.

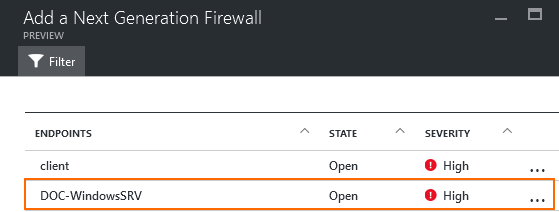
- In the Add a Next Generation Firewall blade, click on the endpoint you want to protect with the firewall.

- Click Create New to create a new firewall VM, or select an existing firewall from the list to protect your resources.
Step 2. (optional) Configure the Firewall VM to Handle Outgoing Traffic
For the firewall to handle outgoing traffic for the backend VMs, you must configure the following:
- Add an Azure route table and associate the backend subnet. For more information, see How to Configure Azure Route Tables (UDR) using Azure Portal and ARM.
- Configure Cloud Integration and enable IP forwarding protection to be able to forward traffic. For more information, see How to Configure Azure Cloud Integration for HA Clusters using ARM.
- Create access rule to allow your backend VMs access to the Internet. For more information, see Access Rules.
- Remove the public IP addresses from the backend VMs. Create access rules to allow the services to be accessible through the firewall VM.
