Virtual machines (VMs) deployed through Azure Gallery prior to mid February, 2015 do not support Disk Expansion. If you deployed prior to this time period and want to expand the disk, you must re-deploy the VM using the latest VM image available in Azure Gallery.
Adding Additional Storage in Case of an Unmanaged Disk
- Log in to the Microsoft Azure Portal.
- Click Virtual machines under Azure Services.

- On the Virtual machines page, click on the instance for which you want to increase the storage.

- In the left panel, click Disks under Settings.
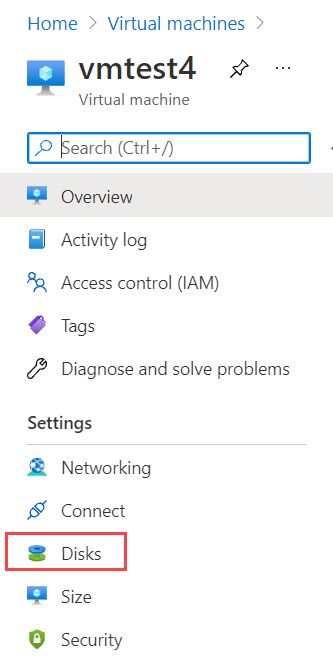
- On the Disks page, click Add Data Disk.
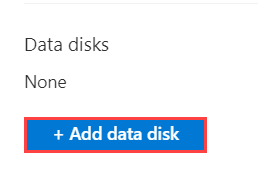
- Provide the required data in the Attach unmanaged disk page, and click OK:
Set Host Caching to None :

Click Save :
After the task is complete, click Overview in the left panel of the selected Instance, and then click Restart.
Adding Additional Storage in Case of a Managed Disk
- Log in to the Microsoft Azure Portal.
- Click Virtual machines under Azure Services.

- On the Virtual machines page, click on the instance for which you want to increase the storage.

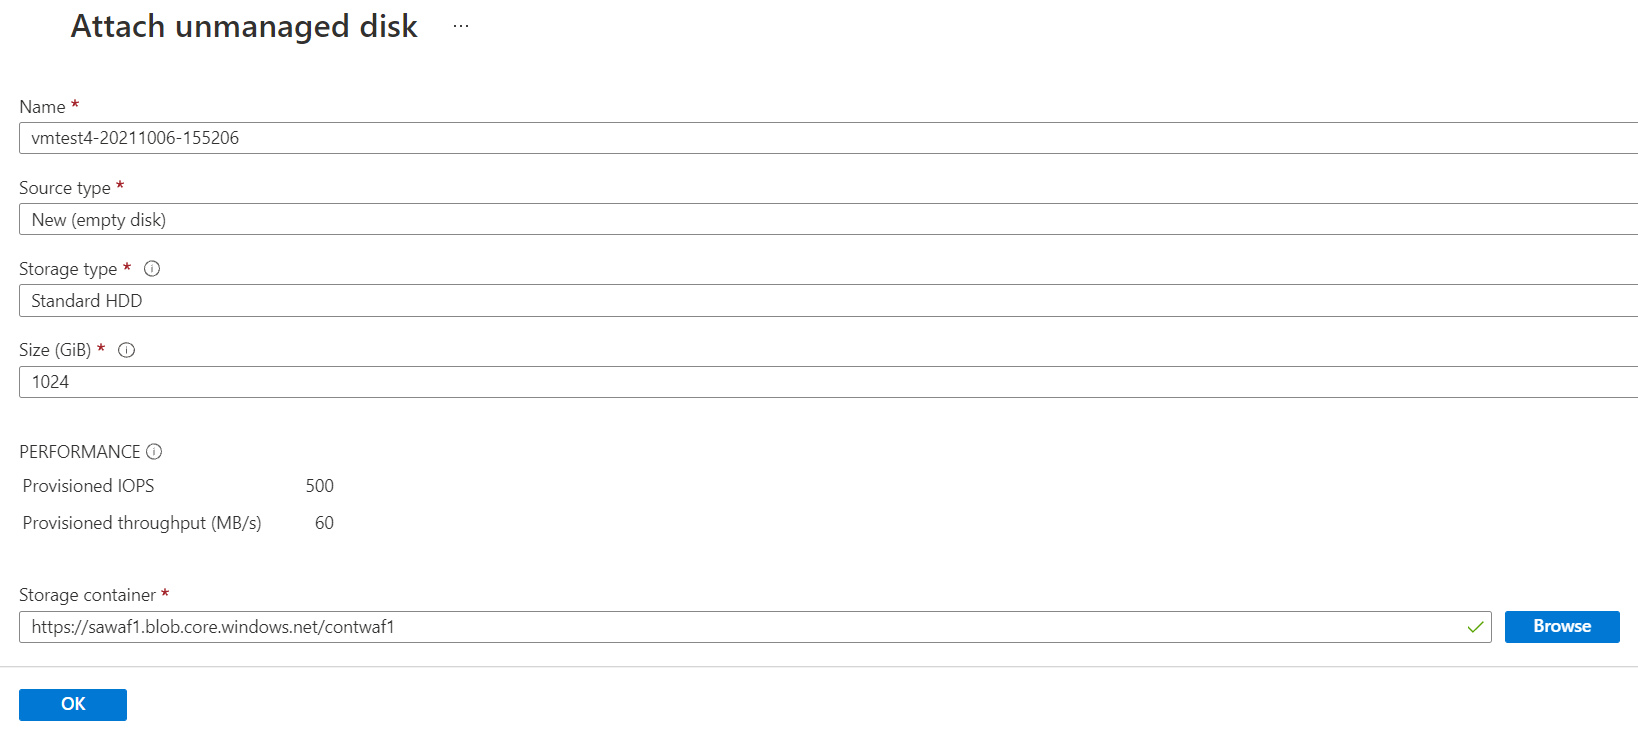
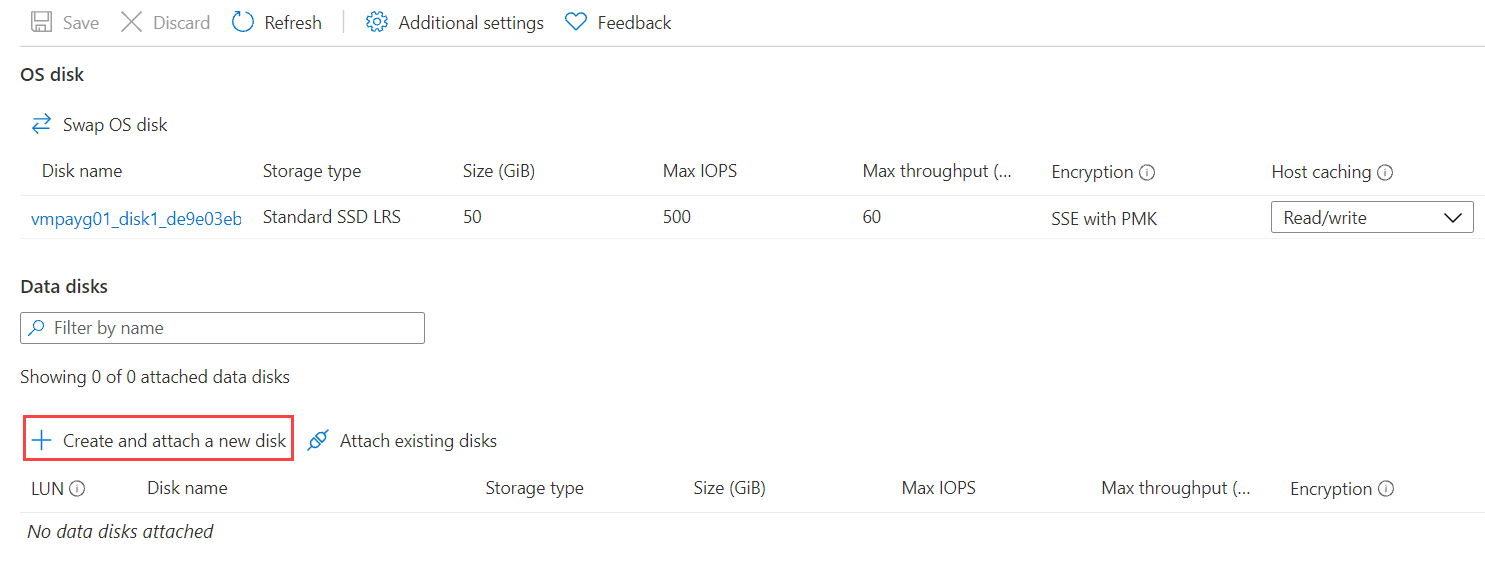
- In the left panel, click Disks under Settings.
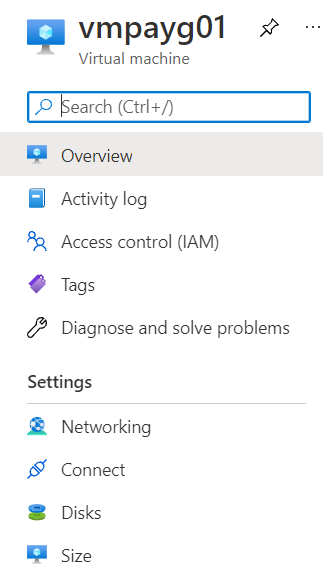
Click Create and attach a new disk in the right panel.
Enter the Data Disk name and disk size as per your requirement.

Click Save.
After the task is complete, click Overview in the left panel of the selected instance, and then click Restart.
